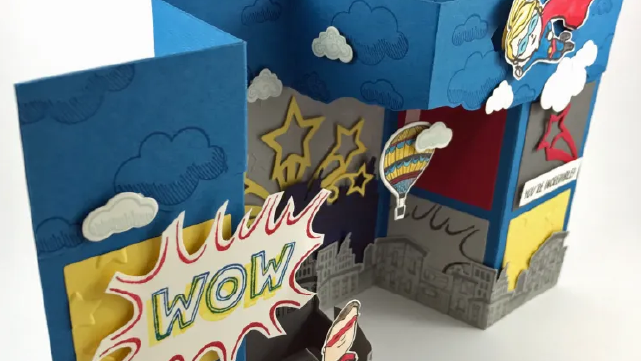
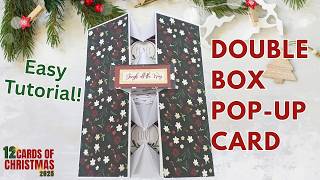
Personalise a Double Box Pop Up
Make and personalise a double-box pop-up card using paper, scissors, glue, and decorations; fold, cut, and decorate to create a surprise 3D gift.


Step-by-step guide to Personalise a Double Box Pop Up
Step 1
Fold one sheet of paper or cardstock in half to make the card base.
Step 2
Open the card and use your ruler and pencil to draw two rectangles side by side on the inside where your boxes will pop up.
Step 3
Use scissors to cut two vertical slits for each rectangle following the pencil lines so each rectangle becomes a cut tab.
Step 4
Fold each cut tab inward toward the center of the card so the tab will pop forward when the card opens.
Step 5
Cut small squares and rectangles from scrap paper to make the front faces sides and tops for each pop-up box.
Step 6
Glue a square onto the front surface of each pop-up tab to form the front of each box.
Step 7
Glue the side rectangles next to each front square to form the box sides so the shape looks three-dimensional.
Step 8
Glue a small rectangle above each front square to make a lid or top for each box if you want a gift-lid look.
Step 9
Use colouring materials to add color patterns or draw designs on each box.
Step 10
Stick stickers or glue small decorations onto the boxes to personalize them.
Step 11
Write a short message or draw a tiny picture on a small scrap and tuck or glue it inside one of the boxes as a surprise.
Step 12
Close the card flat and then open it to check the double box pop-ups pop out nicely and press any loose glue until dry.
Step 13
Share your finished double-box pop-up card on DIY.org
Help!?
What can I use instead of cardstock if I can't find any for the card base?
If you don't have cardstock, use a folded cereal box piece or glue two sheets of regular paper together to make a stiff card base for the 'Fold one sheet of paper or cardstock in half to make the card base' step.
Why don't my pop-up boxes pop out fully and how can I fix them?
If the boxes don't pop forward, make sure your scissors cuts are only the rectangle height, crease each cut tab sharply inward toward the center as in the 'Fold each cut tab inward' step, and press the card flat to set the fold before gluing the front squares.
How can I adapt this activity for different ages?
For preschoolers, pre-cut the rectangles and provide large squares and stickers for gluing, while older kids can measure and draw the two rectangles with a ruler, cut side rectangles themselves for a more 3D shape, and decorate with finer colouring tools on cardstock.
What are some ways to enhance or personalize the double box pop-up card?
Enhance it by tucking a tiny written surprise on a small scrap inside one box (as in the 'Write a short message or draw a tiny picture' step), glue fabric or ribbon onto the side rectangles for texture, or add a thin paper hinge to the lid rectangle so the box lids open.
Watch videos on how to Personalise a Double Box Pop Up
Fun To Make Pop Up Boxes
4 Videos
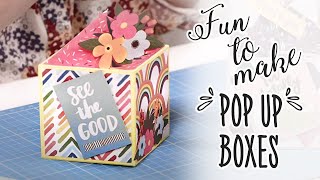
Fun To Make Pop Up Boxes
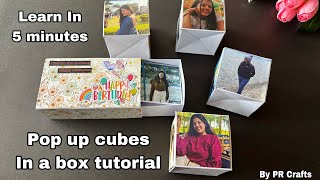
Pop Up Cubes in a box Tutorial | Step by Step Pop Up Cubes DIY | Jumping Cubes
Elementary Pop Up, How to Make a Pop Up, for beginners
Double Box Pop up Card l Easy Christmas card Ideas l Christmas Fun Fold Card
Facts about paper crafts for kids
🎁 Pop-up books use paper engineering to create 3D surprises that fold flat and spring open.
✂️ Kirigami literally means "cut paper" in Japanese — unlike origami, it includes cutting as well as folding.
📚 Early paper mechanisms like volvelles (rotating wheels) date back centuries and inspired modern pop-ups.
♻️ Most paper and simple decorations can be recycled or reused, making pop-up cards eco-friendly with care.
🎨 Personalizing a pop-up card makes it a one-of-a-kind gift — handmade cards are treasured keepsakes.
How do you make a double box pop-up card?
What materials do I need for a double box pop-up card?
What ages is this activity suitable for?
What are the benefits and safe variations for this craft?


