Perfect bind a book
Make and perfectly bind your own paperback book using stacked pages, cardstock covers, glue, a brush, and clips to press the spine securely.


Step-by-step guide to perfect bind a book
How to Bind a Perfect-bound Book
Step 1
Gather all your materials on a flat work surface so everything is ready and easy to reach.
Step 2
Align all the pages into a neat stack by tapping the aligned edges on the table until they line up.
Step 3
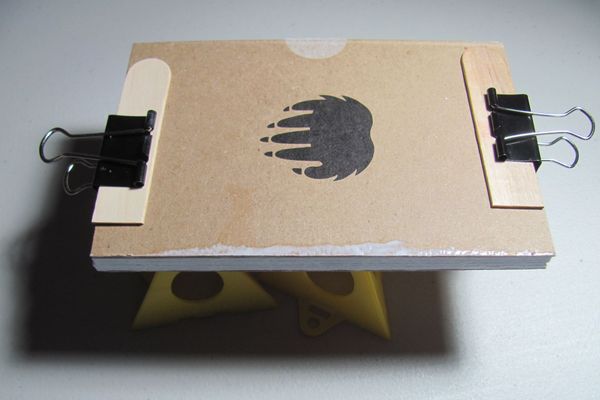
Clamp the top and bottom edges of the page stack with binder clips so the long edge (the spine) stays open and steady.
Step 4
Roughen the spine edge by rubbing sandpaper along it until the edge feels slightly fuzzy to help the glue stick.
Step 5
Brush a thin coat of glue along the entire spine making sure the glue reaches into the gaps between pages.
Step 6
Let the glue become tacky for 2 minutes so it can start to bond.
Step 7
Brush a second thin coat of glue along the spine to build a strong hold.
Step 8
Press the glued spine flat with a ruler against the scrap cardboard to smooth the glue and remove any excess.
Step 9
Slide a sheet of wax paper between the first and last page and the future cover to stop them from sticking while drying.
Step 10
Place the cardstock cover against the glued spine so the front and back covers sit evenly and the spine lines up with the glued edge.
Step 11
Secure the cover and pages together by adding binder clips along the spine to press them tightly.
Step 12
Leave the clipped book to dry flat for at least four hours or overnight until the glue is fully set.
Step 13
Carefully remove the clips and wax paper and then share a photo of your finished paperback book on DIY.org
Help!?
What can I use if I don't have binder clips, sandpaper, or cardstock?
Use clothespins or heavy books to clamp the stack in step 3, a nail file or emery board to roughen the spine in step 4, and heavy construction paper or a trimmed cereal-box panel instead of cardstock for the cover in step 11.
What should I do if the glue doesn't hold the pages together or they come loose?
If pages come loose, be sure you really roughened the spine in step 4, let the first glue coat become tacky for 2 minutes in step 5 before adding the second in step 6, press the glued spine flat with the ruler against scrap cardboard in step 7, and leave the clipped book to dry at least four hours in step 13.
How can I adapt this perfect-binding activity for different age groups?
For younger kids, have an adult handle roughening (step 4) and glue brushing (steps 5–6) while the child aligns pages (step 2) and decorates the cover (step 11), and for older kids let them sew signatures before gluing or trim and design the cover themselves.
How can we extend or personalize the finished paperback book?
After smoothing the glued spine in step 7, reinforce it with a strip of fabric or bookbinding tape, add endpapers between the pages and the cover before clipping in step 12, and personalize the cardstock cover in step 11 with paint, stickers, or a hand-lettered title.
Watch videos on how to perfect bind a book
DIY Perfect Bookbinding Tutorial | Sea Lemon
3 Videos
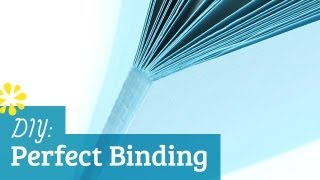
DIY Perfect Bookbinding Tutorial | Sea Lemon

Start bookbinding this year ⟡ how-to guide for beginners
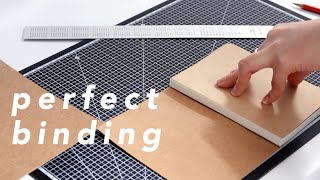
perfect binding | step-by-step (no stitching & book press needed!)
Facts about bookbinding for kids
📚 Perfect binding is the go-to finish for most paperback books and magazines because it's fast and cost-effective for medium-thickness titles.
🧴 Polyvinyl acetate (PVA) glue is widely used in bookbinding — it's flexible, dries clear, and is considered archival-safe for many craft projects.
🧷 Clips, a press, or weights keep pages perfectly aligned so the glue can form an even, strong bond along the spine.
📏 Scoring a small hinge on the cardstock cover where it meets the spine helps the cover bend without cracking when you open the book.
⏳ Allowing glue to cure fully (often several hours or overnight) makes a paperback far more durable than if you rush the drying time.
How do you perfect bind a paperback book with kids?
What materials do I need to perfect bind a homemade paperback?
What ages is perfect binding a book suitable for?
What safety tips should I follow when perfect binding with children?
