Paint Watercolour Pumpkins
Paint watercolor pumpkins using brushes, water, and paper to explore color mixing, shading, and simple shapes while practicing brush control and observation skills.

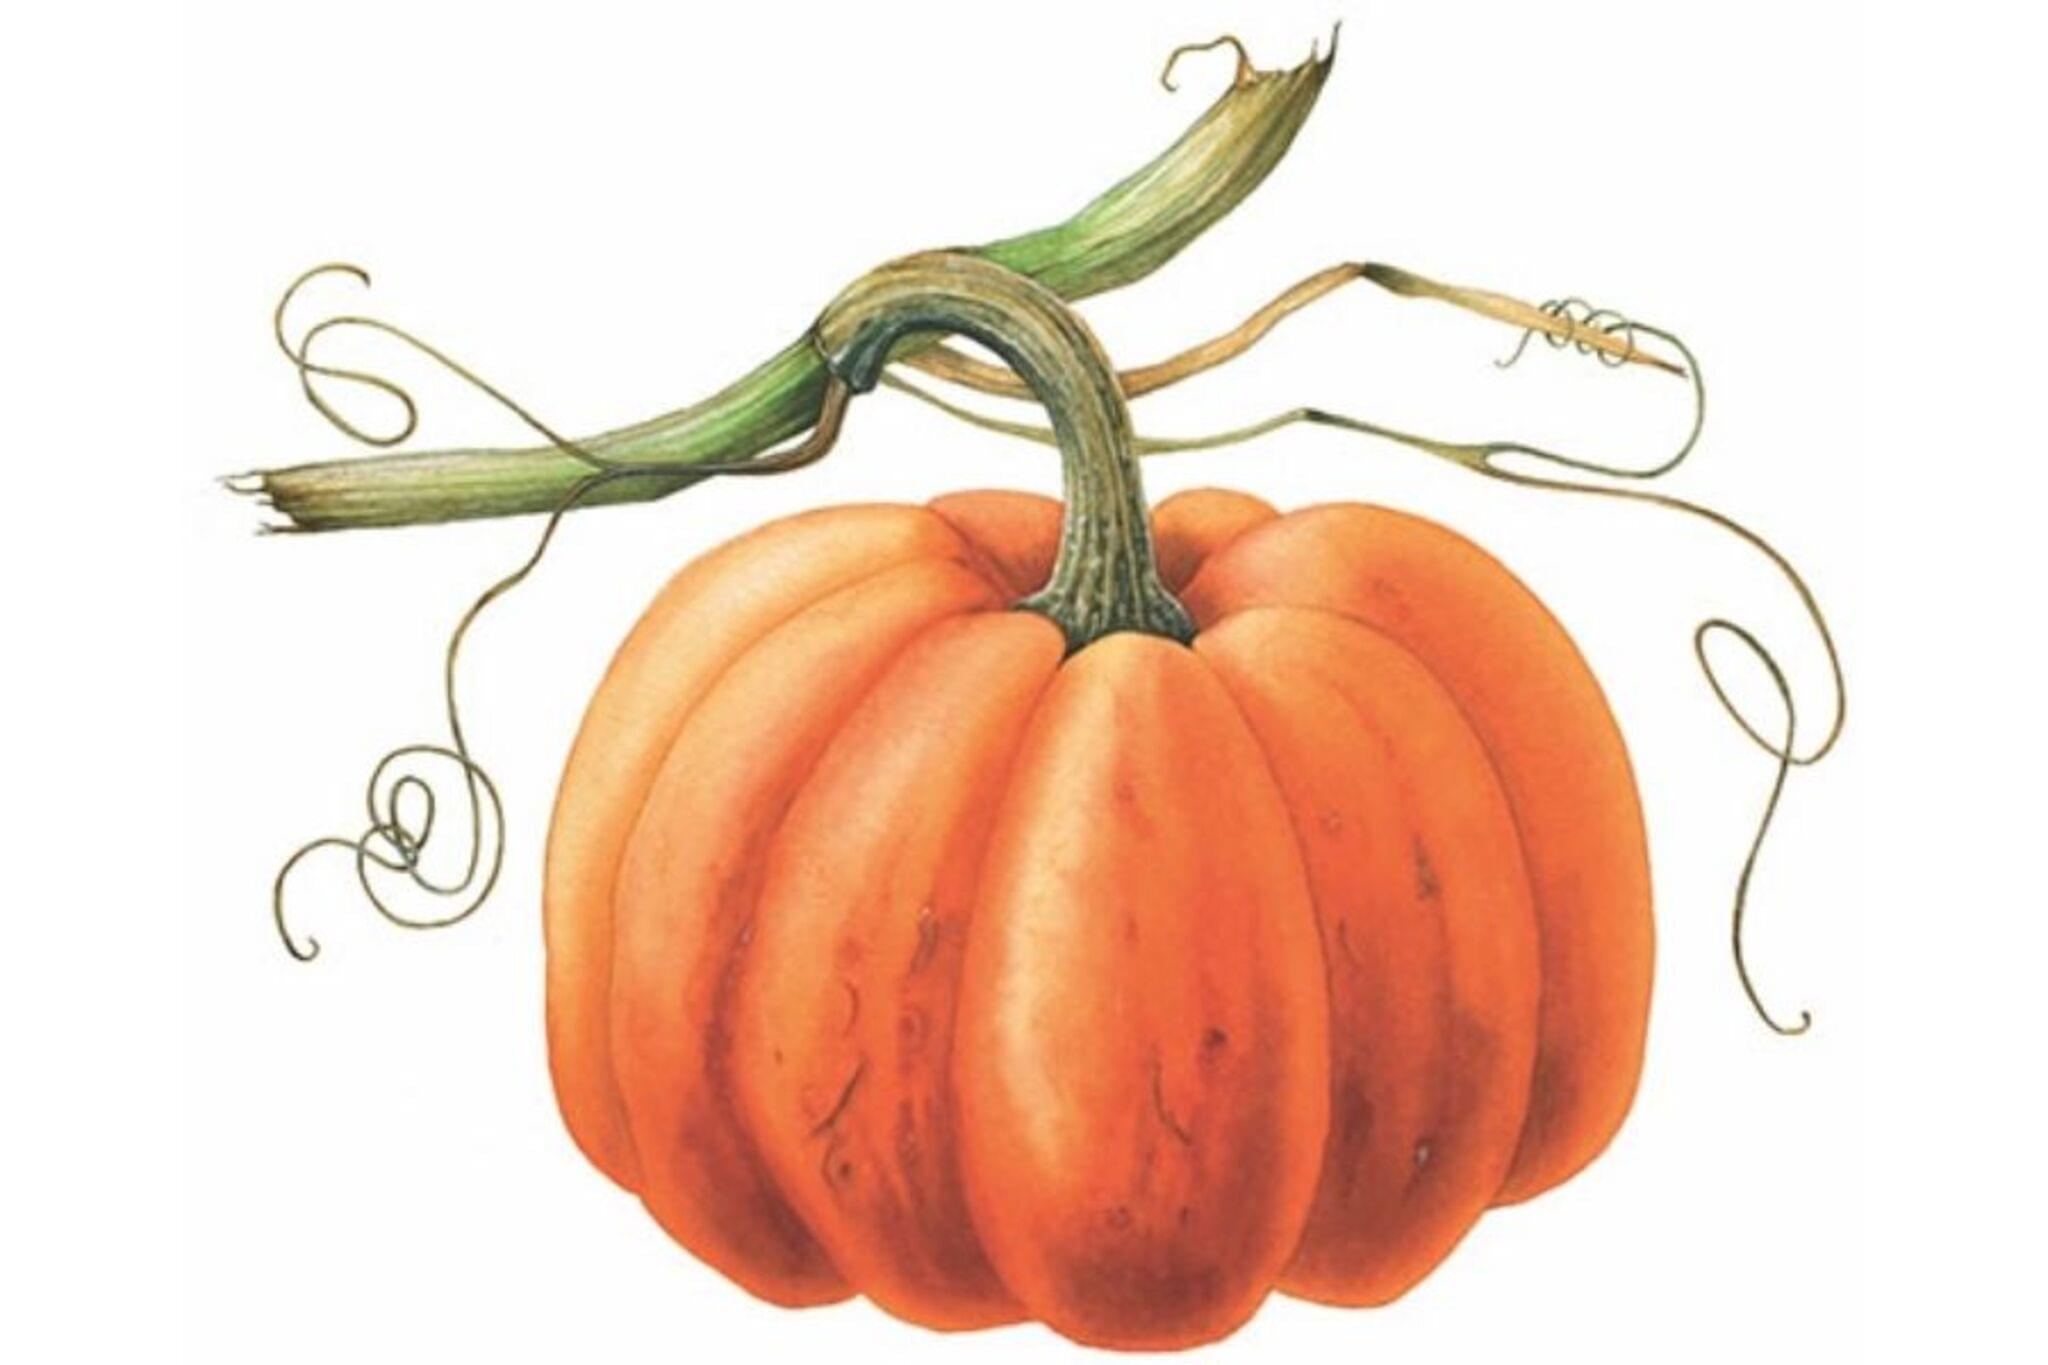

Step-by-step guide to paint watercolour pumpkins
Learn How To Paint a Pumpkin | Watercolor Painting by Sarah Cray of Let's Make Art
Step 1
Gather all your materials and put them on the table where you can reach them.
Step 2
Protect your work surface by covering it with newspaper or an old cloth.
Step 3
Fill the cup with clean water and place it beside your paper towel.
Step 4
Place your watercolor paper on the protected table and smooth it flat.
Step 5
Lightly sketch two or three pumpkins with ridges and small stems using your pencil.
Step 6
Check your sketches and erase any extra lines you don’t want to keep.
Step 7
Paint a thin light orange base wash inside each pumpkin using a wet brush and orange paint.
Step 8
Mix a slightly darker orange on your palette by adding just a tiny bit of red to orange.
Step 9
Paint the darker orange along the sides and between the ridges to make shadows on each pumpkin.
Step 10
Use a clean damp brush to gently blend the darker paint toward the pumpkin center to soften the shadow edges.
Step 11
Dab a paper towel or a clean brush on a small spot to lift paint and create a shiny highlight on each pumpkin.
Step 12
Paint the stems using a greenish brown color and add any small details you like.
Step 13
Let your painting dry completely before moving it.
Step 14
Share your finished creation on DIY.org
Help!?
What can I use if I don't have watercolor paper or watercolor paints?
Use heavy-weight printer or mixed-media paper instead of watercolor paper and swap watercolor paints for diluted acrylics or washable tempera, but use less water so the paper doesn't buckle and follow the same steps (base wash, mix darker orange, blend shadows).
My darker orange is making the base wash look muddy—what should I do?
Let the thin light orange base wash dry completely before painting the darker orange along the sides and between the ridges, and use a clean damp brush to gently blend so the colors stay distinct instead of muddying.
How can I adapt this activity for a 3-year-old or a 10-year-old?
For a 3‑year‑old, pre-sketch large pumpkins and let them apply a single light orange base wash and paint stems with washable paint while an adult helps with water and cleanup, and for a 10‑year‑old encourage them to mix that slightly darker orange, paint shadows between the ridges, and lift highlights with a paper towel for more realistic results.
How can we personalize or extend the painting after it dries?
Once dry, personalize by adding texture with salt sprinkled on the wet base wash before it dries, painting veins and stem details with a fine brush, or applying gold or white gouache highlights where you dabbed with a paper towel and then share the finished creation on DIY.org.
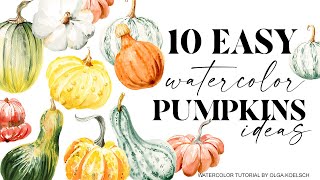
Watch videos on how to paint watercolour pumpkins
How to Paint a Watercolor Pumpkin Easy Steps
4 Videos
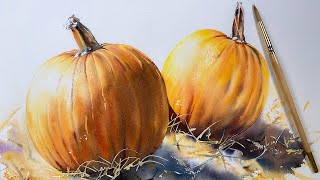
How to Paint a Watercolor Pumpkin Easy Steps

Easy Watercolor Pumpkins for Beginners!
Paint TEN watercolor pumpkins! Easy autumn painting idea for beginners
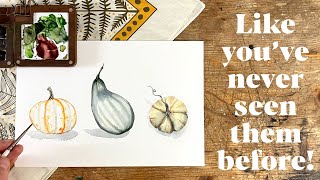
Painting Heirloom Pumpkins Like a Pro! Easy Watercolor Tutorial for Beginners
Facts about watercolour painting for kids
🎨 Watercolor paint mixes pigment with a water-soluble binder (like gum arabic) — a little extra water can totally change the look!
🎃 Pumpkins aren’t just orange — there are white, blue, green, and even pink varieties used for cooking and decoration.
🖌️ Different brush shapes (round, flat, filbert) make different pumpkin marks: thin stems, wide washes, or soft round edges.
🌈 Mixing two watercolor colors can create dozens of new shades — try blue + yellow to get lots of greens for vines and shadows.
💧 The amount of water you use controls value: more water makes lighter washes, less water gives richer, darker shading for pumpkin ribs.
How do I guide my child to paint watercolor pumpkins?
What materials do I need to paint watercolor pumpkins with kids?
What ages are watercolor pumpkin paintings suitable for?
What are the benefits of painting watercolor pumpkins with children?
