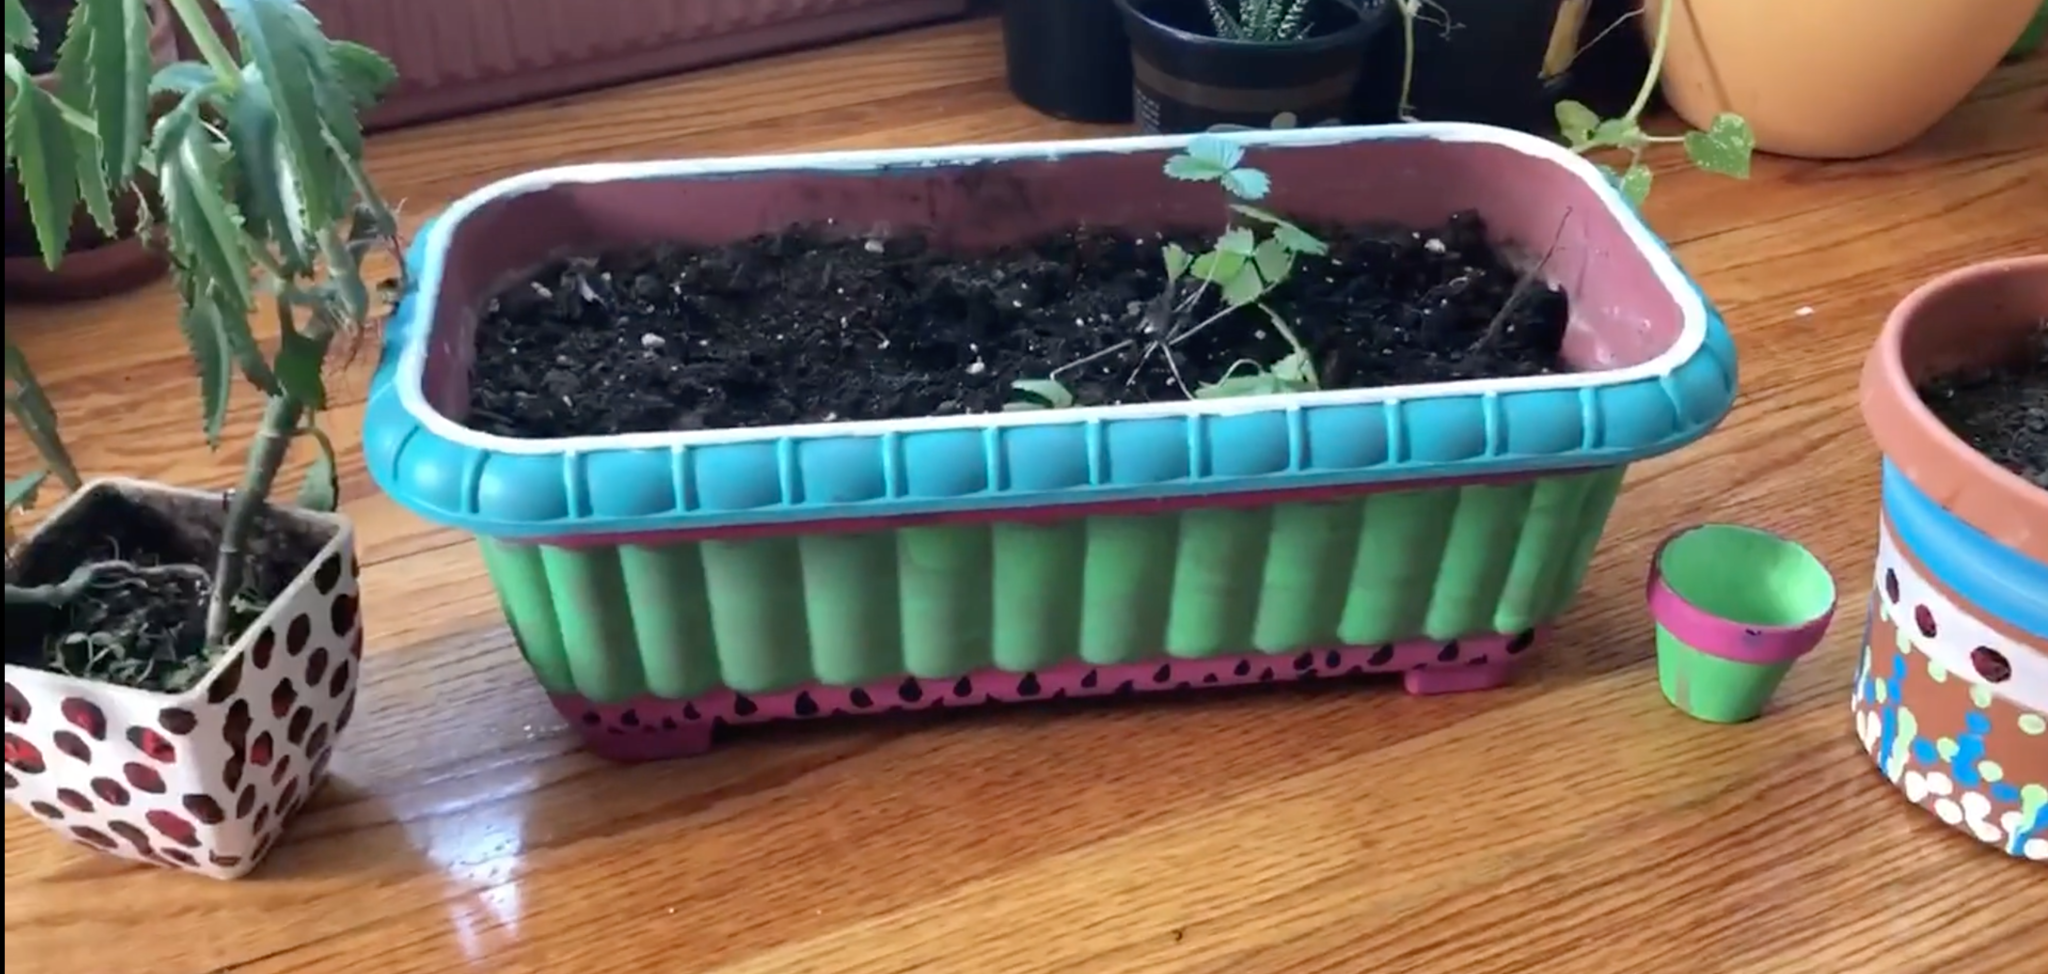
Paint Some Cool Planters
Paint and decorate small plant pots or recycled containers using safe acrylic paints and stencils, then plant seeds or succulents to observe growth.


Step-by-step guide to Paint Some Cool Planters
Colorful Parenting Crafts If Your Kids Are Bored || Clever Kids Training And Satisfying DIYs
Step 1
Lay newspaper or scrap paper flat on your work surface to protect it.
Step 2
Arrange all your materials on the newspaper so everything is easy to reach.
Step 3
Wipe your pot or recycled container clean and make sure it is dry.
Step 4
Choose a fun design or pick a stencil or sticker to use on your pot.
Step 5
Apply painter's tape or place the stencil on the pot to mark where you will paint.
Step 6
Paint a base coat on the pot using a larger brush and cover the taped areas as planned.
Step 7
Let the base coat dry completely before you touch it.
Step 8
Remove the tape or lift the stencil carefully from the pot.
Step 9
Add small details or patterns with a fine brush or stickers to decorate the pot.
Step 10
Let the detail paint dry completely before moving on.
Step 11
Spoon potting soil into the pot until it is mostly full.
Step 12
Plant your seeds or place your small succulent into the soil and press the soil gently around it.
Step 13
Water your new plant lightly so the soil is damp but not soggy.
Step 14
Write the plant name on a popsicle stick or label and stick it into the soil.
Step 15
Share your finished planter on DIY.org
Help!?
I can't find painter's tape or a stencil—what can I use instead?
Use masking tape, washi tape, or cut a stencil from cardstock and follow the 'Apply painter's tape or place the stencil on the pot' step to mark painting areas.
My paint keeps smudging or bleeding under the tape—how do I fix it?
Press the tape edges firmly, apply thin layers for the base coat, and wait for the 'Let the base coat dry completely' step before removing the tape or lifting the stencil to avoid bleeding.
How can I adapt this activity for different ages?
For toddlers, simplify by using stickers and a large brush with adult help for the 'Paint a base coat' and planting steps, while older kids can add fine-brush details, complex stencils, or drill a drainage hole before adding potting soil.
How can we personalize or extend the planter project?
After the 'Let the detail paint dry completely' step, seal the pot with clear varnish, glue on embellishments or paint a custom label instead of the popsicle stick, and make a matching set to display together.
Watch videos on how to Paint Some Cool Planters
Colorful Parenting Crafts And Cool Kids Training Techniques That Will Save Your Time
4 Videos
Colorful Parenting Crafts And Cool Kids Training Techniques That Will Save Your Time
45 COLORFUL DIY IDEAS FOR YOUR KIDS
Learn About Mixing Colors for Kids
Learn Colors with The Kiboomers - If it's Yellow and You Know It Color Song for Preschoolers
Facts about gardening for kids
🎨 Acrylic paint dries fast — thin coats can dry in 15–30 minutes, so kids can add layers the same day.
♻️ Turning jars, cans, or yogurt pots into planters is upcycling, which gives trash a fun new life.
🌱 Some seeds, like radishes, can sprout in just 3–7 days, perfect for quick observation projects.
🌵 Succulents store water in their leaves and stems, so they can go weeks between waterings.
✂️ Reusable stencils make crisp designs fast and can be used again to create matching planter sets.
How do I paint cool planters with my child?
What materials are needed to paint and plant in small planters?
What ages is painting planters suitable for?
What are the benefits of painting planters with kids?
