Paint Planets!
Paint model planets using foam balls, paper, or rocks; mix colors to match planetary features and learn about sizes, surfaces, and space science.


Step-by-step guide to paint planets
Solar System Crafts For Kids | DIY Painting Wooden Planets | Space, The Sun and Planet Facts
Step 1
Cover your work surface with newspaper and place all materials within easy reach.
Step 2
Choose which planets you want to make and pick a foam ball rock or paper circle for each one.
Step 3
Make a painting holder by poking a toothpick into each foam ball or by propping each rock on a folded paper towel.
Step 4
Squeeze small amounts of paint onto your paper plate and mix colors until you get the base shade for the first planet.
Step 5
Paint a smooth base coat on the first planet using a larger brush while holding it by the toothpick or steadying the rock on the towel.
Step 6
Set the painted planet aside to dry on a tray or cup for about 10 to 20 minutes.
Step 7
Use a small brush to add surface details like bands storms craters or clouds onto the dried base coat.
Step 8
Make rings for Saturn by cutting a ring from colored paper and painting it if you want rings.
Step 9
Add texture by dabbing a sponge or gently flicking paint with an old toothbrush to create craters and tiny stars.
Step 10
Paint any moons using small rocks or tiny paper circles and give them a base coat and details.
Step 11
Let all painted pieces and paper rings dry completely for at least 20 minutes.
Step 12
Arrange your planets by size on the table and write each planet name on a small paper flag to label them.
Step 13
Share your finished planet models on DIY.org
Help!?
What can I use instead of foam balls or toothpicks if I can't find them?
If you don't have foam balls, use crumpled aluminum foil or tightly balled paper as the planet and push a pencil, skewer, or taped straw into it following the 'Make a painting holder' step instead of a toothpick so you can hold and paint hands-free.
My paint keeps smudging when I add details—what should I do?
Follow the 'Set the painted planet aside to dry on a tray or cup for about 10 to 20 minutes' step but allow extra drying time, apply thinner base coats with the larger brush, and use the small brush only after the base is fully dry to prevent smearing.
How can I change the activity for different ages of kids?
For toddlers use paper circles, washable paint, and parental help with poking toothpicks or propping rocks, for preschoolers use rocks/folded paper towels and simple sponge dabbing, and for older kids encourage color mixing on the paper plate, toothbrush flicking for texture, and detailed small-brush work.
How can we extend or personalize our painted planets?
Try adding glow-in-the-dark or metallic paint, cut and paint colored paper rings for Saturn as described in the 'Make rings for Saturn' step, mount planets on string to create a hanging mobile, and label each with the small paper flags from the final arranging step for display.
Watch videos on how to paint planets
How to Draw Planets and Solar System | Drawing & Coloring For Kids | Chiki Art
4 Videos
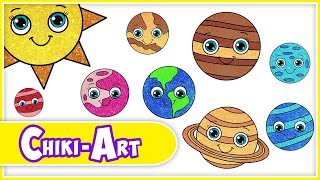
How to Draw Planets and Solar System | Drawing & Coloring For Kids | Chiki Art
Adel is Painting Solar System & Planets | Best Learning Video for Toddlers!
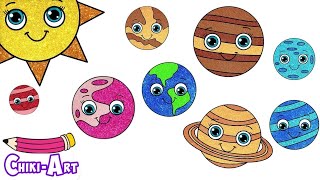
🌞 Solar System Drawing For Kids 🌍| How To Draw Planets 🪐| Chiki Art
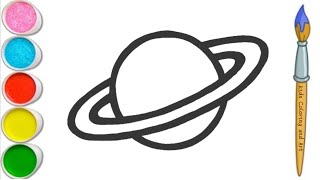
Saturn Planet Drawing, Painting, Coloring for Kids & Toddlers | How to Draw Saturn Planet Paint Easy
Facts about planetary science
🪐 Jupiter could fit over 1,300 Earths inside it by volume — it's the giant of our Solar System!
🌍 Earth is the only known planet with stable liquid water on its surface, which helps life thrive.
🔴 Mars looks red because its soil is rich in iron oxide — basically space rust!
💍 Saturn's rings are mostly made of ice and rock chunks that sparkle in sunlight.
🎨 When you mix paint, combining complementary pigments (like red + green) often makes brown or gray — a handy trick for realistic planet colors.
How do I paint planets with kids?
What materials do I need to paint model planets?
What ages is painting planets suitable for?
What are the benefits and safety tips for the Paint Planets activity?


