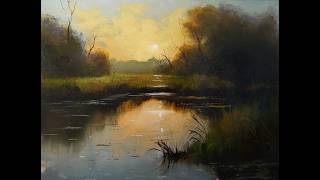
Paint a landscape
Paint a simple landscape using watercolor or tempera paints, brushes, and paper; observe sky, land, and trees while learning color mixing and perspective.


Step-by-step guide to paint a landscape
How to Draw Simple Landscape Picture | Glitter Painting for Kids | HooplaKidz How To
Step 1
Tape your paper flat to the table with masking tape so the edges stay neat.
Step 2
Put your paints brushes cup of water palette and paper towel within easy reach.
Step 3
Lightly draw a horizon line and simple tree shapes with your pencil.
Step 4
Mix a light sky color on your palette by adding lots of water to blue paint.
Step 5
Paint the sky from the top down to the horizon using smooth horizontal strokes.
Step 6
Mix two greens on the palette by combining blue and yellow with different water amounts.
Step 7
Paint the distant land with the lighter green using small smooth strokes.
Step 8
Paint the nearer land with the darker green using bigger strokes to show it is closer.
Step 9
Mix a darker color for trees by adding a little brown or extra blue to green.
Step 10
Paint tree trunks with a small brush using a brown color.
Step 11
Dab foliage for the tree tops with a round brush to make leaf shapes.
Step 12
Add small details like highlights shadows or tiny flowers with lighter or darker paint.
Step 13
Let your painting dry flat for at least 15 minutes.
Step 14
Carefully peel off the masking tape to reveal clean edges.
Step 15
Share your finished landscape on DIY.org
Help!?
What can we use instead of masking tape or a palette if we don't have them?
Use painter's tape or low-tack blue tape to keep the paper edges neat and a disposable paper plate or plastic lid as a palette while using any clear jar for the cup of water.
My sky looks blotchy or the paint pooled near the horizon—what should I do?
Mix the light sky color with less water, paint from the top down using smooth horizontal strokes, and gently lift excess paint with the paper towel before it dries.
How can I adapt this landscape painting for younger or older kids?
For younger children pre-draw the horizon line and simple tree shapes and give washable tempera and large brushes, while older kids can focus on mixing the two greens, creating darker tree mixes, and adding highlights and shadows.
How can we enhance or personalize the finished landscape?
Add a foreground path or tiny flowers with a small brush, dab extra foliage texture with a sponge or round brush, let the painting dry flat for at least 15 minutes, peel off the masking tape for clean edges, and share on DIY.org.
Watch videos on how to paint a landscape
How to Paint a Beach Landscape Kids Watercolor Art Tutorial
4 Videos
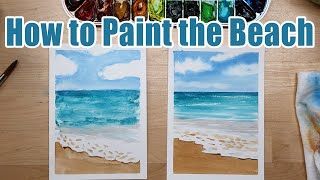
How to Paint a Beach Landscape Kids Watercolor Art Tutorial
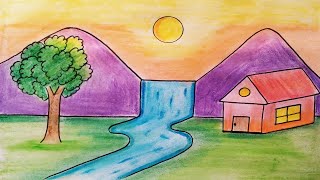
Easy landscape drawing for kids and beginners|Learn house and nature simple painting
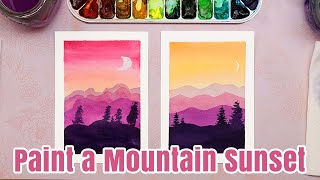
How to Paint a Mountain Sunset in Watercolors Kids Art Tutorial
How to paint a Landscape for beginners. (Step by step painting lesson.)
Facts about watercolor and tempera painting for kids
🎨 Watercolor often dries lighter than it looks when wet — painters always test a swatch first!
🌈 You can mix lots of new colors from just three primaries — try blue + yellow = green!
🌳 Distant trees look paler and bluer because the air makes faraway things fade (atmospheric perspective).
🖌️ Round brushes are awesome for tree trunks and leaves, while flat brushes make smooth sky washes.
🏞️ During the Renaissance artists invented rules of linear perspective to make landscapes look deep and real.
How do I teach my child to paint a simple landscape step by step?
What materials do I need to paint a child-friendly landscape with watercolors or tempera?
What ages is painting simple landscapes suitable for?
What are the benefits of having kids paint landscapes?
