Paint A Fluttery Butterfly
Paint a colorful butterfly using watercolors or acrylics, learning about symmetry, wing patterns, and mixing colors while creating your fluttery artwork.

Step-by-step guide to Paint A Fluttery Butterfly
Butterfly Painting for Beginners | Easy & Beautiful Step-by-Step Tutorial
Step 1
Set up your workspace by laying out your paper paints brushes palette water cup and paper towel.
Step 2
Fold the paper in half lengthwise and press the fold firmly to make a clear center crease.
Step 3
Open the paper flat so the crease line shows down the middle.
Step 4
Use your pencil to draw one half of a butterfly wing and the butterfly body along the crease on one side of the paper.
Step 5
Squeeze small amounts of 2 to 4 paint colors onto your palette.
Step 6
Paint bright shapes and patterns on only the wing half you drew near the crease using your brushes.
Step 7
Fold the paper carefully along the center crease and press gently with flat hands to transfer the wet paint to the other side.
Step 8
Open the paper slowly to reveal the mirrored butterfly wings.
Step 9
Let your painting dry completely before adding any ink or extra paint details.
Step 10
Use a black marker or a small brush with dark paint to trace outlines on the wings for crisp patterns.
Step 11
Draw the butterfly body and antennae with the marker or a thin brush.
Step 12
Sign your name in a corner of the painting to show you made it.
Step 13
Share your finished fluttery butterfly on DIY.org
Help!?
What can I use if I don't have a paint palette or water-based paints?
Use a clean paper plate or disposable plastic lid as the 'palette' and squeeze washable tempera, poster paint, or diluted food coloring onto it for the step 'Squeeze small amounts of 2 to 4 paint colors onto your palette', and use a yogurt cup or jam jar as your 'water cup'.
My colors didn't mirror well when I folded the paper—what might fix that?
If the colors don't transfer evenly after you 'Fold the paper carefully along the center crease and press gently with flat hands to transfer the wet paint', try applying a little more wet paint to the first wing half and fold immediately while pressing flatly or use a clean brayer to get a firmer transfer.
How can I adapt this butterfly activity for different ages?
For toddlers skip 'Use your pencil to draw one half of a butterfly wing' and let them brush big blobs of color on one side, while older kids can carefully sketch detailed wing shapes along the crease and later 'Use a black marker or a small brush with dark paint to trace outlines' for fine patterns.
What are some ways to enhance or personalize the finished butterfly?
After you 'Let your painting dry completely before adding any ink or extra paint details', personalize it by using a black marker to add veins and crisp patterns, gluing on sequins or tissue-paper accents to the wings, and then 'Sign your name in a corner of the painting' before sharing on DIY.org.
Watch videos on how to Paint A Fluttery Butterfly
How to Draw A Butterfly 🦋 Step by Step | easy drawing and painting tutorial for kids | gdb kids art
4 Videos

How to Draw A Butterfly 🦋 Step by Step | easy drawing and painting tutorial for kids | gdb kids art

How to draw and paint a butterfly 🦋 easy & fun 🦋| Beginner Acrylic Painting Tutorial
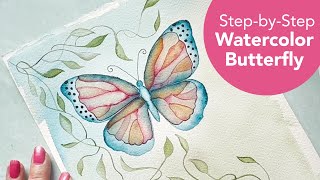
How To Paint A Watercolor Butterfly Painting Tutorial For Beginners
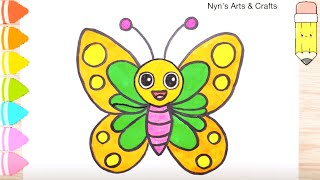
🐝 Easy Butterfly Drawing & Coloring for Kids | Step by Step Art Tutorial 🦋
Facts about painting and color mixing for kids
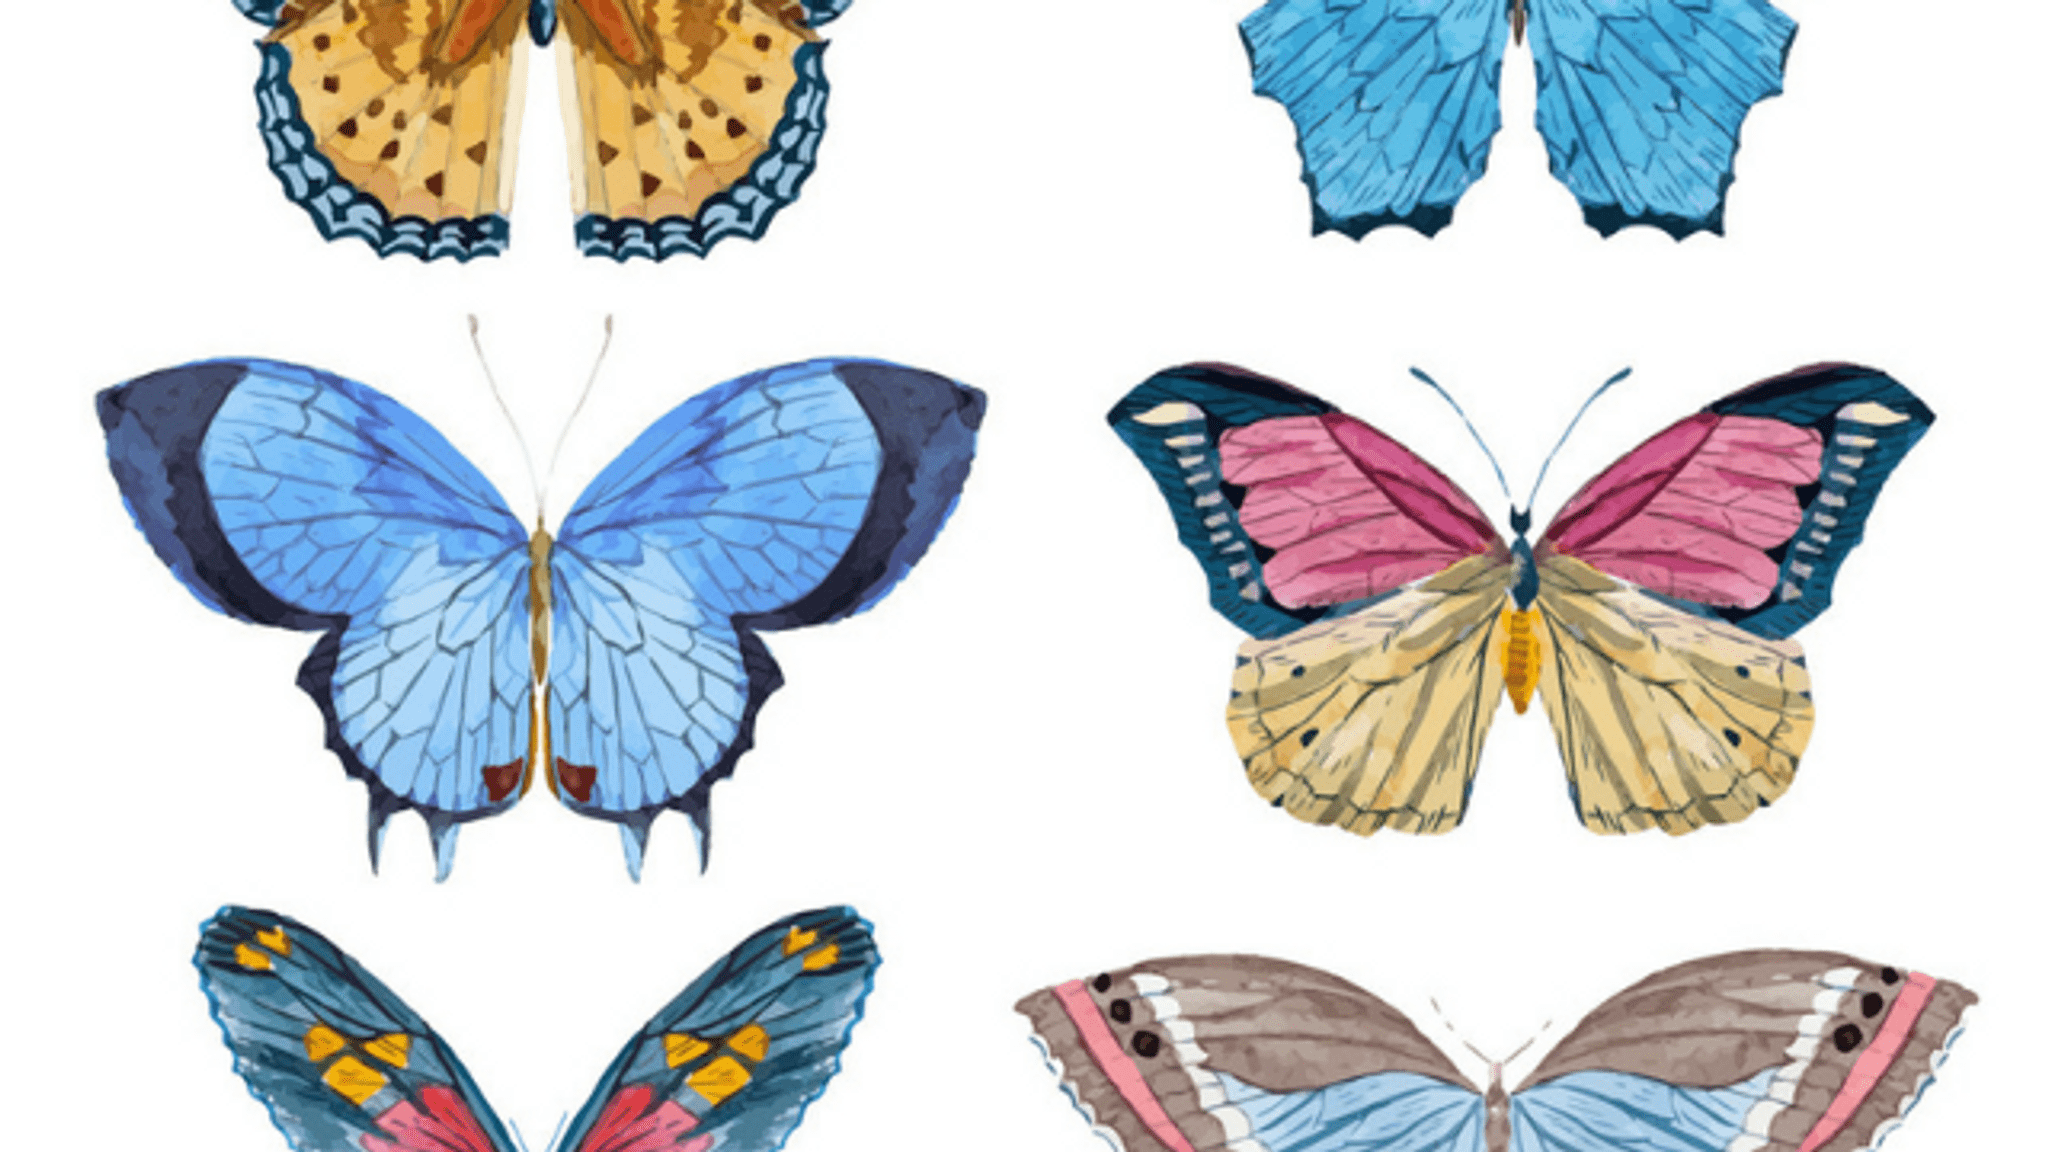
🦋 Butterflies belong to the order Lepidoptera and there are over 17,500 known species with dazzling wing scale patterns.
🎨 Watercolors are transparent and can be reactivated with water, while acrylics dry quickly and become water-resistant—both great for different effects.
🔁 Butterfly wings are bilaterally symmetrical, which is why folding paper and painting one side can create perfect mirrored wings.
🌈 Mixing complementary colors (like red + green) often yields muted browns—handy for painting shadows or wing veins.
👣 Some butterflies 'taste' with sensors on their feet, a quirky fact that can inspire creative landing-spot patterns on your artwork!
How do I paint a fluttery butterfly?
What materials do I need to paint a fluttery butterfly?
What ages is painting a fluttery butterfly suitable for?
What are the benefits of painting a fluttery butterfly?
