Origami Bull's Head!
Fold a square paper to make an origami bull's head, shaping horns, ears, and face while practicing precise folds, patience, and creativity.


Step-by-step guide to Origami Bull's Head
Step 1
Place the square paper color-side down on a flat surface.
Step 2
Fold the paper diagonally corner-to-corner to make a triangle and press the fold to crease.
Step 3
Turn the triangle so the long straight edge is at the top and the pointed tip faces you.
Step 4
Lift the top layer's left corner and fold it up so its tip touches the top corner to form the left horn.
Step 5
Lift the top layer's right corner and fold it up so its tip touches the top corner to form the right horn.
Step 6
Fold a small triangle at the tip of each horn backward toward the back to make horn tips.
Step 7
Fold the bottom point up about one third of the way toward the horns to make the snout.
Step 8
Fold small slivers of paper at each side of the snout inward to shape the cheeks.
Step 9
Flip the whole model over so the bull's face is facing up.
Step 10
Draw eyes nostrils and any other face details with colouring materials.
Step 11
Share your finished origami bull's head on DIY.org.
Help!?
What can we use if we don't have square origami paper or colouring materials?
If you don't have origami paper, make a square by folding a corner of regular printer paper to the opposite edge and trimming the excess, and use crayons, markers, or colored pencils as the colouring materials to add eyes and nostrils after you flip the bull face up.
My horns don't look the same—how can I fix the horn folds so the tips meet the top corner evenly?
Unfold the top layer horns and refold each left and right corner carefully so the corner tips touch the top corner before creasing firmly with your fingernail to make the left and right horns match.
How can I adapt this origami bull's head for younger or older kids?
For younger kids, use a larger colored square and pre-crease the diagonal and horn folds for them, while older kids can try smaller paper and precise horn-tip backward folds and cheek slivers for a more detailed snout.
What are some ways to make the finished bull's head more creative or to extend the activity?
Personalize the flipped-up bull face by drawing eyes and nostrils, gluing on googly eyes or a paperclip nose ring, mounting the head on a card, or making a whole herd to photograph and share on DIY.org.
Watch videos on how to fold an Origami Bull's Head
Origami Bull Face
4 Videos
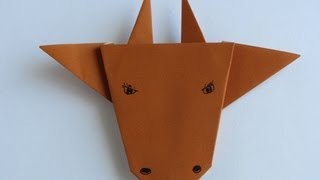
Origami Bull Face
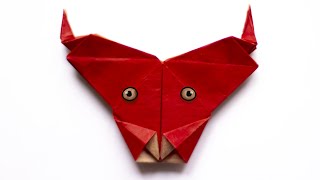
Origami Bull Head. Simple origami Diagram
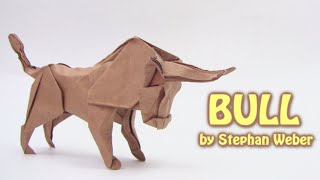
Origami BULL by Stephan Weber (part 1 of 2) - Origami easy tutorial

Origami BULL by Stephan Weber (part 2 of 2) - Origami easy tutorial
Facts about origami and paper folding
🧩 Origami comes from the Japanese words ori (folding) and kami (paper) — it turns a flat square into a sculpture!
🎌 Akira Yoshizawa is widely regarded as the grandmaster of modern origami and helped popularize the diagramming system folders still use today.
📄 Traditional origami uses one uncut square sheet with no glue or scissors — a tiny square can become hundreds of different models.
🐂 Bulls are male cattle and some breeds can weigh over 1,000 kg (2,200 lbs), so your paper bull’s horns tell a big-animal story!
🧠 Folding origami boosts fine motor skills, patience, and spatial reasoning — perfect practice for young makers.
How do you fold an origami bull's head?
What materials do I need for an origami bull's head?
What ages is origami bull's head suitable for?
What are the benefits and safe variations for making an origami bull's head?
