Observe and draw a person
Observe a person’s posture and proportions, make quick sketches noting shapes and details, then create a finished drawing showing their features and stance.

Drawing Apps
Step-by-step guide to observe and draw a person
Step 1
Ask your willing friend or family member to stand or sit in a simple natural pose and stay still for a few minutes.
Step 2
Arrange your paper and pencil where you can easily see the whole person.
Step 3
Look at the person for ten seconds and notice the main line of action from head through spine to feet.
Step 4
Do three quick gesture sketches of the whole person using light lines and no more than sixty seconds for each sketch.
Step 5
Hold your pencil at arm's length to measure the person's height and compare how many "head lengths" fit into the body.
Step 6
Lightly mark key proportion points on your paper for the head chest waist hips and knees using the measurements you took.
Step 7
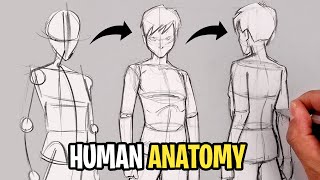
Draw simple shapes to block in the head torso pelvis and limbs connecting the proportion marks.
Step 8
Refine the simple shapes into the person's silhouette by drawing joints curves and the general thickness of each limb.
Step 9
Add facial features hair hands and clothing details using short careful strokes.
Step 10
Erase extra construction lines gently to clean up your drawing.
Step 11
Darken the final outlines to make your finished pose clear.
Step 12
Add simple shading or color if you like to show light and fabric.
Step 13
Share your finished drawing on DIY.org
Help!?
What can we use if we don't have a live model or a regular pencil?
Use a full-body photo or your reflection as the subject and substitute any straight object (ruler, chopstick, or marker) for holding at arm's length to measure head lengths on your paper.
My drawing's proportions look wrong or my model moved—what should I do?
If the person moved or proportions feel off, re-measure by holding your pencil or substitute object at arm's length to count head lengths, lightly re-mark the key proportion points for head/chest/waist/hips/knees, and redraw the simple shapes before refining.
How can we adapt this activity for different age groups?
For younger children, do one quick 60-second gesture sketch using big simple shapes for head, torso, pelvis, and limbs, while older kids can complete the three quick gesture sketches, add facial details and clothing, and try shading or color.
How can we extend or personalize the finished drawing?
Experiment with different lighting to add simple shading, change the model's clothing or pose, use color or textured paper when you add shading, and share your finished drawing on DIY.org for feedback.
Watch videos on how to observe and draw a person
Learn how to draw portraits - How to draw a face step-by-step - Easy tutorial for kids
4 Videos
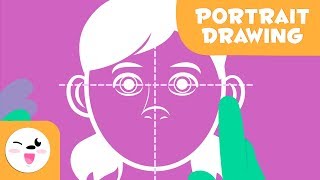
Learn how to draw portraits - How to draw a face step-by-step - Easy tutorial for kids
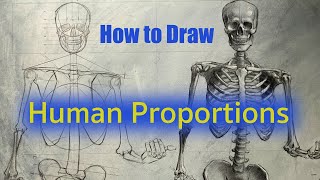
How to Draw People Using Proportions- Step by Step Drawing Instruction | Homeschool Art Curriculum
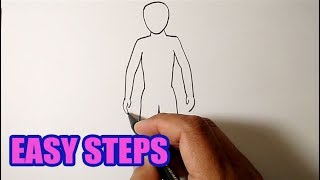
How to draw a person | EASY TO FOLLOW
How To Draw HUMAN BODY | The Basics | Sketch Tutorial
Facts about observational drawing
✏️ Artists often do quick gesture sketches of 30–60 seconds to capture a person's movement and overall posture before adding details.
🧍 The human body has over 600 muscles — understanding major muscle groups helps artists show how a pose looks and feels.
📏 Traditional figure-proportion rules measure the body in 'heads' — an average adult figure is about 7.5–8 heads tall.
🖼️ Leonardo da Vinci's Vitruvian Man is one of the most famous studies about human proportion and symmetry.
👀 Psychologists can recognize human actions from very few visual cues — even a few moving dots can reveal a pose (point-light displays).
How do I teach my child to observe and draw a person step by step?
What materials do I need to observe and draw a person with my child?
What ages is observing and drawing a person suitable for?
What are the benefits of having my child observe and draw people?
