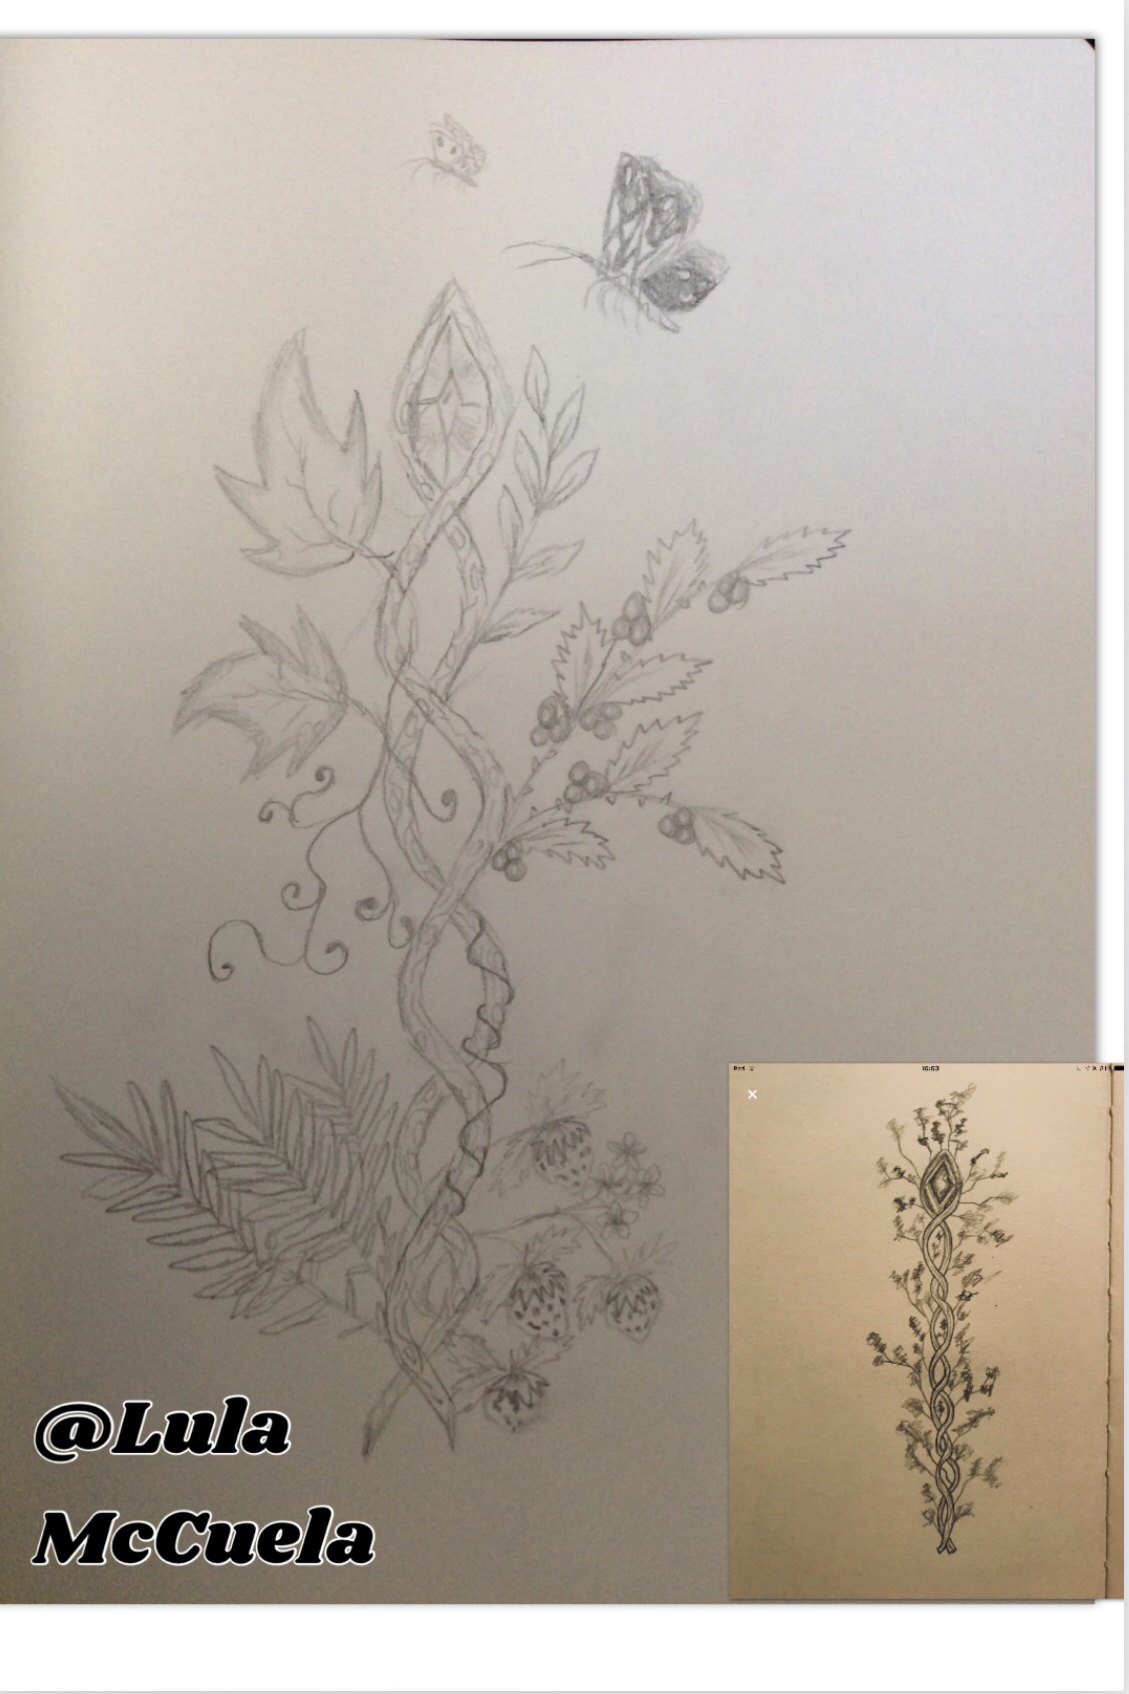
Modify another DIYer's drawing
Take another DIYer's drawing, redraw and modify shapes, add colors or patterns, and explain your creative choices in a short written note.


Step-by-step guide to modify another DIYer's drawing
Step 1
Gather all your materials and put them on a clean flat surface.
Step 2
Choose the other DIYer's drawing you want to modify and place it where you can see it clearly.
Step 3
Look at the original drawing for one minute and pick three shapes or areas you want to change.
Step 4
Lightly sketch the main outline of the original drawing on your paper with your pencil.
Step 5
Redraw each of the three chosen shapes with new shapes or sizes to change the picture.
Step 6
Add new details and patterns like stripes dots or swirls inside the shapes.
Step 7
Pick your colors and color the modified drawing using your coloring materials.
Step 8
Erase any extra pencil lines and tidy up smudges to make your picture neat.
Step 9
Write a short 2 to 4 sentence note with your pen explaining why you changed the shapes and why you chose your colors and patterns.
Step 10
Attach your note to the back of the drawing or place it beside the artwork.
Step 11
Share your finished creation and your short note on DIY.org.
Help!?
If I don't have the other DIYer's drawing or certain coloring materials, what can I use instead?
If you don't have the other DIYer's drawing, use a printed photo or a picture from a magazine and substitute missing coloring materials with crayons, markers, colored pencils, or a drawing app on a tablet while still following the steps to sketch (step 4), redraw three shapes (step 5), color (step 6) and write your 2–4 sentence note (step 9).
My erasing smudged the paper and the drawing looks messy—how can I fix this during the tidy-up step?
To avoid smudges when you erase extra pencil lines (step 8), sketch lightly with your pencil from the start, use a clean soft eraser, place a scrap sheet under your hand while coloring, and gently brush away eraser crumbs before attaching your note.
How can I change the activity for different ages—what should younger or older kids do differently?
For younger kids, pick only one or two shapes to change (step 3), use chunky crayons and simple patterns in step 6, and help write the short note (step 9), while older kids can alter all three shapes with new proportions, add intricate patterns or shading in step 6, and write a reflective 2–4 sentence note (step 9).
How can we make the finished modified drawing more special before sharing it on DIY.org?
Personalize the modified drawing by adding textures like glued-on yarn or stickers to your changed shapes (steps 5–6), write your 2–4 sentence note on colored paper and attach it to the back (step 9–10), then take a clear before-and-after photo to share on DIY.org (step 11).
Watch videos on how to modify another DIYer's drawing
How To Draw A Cityscape
4 Videos
How To Draw A Cityscape
Cute cartoon drawings, you can learn with your fingers~#diy #craft#Parent-childcraft
Don't Throw Away Egg Cartons! You Can Make a Cute Little Daisy Painting with Them!
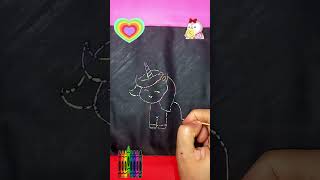
How to Make Magic Unicorn Scratch Art 🦄🌈 | Easy & Fun Rainbow Drawing for Kids #art
Facts about drawing and illustration for kids
🎧 Remix culture lets people mix songs, drawings, or stories to create brand-new works like fan art and mashups!
🧩 Collage was popularized by Picasso and Braque around 1912, turning scraps and pictures into exciting new images.
📜 Creative Commons (founded in 2001) gives artists simple licenses to say how others can reuse or remix their creations.
⚖️ Fair use is a U.S. rule that sometimes allows copying for teaching, commentary, or parody — courts judge it using four factors.
🎨 Andy Warhol and other appropriation artists reused everyday images (like soup cans) to make famous new artworks.
How do I do the activity where a child modifies another DIYer's drawing?
What materials do I need to modify another DIYer's drawing?
What ages is this activity suitable for?
What are the benefits and safety tips for modifying another DIYer's drawing?
