Model an object in cad
Design and model a simple 3D object, such as a keychain or toy car, using beginner-friendly CAD software like Tinkercad.


Step-by-step guide to design and model a simple 3D object in CAD
Learn to Create 3D Models in FreeCAD in 15 Minutes - Starting from Scratch!
Step 1
Open Tinkercad and sign in or create a free account with adult help if you need it.
Step 2
Click Create New Design to open a fresh workplane where you will build your model.
Step 3
Drag a basic shape like a box or cylinder from the shape menu onto the workplane to start your object.
Step 4
Use the corner handles to resize the shape to the size you want by dragging or typing new dimensions.
Step 5
Add a second shape (for example a cylinder for a hole or circle for a wheel) and drag it near your first shape.
Step 6
Convert a shape to a hole when you want to cut a space (like a keyring hole) and place it where the hole should be.
Step 7
Use the Align tool to center or line up two or more shapes so they fit together neatly.
Step 8
Group the selected shapes to make them one solid object that is ready to be moved or exported.
Step 9
Duplicate or mirror parts if you need repeats like multiple wheels and position each copy where it belongs.
Step 10
Rotate the view and inspect your model from different angles and make small size or position tweaks as needed.
Step 11
Click Export and choose STL if you want to save your model for 3D printing or to share.
Step 12
Take a picture or screenshot and share your finished creation on DIY.org.
Help!?
What can we use instead of Tinkercad if we can't get online or don't have an account?
If you can't open Tinkercad to 'Click Create New Design' you can sketch your object on graph paper to plan sizes and later recreate it in a free offline CAD like FreeCAD or use another free web tool like Onshape when you have access.
The hole I made doesn't cut out when I group shapes—what should I check?
Make sure you converted the second shape to a 'hole' (the step about converting a shape to a hole), selected both the solid and the hole, and then clicked Group so the hole subtracts from the solid.
How can I adapt the steps for younger children or make it more challenging for older kids?
For younger kids, stick to dragging a single box or cylinder, resizing with corner handles, and taking a screenshot, while older kids should use Align, Duplicate/Mirror, rotate the view for inspection, and Export to STL for 3D printing.
How can we personalize or extend the finished model before sharing it on DIY.org?
Enhance the model by adding text or small decorative shapes, using Align and Group to attach them neatly, duplicating repeated features like wheels, and then Export to STL or take a polished screenshot to share on DIY.org.
Watch videos on how to design and model a simple 3D object in CAD
5 Free CAD Tools to Design Any Project
4 Videos

5 Free CAD Tools to Design Any Project
Make Your Subject Easier to Model | Basic Beginners FreeCAD v1 / 0.22 Lesson 13
Learn FreeCAD for 3D Printing - Complete Quick and Easy Guide (Beginner)
How To Start Modelling Subjects In FreeCAD | Basic Beginners FreeCAD v1 Course | Lesson 6
Facts about beginner CAD and 3D design for kids
🖥️ Tinkercad runs right in your web browser and is free—perfect for beginners to jump into 3D design quickly!
🧭 CAD lets you rotate, measure, and test parts on-screen so things fit together before you print them.
🖨️ Small designs like keychains or toy cars can often be 3D-printed at home in about 10–60 minutes depending on size and settings.
🔁 You can design simple moving parts (like wheels that spin) in CAD by leaving tiny gaps for clearance.
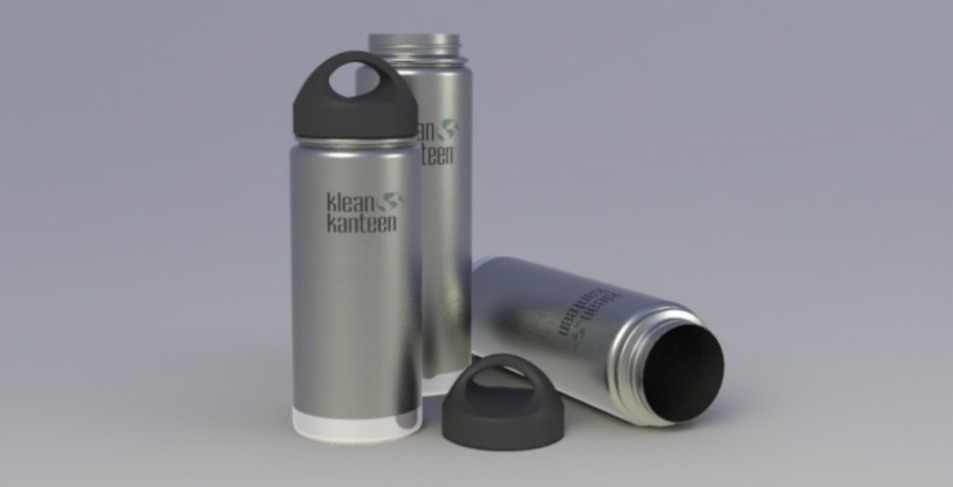
🔑 A custom keychain is a classic first CAD project—it's small, fast, and great for personalizing gifts.
How do I design and model a simple 3D object in beginner-friendly CAD like Tinkercad?
What materials and tools do I need to make a basic CAD keychain or toy car?
What ages is designing simple 3D objects in Tinkercad suitable for?
What are the benefits of teaching kids to design and model 3D objects in CAD?
