Map your favorite fictional world
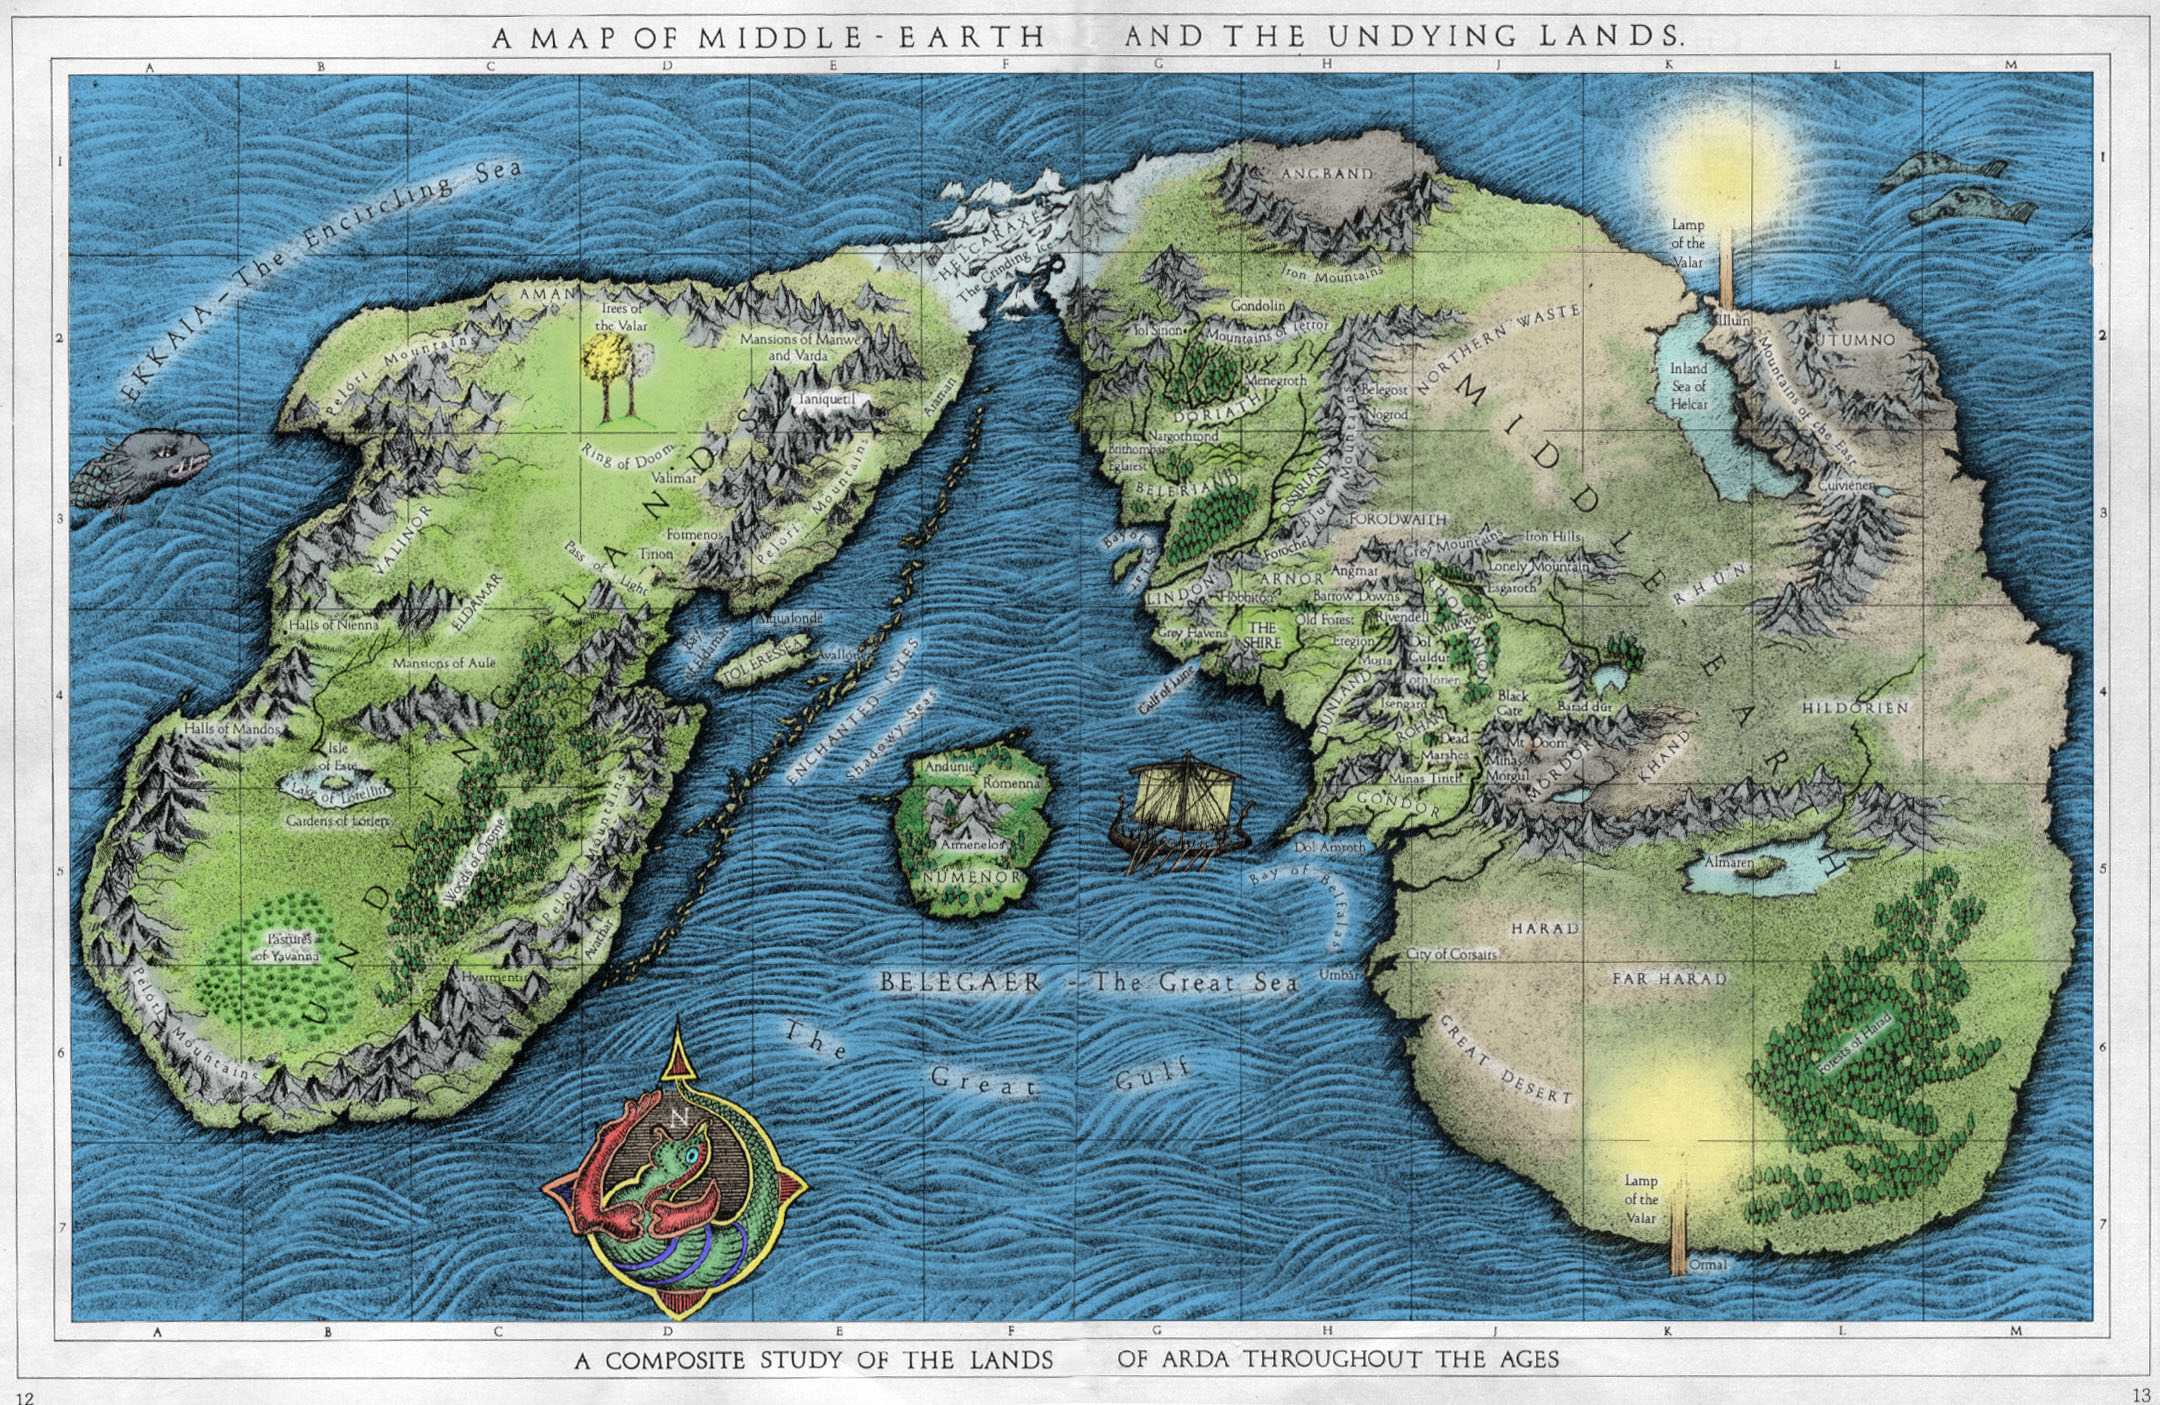
Draw and label a map of your favorite fictional world using paper, pencils, and simple symbols to explore geography and storytelling.
About this activity
Draw and label a map of your favorite fictional world using paper, pencils, and simple symbols to explore geography and storytelling.
What you need
Step by step
- 1
Step 1
Choose your favorite fictional world to map.
- 2
Step 2
Gather the Materials Needed and put them on a clear workspace.
- 3
Step 3
Write the name of your fictional world as the title at the top of the page.
- 4
Step 4
Draw a neat border around the edge of your paper to show the map area.
- 5
Step 5
Draw a compass rose in one corner to show which way is north.
- 6
Step 6
List 4 to 6 important places from the world that you want to include.
- 7
Step 7
Draw the big landmasses and bodies of water to show where things sit.
- 8
Step 8
Add simple symbols for mountains forests rivers and lakes where they belong.
- 9
Step 9
Draw towns cities and roads or paths and place them near the features they connect to.
- 10
Step 10
Create a legend that shows each symbol and what it means.
- 11
Step 11
Colour and decorate your map to make it look magical and easy to read.
- 12
Step 12
Share your finished creation on DIY.org
Fun facts
How do I guide my child to draw and label a map of their favorite fictional world?
Start by asking your child to describe the world’s major features: mountains, rivers, cities, and magic sites. Have them sketch a simple outline for continents or islands, then add landmarks and paths. Use a pencil to rough in shapes, then label places with names and small symbols. Add a compass rose, scale (big/medium/small), and a short legend. Encourage storytelling by asking how people travel, where conflicts happen, and what makes each place special.
What materials do we need to draw and label a fictional world map?
You only need basic supplies: plain or grid paper, pencils, erasers, colored pencils or markers, and a ruler for straight edges. Optional extras include stickers, watercolor paints, stencils, and scrap paper for planning. A clipboard or hard surface helps younger children. If you want to keep a digital copy, photograph the finished map or scan it. For group work, provide extra paper and different colored pens so each child can add their own details.
What ages is the 'Map your favorite fictional world' activity suitable for?
This activity suits a wide age range: toddlers (3–5) can draw basic shapes and place stickers; early elementary children (6–8) can sketch simple maps and label landmarks; upper elementary and tweens (9–12) can design scales, legends, and detailed place names; teens can create complex cartography with themes and backstory. Adjust complexity, supervision, and materials to match fine motor skills and reading ability for best engagement.
What are the benefits, safety tips, or variations for mapping fictional worlds?
Mapping fictional worlds boosts creativity, spatial reasoning, vocabulary, and storytelling. It supports planning and fine motor skills and can connect to history or science lessons. Safety tips: supervise use of scissors and small stickers for young children, and choose non-toxic art supplies. Variations include group maps where each child adds a region, using recycled materials for texture, or turning the map into a board game or comic to expand narrative play.
Watch & Learn
Need help?
If I don't have markers or colored pencils, what can I use to complete the 'Colour and decorate your map' step?
Use crayons, watercolor paints, torn-magazine collage, stickers, or a free drawing app on a tablet to colour and decorate your map for the 'Colour and decorate' step.
I'm having trouble making my coastlines and rivers look right when I 'Draw the big landmasses and bodies of water'—how can I fix that?
Lightly sketch landmasses and river paths in pencil first, erase and adjust until you like the shapes, then darken final lines so your 'Draw the big landmasses and bodies of water' step stays neat.
How can I adapt the activity for younger kids versus older kids when they 'List 4 to 6 important places' and 'Add simple symbols'?
For younger kids, pick 3–4 favorite places and use large, simple symbols and bright colours, while older kids can list 6+ sites, draw detailed mountains/forests/rivers, add scale and a full 'Create a legend' with smaller symbols.
What are some ways to enhance or personalize the map beyond the basic steps and still be ready to 'Share your finished creation on DIY.org'?
Personalize by adding tiny stories or names to towns, inking a decorative border, including an inset map or coordinates, or gluing small 3D bits like felt trees, then photograph the finished piece to 'Share your finished creation on DIY.org'.