Mandala Art with DIY Mentor @BounceAngle
Create a colorful mandala using paper, pencil, ruler, and markers with DIY Mentor @BounceAngle guiding steps to explore symmetry, patterns, and focus.


Step-by-step guide to create a colorful mandala
Step 1
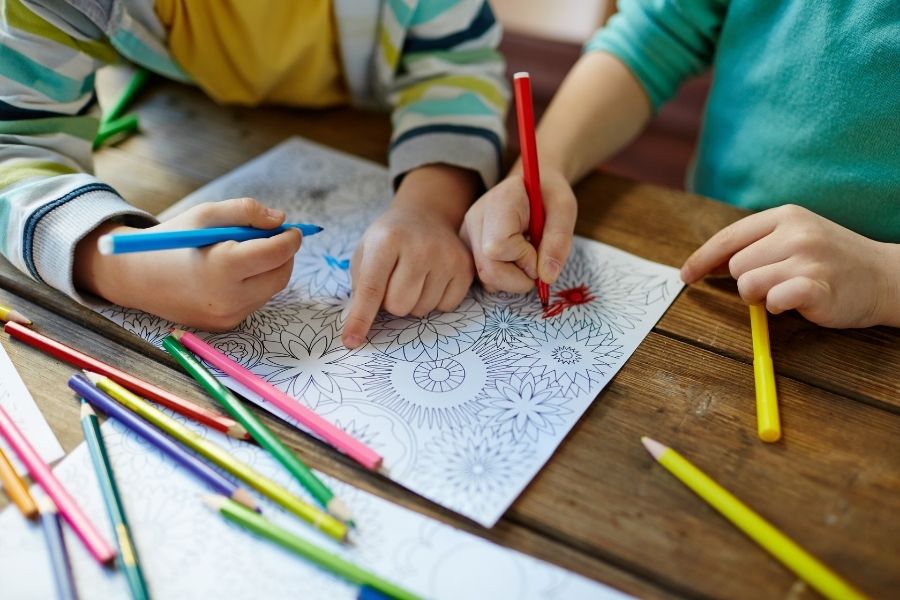
Gather your paper pencil ruler and markers and find a clear workspace.
Step 2
Visit DIY.org and follow DIY Mentor @BounceAngle's mandala tips for ideas.
Step 3
Fold the paper in half from top to bottom and press firmly to make a crease.
Step 4
Fold the paper in half from side to side and press then open the paper to see the center point.
Step 5
Fold the paper diagonally from one corner to the opposite corner and press then open.
Step 6
Fold the paper diagonally the other way press and open so you have a star of creases meeting at the center.
Step 7
Use your ruler and pencil to lightly draw straight lines over the creases to make clear guidelines.
Step 8
Use the ruler to measure equal distances from the center and make small pencil dots on several radiating lines to mark concentric rings.
Step 9
Draw a simple shape (like a petal dot or triangle) in the first wedge between two guideline lines starting at the center and moving outward.
Step 10
Repeat that exact shape in each wedge around the paper to keep the pattern symmetrical.
Step 11
Color the rings and shapes with your markers using a repeating color order to keep the mandala balanced.
Step 12
Outline shapes with a darker marker and add tiny details to make your mandala pop.
Step 13
Share your finished creation on DIY.org to show DIY Mentor @BounceAngle.
Help!?
I don't have markers—what can I use instead?
Use colored pencils, crayons, or watercolor paints to color the rings and shapes, and use a straightedge like a book edge or thin piece of cardboard instead of a ruler so your guideline lines and measured dots stay accurate.
My folds don't meet at the center or my pattern looks off—how can I fix it?
Re-fold each crease by precisely aligning the paper edges and pressing firmly, then redraw the guideline lines with your ruler over the creases and adjust or erase the pencil dots for concentric rings so your wedges match before you draw shapes.
How can I adapt this mandala activity for different ages?
For younger kids, pre-fold the paper and draw bold guideline wedges and large concentric dot rings for them to trace and color simple petal shapes, while older kids can fold more times for extra wedges, measure finer dot spacings with the ruler, and add tiny details with fine markers.
How can we enhance or personalize our mandala after finishing the basic steps?
After coloring and outlining as instructed, personalize your mandala by adding metallic markers or glitter glue, glueing sequins to shapes, cutting it into a circle to frame, or scanning and creating repeated digital patterns before sharing on DIY.org with @BounceAngle.
Watch videos on how to create a colorful mandala
How To Draw The Mandalorian
4 Videos

How To Draw The Mandalorian
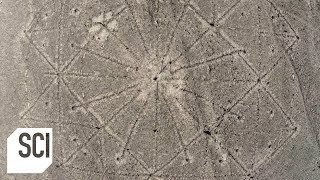
What is the Purpose of this Giant Mandala? | What on Earth?
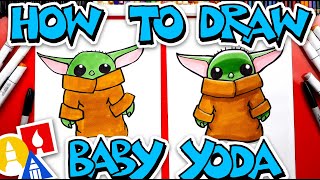
How To Draw Baby Yoda From The Mandalorian
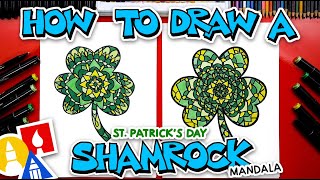
How To Draw A Shamrock Mandala - Advanced
Facts about symmetry and pattern drawing
🕉️ Mandalas have been used for centuries in Hinduism and Buddhism as spiritual diagrams representing the universe.
🎨 Psychologist Carl Jung drew mandalas to explore the unconscious and viewed them as symbols of psychological wholeness.
📐 A mandala is centered on a single point and often uses radial (rotational) symmetry — patterns repeat as you rotate around the center.
🖍️ Simple tools like a ruler, compass, pencil, and fine-tip markers make it easy to create crisp geometric mandala patterns.
🌈 Colors in mandalas can influence mood—cool tones like blue and green tend to calm, while reds and oranges feel energizing.
How do we create a mandala with DIY Mentor @BounceAngle?
What materials do I need for Mandala Art with DIY Mentor @BounceAngle?
What ages is Mandala Art with DIY Mentor @BounceAngle suitable for?
What are the benefits and safe variations of making mandalas with DIY Mentor @BounceAngle?
