Make your own Sumo Salt Shaker
Decorate and assemble a mini sumo salt shaker using a plastic bottle, paper, markers, and glue, practicing creativity, fine motor skills, and safe crafting.


Step-by-step guide to make your own sumo salt shaker
Step 1
Find a small clean plastic bottle with a screw cap to use as your salt shaker.
Step 2
Peel off the bottle's label so the surface is smooth for decorating.
Step 3
Wash the bottle and cap with water and dry them completely.
Step 4
Cut a strip of paper about as tall as the bottle to make your sumo body wrap.
Step 5
Use markers to draw a sumo face and a mawashi (belt) on the paper strip.
Step 6
Trim the paper strip so it fits the curve of the bottle without overlapping too much.
Step 7
Wrap the decorated paper around the bottle so the sumo drawing faces forward.
Step 8
Apply a thin line of glue to one short edge of the paper.
Step 9
Press the glued edge onto the paper to secure the wrap around the bottle.
Step 10
Unscrew the bottle cap to prepare for filling.
Step 11
Pour salt into the bottle using a small funnel or a folded-paper funnel until nearly full.
Step 12
Screw the cap back on tightly so the salt stays inside.
Step 13
Share a photo of your finished mini sumo salt shaker on DIY.org.
Help!?
What can I use if I don't have a small funnel or a clean plastic bottle with a screw cap?
If you lack a funnel, fold paper into a funnel as the instructions suggest for 'Pour salt... using a small funnel or a folded-paper funnel', and if you don't have a small plastic bottle with a screw cap (step 1) use a clean spice jar or a recycled travel-size shampoo bottle with a tight lid instead.
The paper wrap won't stay flat or the glue won't hold—what should I do?
If the wrap won't lie flat or glue won't stick (steps 2–8), remove any label residue with soapy water, trim the paper strip narrower to fit the bottle curve, apply a thin even line of glue, and hold the glued edge firmly for 30 seconds to set before filling.
How can I adapt this Sumo Salt Shaker activity for different ages?
For younger children have an adult pre-wash and pre-cut the paper and pour the salt for them (steps 1, 3, 9), while older kids can draw detailed faces and mawashi, trim complex shapes, and try different fillings (steps 4–6, 9).
How can we improve or personalize our finished mini sumo before sharing it on DIY.org?
To personalize and protect the finished shaker (steps 4–8, 11), cover the paper wrap with clear tape or a thin coat of Mod Podge, glue on foam or felt arms, and make a set with varied colored mawashi for a fun photo to upload.
Watch videos on how to make your own sumo salt shaker
How to Make an Original Salt Shaker | Creative Paper Craft.
4 Videos
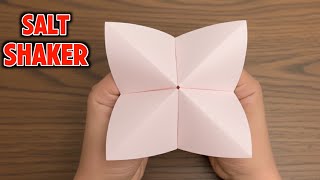
How to Make an Original Salt Shaker | Creative Paper Craft.
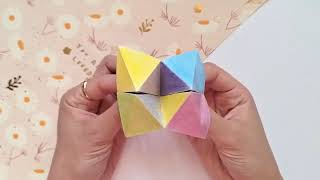
Origami Salt Shaker - Fun and Easy Paper Folding Tutorial!
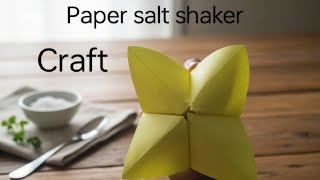
Simple way to make Paper salt shaker? Easy and simple
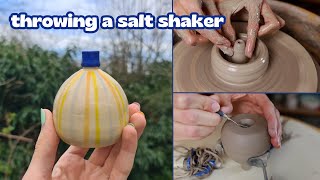
How To make a ceramic Salt Shaker // pottery throwing instruction
Facts about recycled crafts for kids
🏋️♂️ Sumo wrestlers toss salt into the ring before matches to purify the space and bring good luck.
🧂 Salt shakers became common once free‑flowing table salt was produced, making sprinkling easier than pinching.
♻️ Repurposing plastic bottles into crafts is an easy way to upcycle and keep plastic out of landfills.
✏️ Washable, non‑toxic markers are made especially for kids so art stays colorful and cleanup is simple.
🎨 Decorating and assembling small projects helps children build fine motor skills, hand–eye coordination, and creativity.
How do I make a mini sumo salt shaker with my child?
What materials do I need to make a sumo salt shaker?
What ages is the sumo salt shaker craft suitable for?
What are the benefits and safety tips for making a sumo salt shaker?
