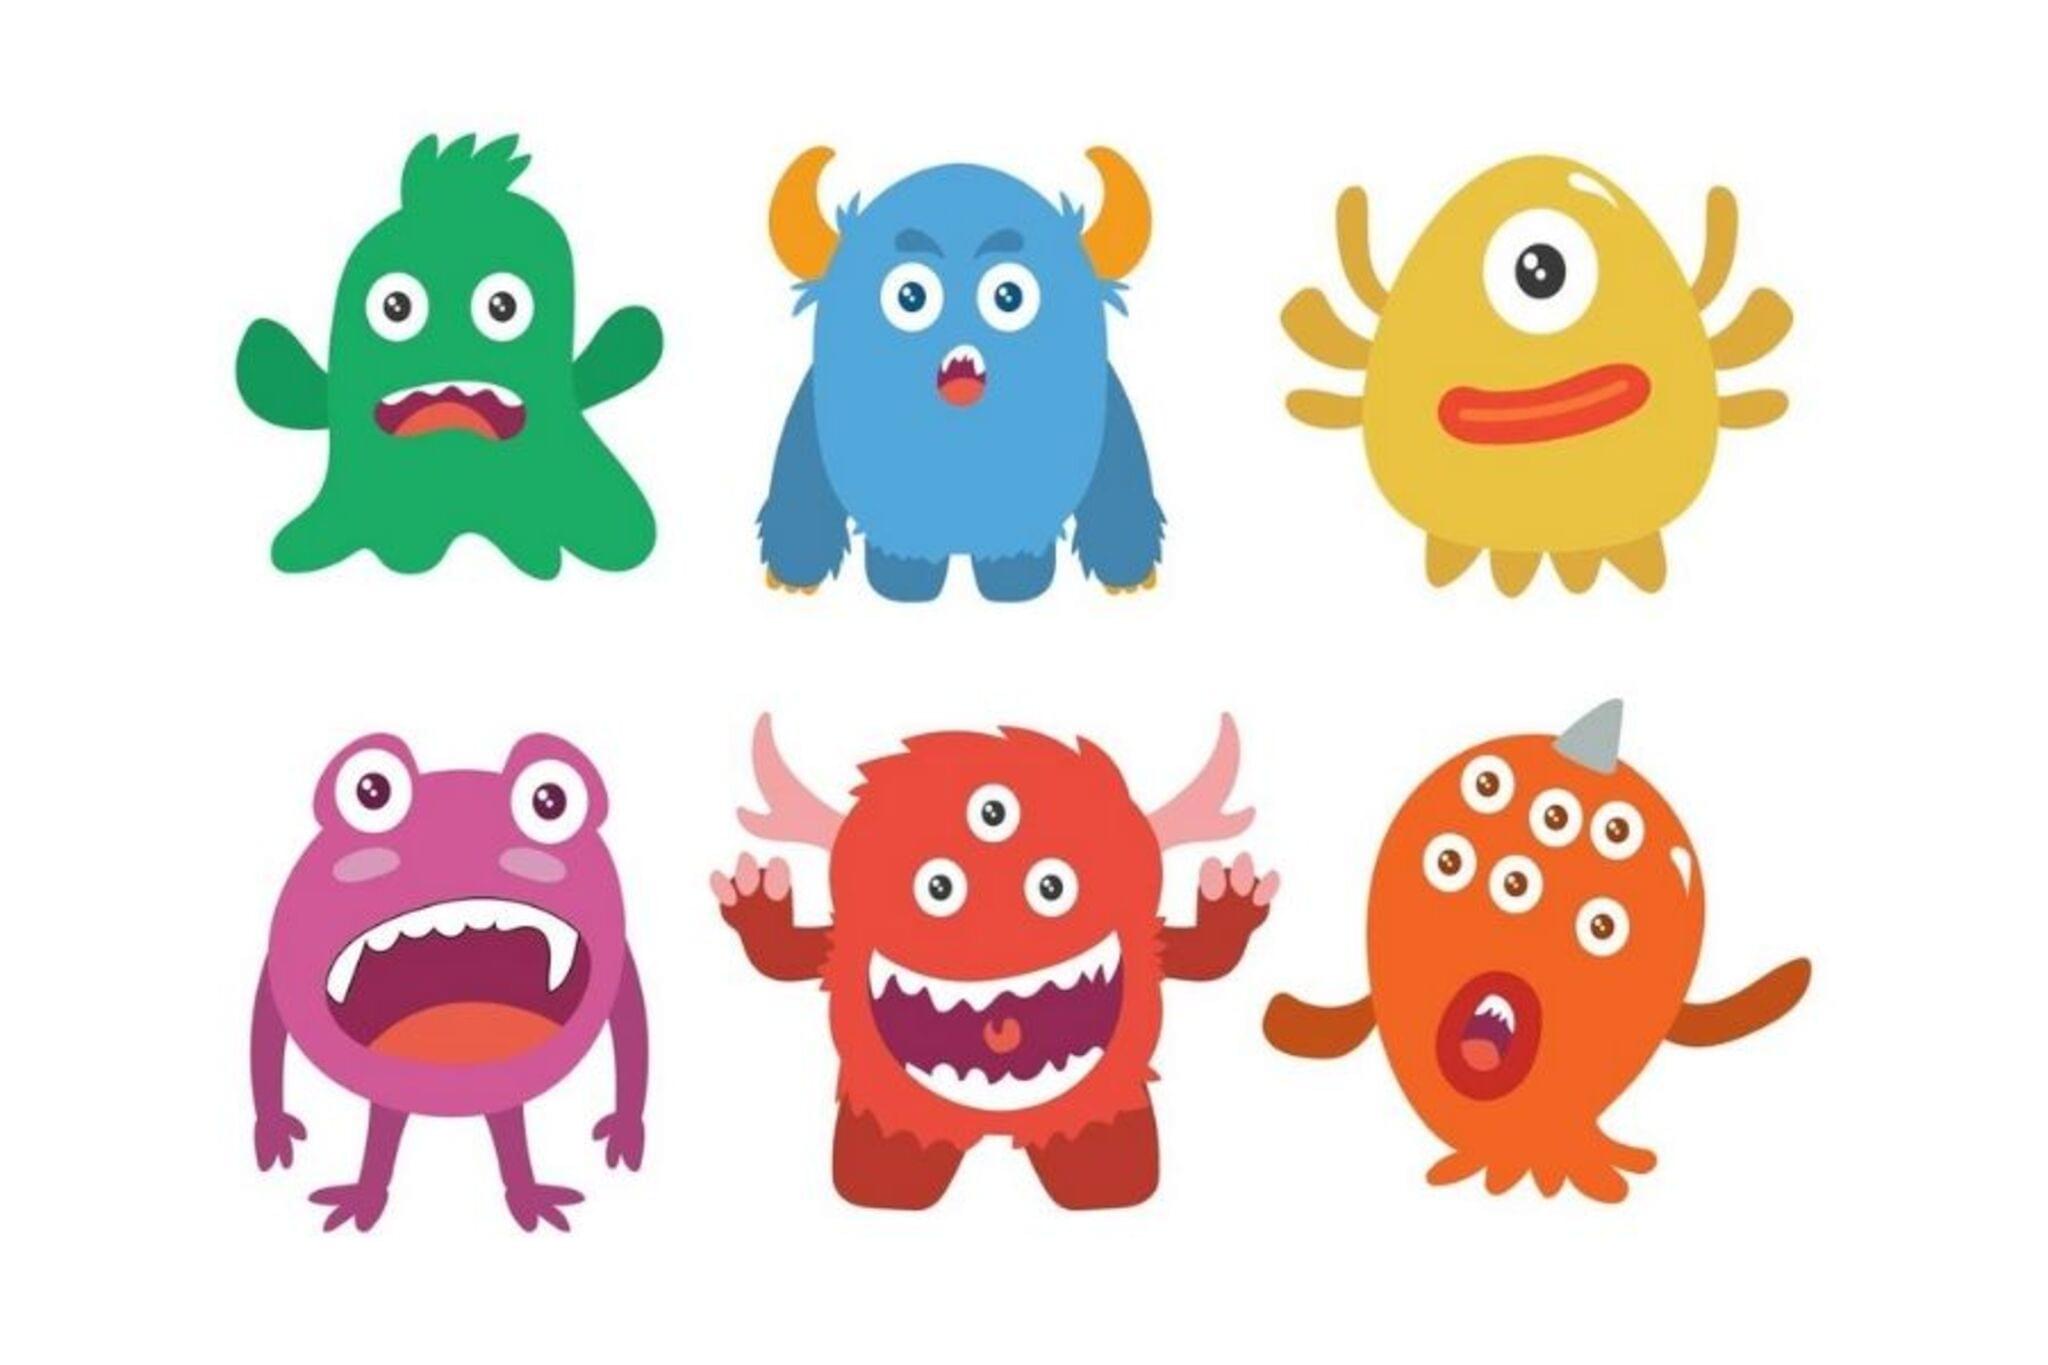
Make Your Own Monsters
Build your own monsters using recycled materials, markers, googly eyes, and clay; design features, name them, and write short stories about their personalities.


Step-by-step guide to Make Your Own Monsters
How To Draw A Funny Monster - Preschool
Step 1
Gather all the materials and put them on a clear workspace.
Step 2
Pick one or two recycled items to be the monster's main body.
Step 3
Cut the recycled items into shapes for the head body or limbs using safety scissors.
Step 4
Attach the cut pieces together with glue or tape to build the monster's body.
Step 5
Roll and shape clay or playdough to make mouths horns tentacles or other features.
Step 6
Press the clay features onto the monster so they stick firmly.
Step 7
Glue on googly eyes and any extra small decorations.
Step 8
Colour the monster with markers or crayons to add patterns textures and spots.
Step 9
Write a name for your monster on a small piece of paper.
Step 10
Write a short story about your monster's personality favorite food and what it likes to do.
Step 11
Let glue and clay dry completely before you move the monster.
Step 12
Put away leftover materials and tidy your workspace.
Step 13
Share a photo and your monster's name and story on DIY.org
Help!?
What can we use if we don't have googly eyes, clay, or safety scissors?
Use buttons, bottle caps, or drawn paper circles instead of googly eyes, crumpled tissue or cotton balls secured with tape or glue in place of clay for mouths and tentacles, and ask an adult to help cut with regular scissors or pre-cut the recycled items into shapes.
My glued pieces or clay features keep falling off—how can we fix that?
Roughen the recycled item's attachment spots, use stronger white craft glue or double-sided tape as suggested in the attach step, press and hold pieces firmly for a minute, and allow the glue and clay to dry completely before moving the monster.
How can we change the activity for different age groups?
For toddlers, provide large pre-cut recycled shapes, big stickers, and supervise gluing; school-age kids can follow the full cutting and clay-shaping steps with safety scissors; and teens can add painting, sewn fabric pieces, or more detailed writing for the monster's story.
How can we extend or personalize the monster project after finishing the basic steps?
Build a cardboard diorama habitat, add movable limbs with brads, use paint or textured materials when you colour the monster, and film a short video of the monster's name and story to share on DIY.org.
Watch videos on how to Make Your Own Monsters
How To Draw A Scary Cute Monster (Folding Surprise)
3 Videos

How To Draw A Scary Cute Monster (Folding Surprise)
How To Draw A Monster Stack Folding Surprise
Make a Monster in a Cup! 😱🎨 Super Easy DIY for Kids
Facts about recycled crafts for kids
🧱 Clay has been used for art and making tools for thousands of years — it's one of the oldest materials people shape by hand.
♻️ Upcycling turns trash into treasure: repurposing materials for crafts helps reduce waste and sparks creative problem-solving.
👀 Adding googly eyes triggers pareidolia, so even a scrap of cardboard can suddenly feel alive and full of personality.
💡 Naming a creature and writing its story helps kids build empathy and strengthens imagination and language skills.
🎭 Many famous children's monsters are lovable characters used to teach lessons about friendship, courage, or accepting differences.
How do I make my own monsters with recycled materials?
What materials do I need to make recycled monsters?
What ages is the Make Your Own Monsters activity suitable for?
What are the benefits of making monsters from recycled materials?
