Make your own loose build with LEGO®
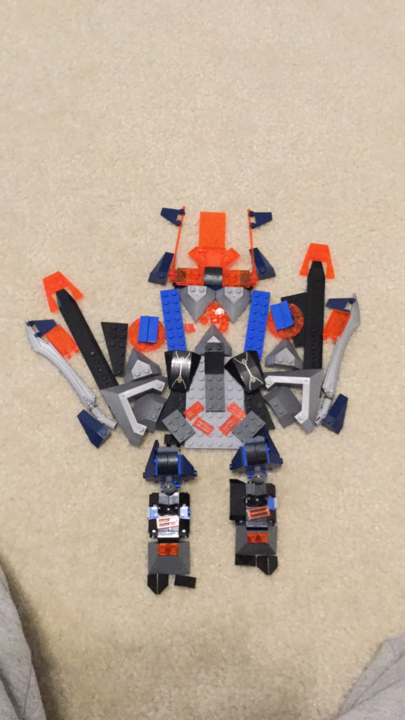
Design and build your own loose LEGO creation using bricks, test stability, swap parts, and photograph your favorite build for sharing.


Step-by-step guide to make your own loose build with LEGO bricks
Learn to Build Anything with LEGO | DIY Course
Step 1
Clear a flat table so you have plenty of room to build.
Step 2
Put the baseplate or flat board on the table.
Step 3
Gather your LEGO bricks and bring them to the table.
Step 4
Put spare bricks into the tray or cup so pieces stay tidy.
Step 5
Pick a theme or idea for your loose build like a spaceship garden or silly creature.
Step 6
Sort a handful of bricks into small piles by color or shape to make them easy to find.
Step 7
Build a strong base using big flat or wide bricks.
Step 8
Add vertical supports or thicker bricks to the base to make the structure sturdy.
Step 9
Attach a few loose or decorative parts that you might want to swap later.
Step 10
Gently press and tilt your build to test its stability.
Step 11
Swap weak bricks for stronger ones or add extra connectors to fix any wobbles.
Step 12
Take a clear photo of your favorite finished build from a few angles.
Step 13
Share your finished creation on DIY.org
Help!?
What can we use if we don't have a LEGO baseplate or a tray for spare bricks?
If you don't have a baseplate or flat board, use a stiff piece of cardboard, a cutting board, or a shoebox lid as your building surface and replace the tray or cup with a small bowl, muffin tin, or shoebox to keep spare bricks tidy.
My build wobbles when I gently press or tilt it—what should I try next?
When your build wobbles during the 'gently press and tilt' test, add vertical supports or thicker bricks to the base, swap weak bricks for stronger ones, or add extra connectors as the instructions suggest to fix any wobbles.
How can I adapt this loose-build activity for younger or older kids?
For younger kids, simplify by using only big flat or wide bricks and pre-sorted small piles by color for guided builds, while older kids can create taller vertical supports, include swap-able decorative parts, and take clear photos from multiple angles to share.
What are some ways to extend or personalize the finished build before sharing it?
To extend and personalize your build, pick a detailed theme, attach movable or decorative parts you can swap later, reinforce with extra connectors or stronger bricks, and take clear photos from a few angles to document and post on DIY.org.
Watch videos on how to make your own loose build with LEGO bricks
How To Make A Lego Toolchest
4 Videos
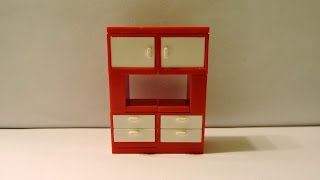
How To Make A Lego Toolchest

Kids Build with a LEGO Expert | HiHo Kids

LEGO, but I CAN'T follow INSTRUCTIONS...

5 EASY Ways to IMPROVE Your LEGO BUILDS
Facts about building with LEGO bricks
🧱 The modern LEGO brick design with inner tubes was patented in 1958 — bricks from that year still fit today's pieces.
💡 Six 2×4 LEGO bricks can be combined in 915,103,765 different ways — tiny sets, huge possibilities!
🌍 Fans and artists have built life-size LEGO sculptures, including cars and dinosaurs, for exhibits around the world.
📸 'Brickfilming' (stop-motion with LEGO) is a huge fan hobby — some fan films have earned millions of views online.
🔧 LEGO designers often prototype with loose builds and quick part-swapping to test stability and explore new ideas.
How do I run a loose LEGO® build activity where kids design, test stability, swap parts, and photograph their creations?
What materials do I need for a loose LEGO® build session?
What ages is a loose LEGO® building activity suitable for?
What are the benefits of doing loose LEGO® builds with children?
