Make your Maracas!
Make colorful maracas using recycled bottles, rice, tape, and decorations; test sound differences by changing fillings and sizes while learning about vibration and rhythm.


Step-by-step guide to make your maracas
Step 1
Wash and dry the empty plastic bottles to remove any leftover smells.
Step 2
Peel off the labels from the bottles so the sides are clean for decorating.
Step 3
Choose two bottles of different sizes to test how bottle size changes the sound.
Step 4
Make a funnel from scrap paper or use a real funnel to help pour fillings.
Step 5
Pour a small amount of rice into the smaller bottle using the funnel.
Step 6
Pour a small amount of beans or beads into the larger bottle using the funnel.
Step 7
Screw the caps on each bottle as tightly as you can.
Step 8
Wrap strong tape around each cap so the lids stay sealed while you shake them.
Step 9
Put masking tape on each maraca and write its filling name so you can remember which is which.
Step 10
Decorate both maracas with markers stickers or colored paper to make them colorful.
Step 11
Shake the rice maraca and listen carefully to its sound.
Step 12
Shake the beans maraca and listen carefully to its sound to compare.
Step 13
Add or remove a little filling from one maraca to change the amount and test how the sound changes.
Step 14
Shake both maracas again to hear how the filling amount and size affect the sound.
Step 15
Share your finished maracas and what you learned about sound on DIY.org
Help!?
What can we substitute for rice, beans, beads, a funnel, or the strong tape used to seal the caps?
Use dried pasta shapes, lentils, popcorn kernels, or small pebbles instead of rice/beans/beads, roll scrap paper into the funnel shown in step 4 or use a spoon to pour, and replace strong tape with duct tape or a glued seam to keep caps sealed.
My maraca lid came loose or the fillings leaked when I shook it—what should I do?
Unscrew and re-tighten the caps as in step 6, then wrap more strong tape around the lids as directed in step 7 and test with gentle shakes before decorating.
How can I adapt this activity for toddlers, older kids, or teens?
For toddlers have an adult wash bottles, pre-fill and securely tape caps and use larger fillings like dried pasta to reduce choking risk, while older kids and teens can measure amounts, try different bottle sizes as in step 3, and record how adding/removing fillings changes the sound.
How can we extend or personalize the maracas activity after finishing the basic steps?
Make a set of maracas with varied fillings and amounts, label each with masking tape per step 11, decorate them differently, and create a chart comparing sounds to perform a rhythm to share on DIY.org.
Watch videos on how to make your maracas
DIY Maracas | Musical Instrument Project for Kids
4 Videos

DIY Maracas | Musical Instrument Project for Kids
How to Make Maracas - Easy Tutorial

DIY Kids Instrument Craft: Maracas

DIY Maracas...make your own Instruments at home!
Facts about making musical instruments
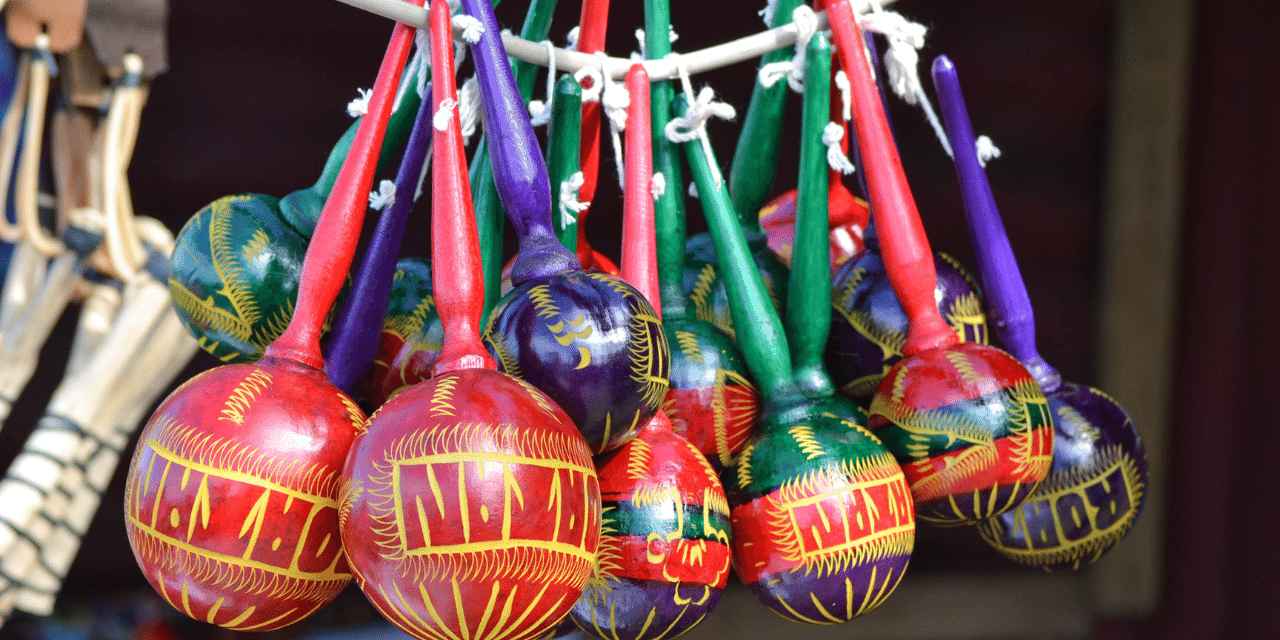
🎶 Maracas were traditionally made from dried gourds filled with seeds and are a staple of many Latin American musical styles.
🔊 The loudness and tone of a maraca change when you swap fillings—tiny rice grains give a bright tinkle, while larger beans make a deeper rattle.
♻️ Building maracas from recycled bottles reuses plastic and keeps trash out of landfills—one bottle becomes one instrument!
🥁 Shakers like maracas help musicians keep a steady rhythm; they're often played on the beat to add energy and drive to music.
🌍 Maracas are usually played in pairs and are linked to Indigenous and Afro-Latin musical traditions across the Caribbean and South America.
How do I make maracas with recycled bottles?
What materials do I need to make recycled bottle maracas?
What ages is this maraca-making activity suitable for?
What are the benefits, safety tips, and variations for making maracas?
