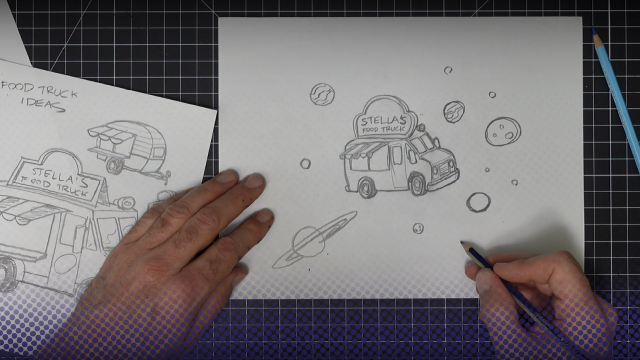
Make the landscape of your comic
Design and draw the landscape backgrounds for your comic panels using pencils, markers, and simple perspective techniques to set mood and story.

Drawing Apps
Step-by-step guide to make the landscape of your comic
Step 1
Gather all your materials and find a flat clean table to work on.
Step 2
Decide the mood and time of day for your comic landscape and say it out loud.
Step 3
Divide your paper into the number of comic panels you want by drawing boxes with your pencil and ruler.
Step 4
Draw a light horizon line in each panel to set the eye level.
Step 5
Pick and mark a vanishing point in each panel to control the perspective.
Step 6
Sketch big foreground shapes with your pencil like rocks trees or buildings.
Step 7
Draw light perspective guide lines from the vanishing point to place roads paths or building edges.
Step 8
Add middle-ground and background elements smaller and higher on the page to show distance.
Step 9
Add simple texture lines like grass window panes or roof tiles to give character to objects.
Step 10
Ink over the main lines and important outlines with your fineliner or black marker.
Step 11
Erase the pencil guidelines gently so your inked drawing is clean.
Step 12
Color each panel with your markers and coloring materials to match the mood you chose.
Step 13
Add shadows and small highlights to make the scene feel deep and alive.
Step 14
Share your finished comic landscape on DIY.org.
Help!?
What can we use if we don't have a fineliner, ruler, or markers?
Use a black felt-tip marker or ballpoint pen to ink over main lines, the edge of a book or a straight piece of cardboard as a ruler to draw your panel boxes and perspective guide lines, and colored pencils or crayons instead of markers when you color each panel.
My perspective guide lines smudge or my ink gets smeared when I erase—what should I do?
Draw the horizon line, boxes, and perspective guide lines lightly with a soft pencil, wait for the ink to dry completely after you ink over the main lines, then gently erase pencil guidelines with a clean soft eraser to avoid smudging the inked drawing.
How can I adapt this activity for different ages or skill levels?
For younger kids simplify by using fewer, larger panels, pre-drawing the horizon line and vanishing point, and having them sketch big foreground shapes, while older kids can add more panels, finer texture lines, precise perspective guide lines, and advanced shadows and highlights before inking and coloring.
How can we extend or personalize our comic landscape once it's finished?
Enhance your comic by choosing a distinct mood and time of day, experimenting with mixed media like a watercolor wash under markers, adding extra shadows and small highlights for depth, and including recurring characters or unique details across panels before sharing on DIY.org.
Watch videos on how to make the landscape of your comic
Tips for Drawing Backgrounds!
4 Videos
Tips for Drawing Backgrounds!
How to Make a Comic! (with Clip Studio Paint!)
How To Draw a Landscape--Art Lesson For Kids

How To Paint A Beautiful Landscape (for kids)
Facts about comic background drawing
🎨 Changing background colors can instantly shift mood — warm hues feel energetic while cool hues feel calm.
🔭 One-point perspective uses a single vanishing point to make scenes look deep and is perfect for roads or looking straight ahead.
✏️ Pencil roughs are fast and easy to erase, helping artists plan composition before adding ink or marker.
🖊️ Alcohol-based markers blend smoothly, making soft skies and gradients quick to create in comic landscapes.
🌲 A well-drawn landscape can act like a character in your comic, giving clues about time, place, and story without words.
How do I design and draw landscape backgrounds for my comic panels?
What materials do I need to make comic landscape backgrounds?
What ages is designing comic landscapes suitable for?
What are the benefits of drawing comic landscapes for kids?
