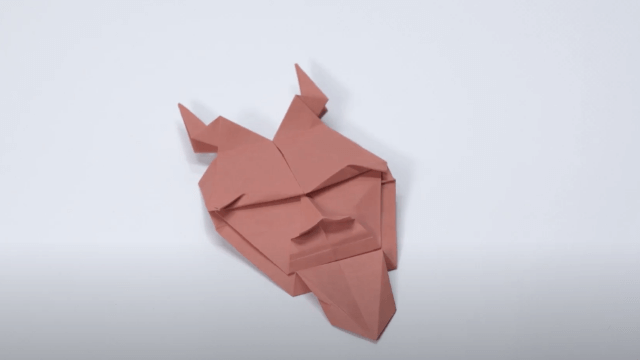
Make Some Masks!
Design and create wearable masks from cardboard, paint, and elastic, practicing measuring, cutting, decorating, and exploring symmetry and self-expression through hands-on crafting.


Step-by-step guide to make wearable cardboard masks
Step 1
Gather all your materials and put them on a clear workspace.
Step 2
Measure your face by checking the width across your forehead and the height from the bridge of your nose to your chin with the ruler.
Step 3
Fold a piece of cardboard in half to make a straight center crease for symmetry.
Step 4
Draw a half-mask outline along the folded edge using your measurements and add small side tabs for the elastic.
Step 5
Cut out the mask shape through both layers of the folded cardboard (adult supervision required).
Step 6
Unfold the cardboard to reveal a symmetrical mask shape.
Step 7
Hold the mask to your face and lightly mark where your eyes should go with a pencil.
Step 8
Cut out the eye holes using scissors (adult supervision required).
Step 9
Paint a base coat on the entire mask and let the paint dry.
Step 10
Add matching designs to both sides of the mask so the pattern is symmetrical.
Step 11
Make small holes in the side tabs using a hole punch or carefully with an awl (adult supervision required).
Step 12
Measure elastic around the back of your head to find a comfy length and mark it.
Step 13
Cut the elastic to the marked length and tie or glue each end through the holes to secure the straps (adult supervision required).
Step 14
Add final decorations like stickers glitter or ribbon to show your style.
Step 15
Take a photo of your finished mask and share your creation on DIY.org.
Help!?
What can we use if we don't have cardboard or elastic?
Use a cereal box or poster board folded and cut like the cardboard in the step 'Fold a piece of cardboard in half...', and substitute ribbon, yarn, or a shoelace for the elastic when you 'Cut the elastic to the marked length and tie or glue each end through the holes.'
The eye holes or side tabs keep getting messed up—how do we fix that?
If the eye holes are off after 'Unfold the cardboard to reveal a symmetrical mask shape', hold the mask to your face and re-mark the eyes before cutting, and if the side tabs tear when you 'Make small holes in the side tabs', reinforce the tabs with tape or a glued-on scrap of cardboard before punching or awling.
How can we adapt this mask project for different ages?
For younger kids have an adult do the 'Measure your face' and 'Cut out the mask shape' steps and let them paint and add stickers, while older kids can do the measuring, precise cutting, symmetrical designs in 'Add matching designs to both sides', and experiment with more detailed decorations or mixed media.
What are some easy ways to personalize or make the mask fancier?
After 'Paint a base coat on the entire mask', glue on feathers, foam shapes, or ribbon, add glitter around the eye holes, or attach a small paper hinge and brad for a movable mouth before photographing and sharing on DIY.org.
Watch videos on how to make wearable cardboard masks
For Kids! Make your own Animal Mask!
4 Videos
For Kids! Make your own Animal Mask!

How to Make Paper Plate Masks | Cute Craft for Kids
DIY: How to make face masks for kids? Animal masks and carnival masks.
How to Make a Superhero Mask for Kids | DIY Super Hero Mask | Mask Spiderman Making Home DIY
Facts about mask-making and cardboard crafts
🎭 Masks have been used around the world for thousands of years in rituals, theater, and festivals.
📦 Cardboard is light, sturdy, and recyclable — perfect for building wearable mask bases.
📏 Folding your mask pattern in half helps you cut matching, symmetrical sides every time.
🎨 Acrylic and tempera paints stick well to cardboard and dry quickly for kid-friendly decorating.
🧵 Elastic or ribbon lets a mask fit many faces — measure carefully and knot or tape securely.
How do you make wearable cardboard masks with kids?
What materials do I need to make cardboard and paint masks?
What ages is mask-making suitable for?
What are the benefits of making masks with children?
