Make soap
Make colorful melt-and-pour soap bars using a soap base, silicone molds, safe colors and scents while learning measuring, mixing, and basic hygiene concepts.


Step-by-step guide to make colorful melt-and-pour soap bars
Soap Making Tutorial and Recipe for Absolute Beginners (you can do it!)
Step 1
Wash your hands with soap and water and dry them well.
Step 2
Lay a clean paper towel on a flat table.
Step 3
Place the silicone molds on the paper towel.
Step 4
Ask an adult to carefully cut the melt-and-pour soap base into small cubes.
Step 5
Put the soap cubes into the microwave-safe bowl.
Step 6
With an adult, microwave the bowl in 20 to 30 second bursts stirring between bursts until the soap is fully melted and smooth.
Step 7
Add 1 to 2 drops of soap colorant to the melted soap and stir until the color is even.
Step 8
Add 3 to 6 drops of soap-safe fragrance and stir to mix the scent evenly.
Step 9
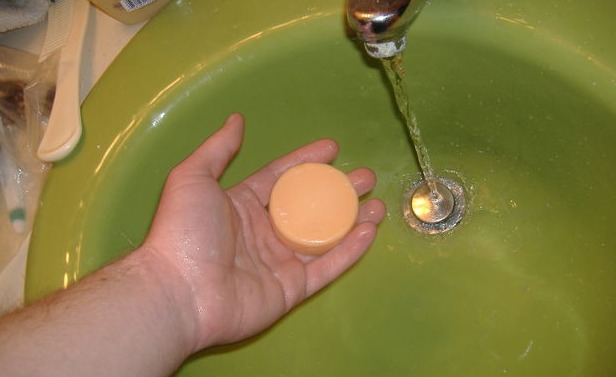
Carefully pour the colored melted soap into the silicone molds to the level you want.
Step 10
Wait for the poured soap to cool until it feels slightly firm to the touch.
Step 11
Spray a light mist of rubbing alcohol on the top of each mold to remove any surface bubbles.
Step 12
Leave the molds undisturbed until the soap is fully hard which may take 30 to 60 minutes.
Step 13
Gently push each soap bar out of its mold and pat the bars dry with a paper towel.
Step 14
Share your finished soap bars on DIY.org
Help!?
What can I use if I can't find melt-and-pour soap base?
If you can't find melt-and-pour soap base, substitute a clear or white glycerin soap base from a craft store or online and melt it the same way in your microwave-safe bowl using the 20–30 second bursts.
My melted soap has clumps or isn't smooth — how do I fix it?
Have an adult make sure the melt-and-pour soap base was cut into small cubes and then reheat the microwave-safe bowl in additional 20–30 second bursts with stirring between bursts until the soap is fully melted and smooth.
How can I adapt this activity for different ages?
For preschoolers, have an adult do the cutting, microwaving, and pouring while the child chooses the 1–2 drops of colorant and 3–6 drops of fragrance and places items in the silicone molds, and for older kids let them measure, stir, pour under supervision, and spray the rubbing alcohol to remove bubbles.
How can we make the soaps more special or advanced?
To personalize or advance the project, create layered soaps by pouring one colored layer and waiting until it feels slightly firm before adding another color, or press dried flowers or cosmetic-safe glitter into the silicone molds and spray rubbing alcohol on top to remove surface bubbles.
Watch videos on how to make colorful melt-and-pour soap bars
DIY | How to Make Your Own Soap (Easiest Recipe)
4 Videos
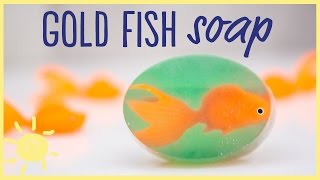
DIY | How to Make Your Own Soap (Easiest Recipe)
How to make Organic Soap from SCRATCH 🧼 P.S. I explain the science behind it too!
Easy DIY Soap Making at Home: Cure and Test Your Homemade Bars!
How To Make Soap At Home - Make Simple & Gentle Cold Process Soap | BrambleBerry.com
Facts about soap making for kids
🧼 Melt-and-pour soap bases are already saponified, so you can melt and re-mold soap safely without handling lye.
🌈 A few drops of soap-safe color can yield dozens of bright designs by layering, swirling, or embedding bits.
💧 Glycerol (glycerin) attracts moisture to skin, which is why melt-and-pour soaps often feel extra moisturizing.
🌿 Many kid-friendly soap scents come from essential oils like lavender, lemon, or peppermint—used in tiny, safe amounts.
🧩 Silicone molds are flexible and heat-resistant, so shaped soap bars pop out easily without breaking.
How do I make melt-and-pour soap with my child?
What materials do I need to make colorful melt-and-pour soap at home?
What ages is melt-and-pour soap making suitable for?
What are the safety tips for making soap with kids?
