Make robot fingers, talons or claws
Make robotic fingers, talons, or claws using cardboard, straws, string, and tape, then test grip and learn simple lever mechanics safely.


Step-by-step guide to make robot fingers, talons, or claws
Step 1
Gather all the materials and clear a flat workspace so you have room to build.
Step 2
Use the ruler and marker to draw three same-size rectangles for one finger and a palm rectangle on the cardboard.
Step 3
Cut out the three finger rectangles and the palm rectangle with scissors.
Step 4
Cut three straw pieces about the same length as the cardboard finger segments.
Step 5
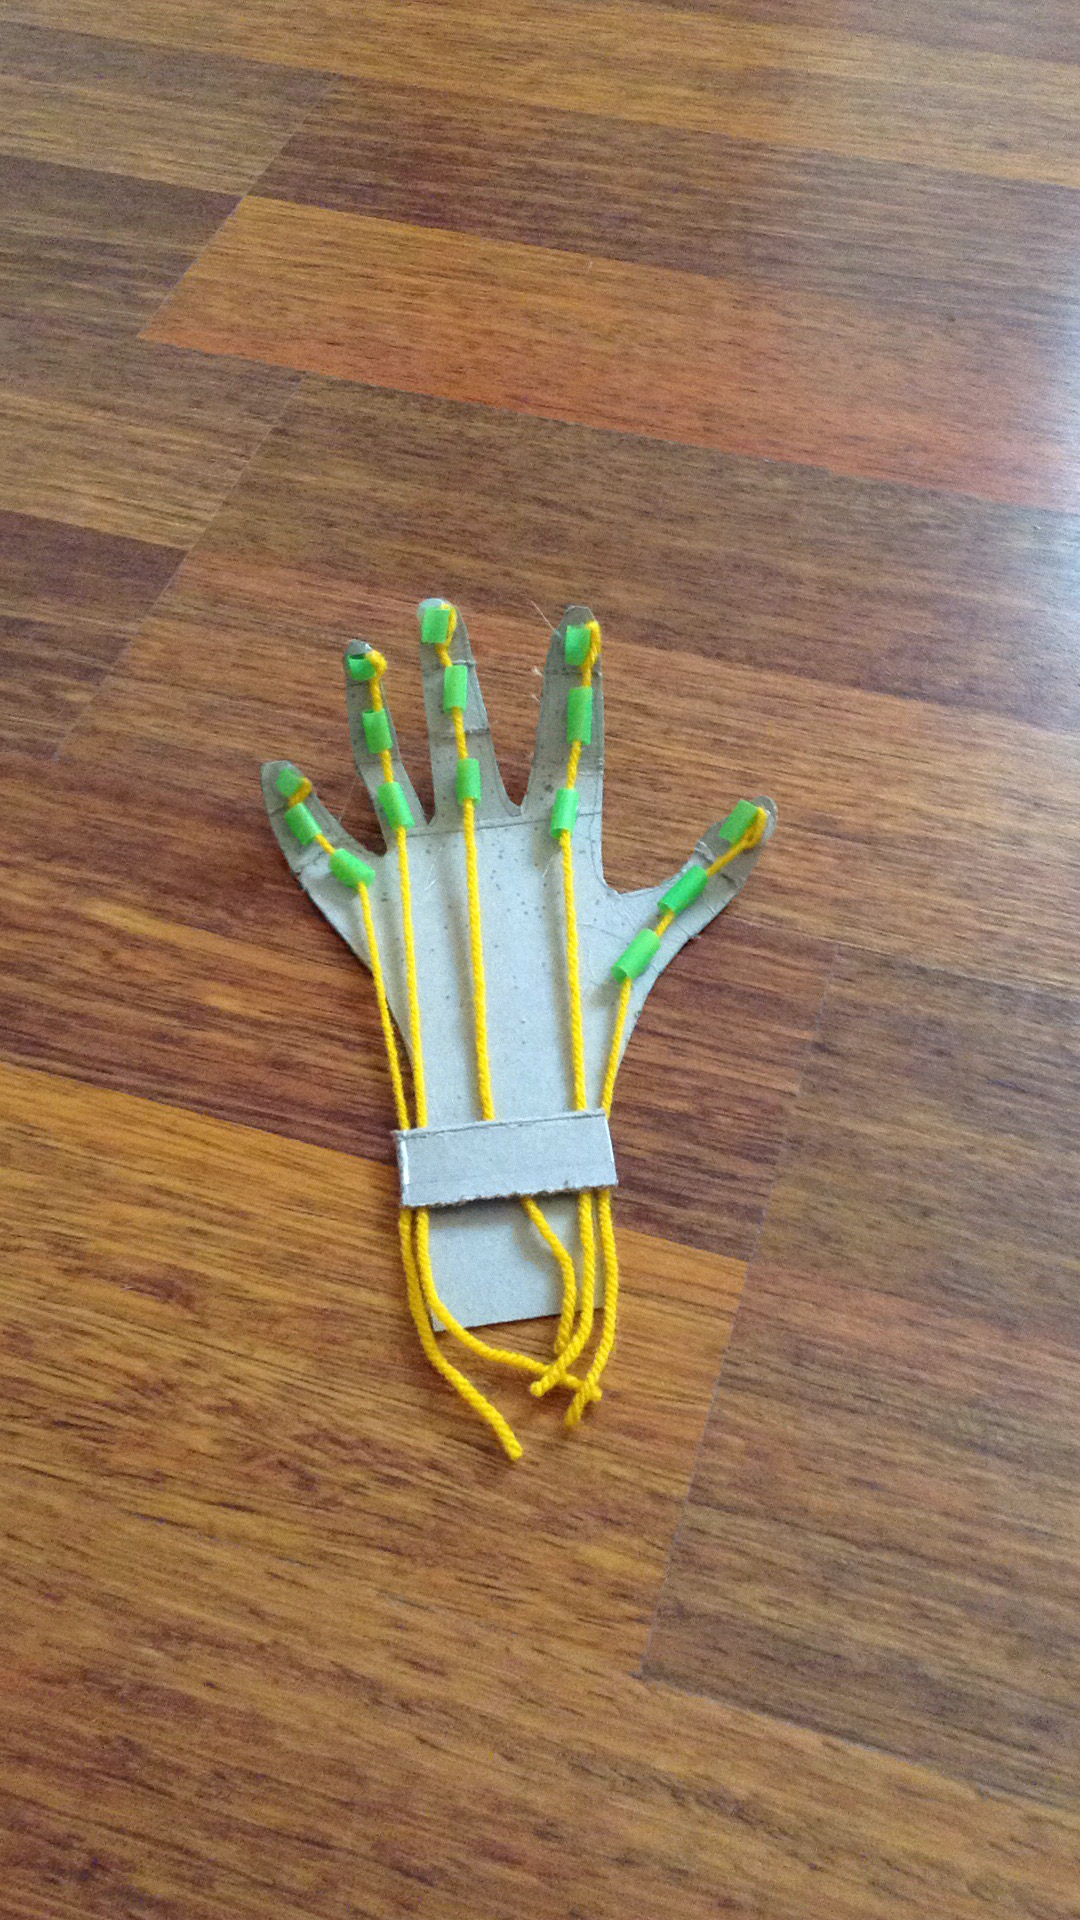
Lay the three cardboard segments in a row touching edges and tape them together along one long side so they can fold like joints.
Step 6
Tape one straw piece onto the taped side of each cardboard segment aligning the straw openings so a string can slide through.
Step 7
Thread a length of string through the straw pieces from the fingertip toward the palm leaving extra string at the palm end.
Step 8
Tie a knot at the fingertip end of the string so the string cannot slip back into the straw.
Step 9
Tape the base of the finger to the palm rectangle so the finger is fixed at the palm.
Step 10
Tie or tape the loose string to the palm under a small tape tab so you can pull it and keep tension.
Step 11
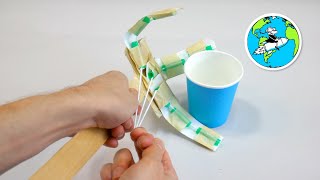
Pull the string to make the cardboard finger curl and use it to pick up a small lightweight object.
Step 12
If the finger does not curl smoothly adjust the tape or straw placement and retest until it bends at the joints.
Step 13
Take a photo or write about your robot finger and share your finished creation on DIY.org
Help!?
What can we use instead of plastic straws if we can't find any?
If you don't have plastic straws, roll and tape strips of paper into tight tubes and tape them onto the long taped side of each cardboard joint so the string can still slide through as described in the instructions.
The finger won't curl smoothly — what should we check or change?
If the finger doesn't curl, try replacing thick yarn with thinner thread or dental floss, loosen or reposition the tape holding each straw to the taped joint so the straw openings align, and retest the bending at each taped joint.
How can I adapt this activity for younger children or make it more challenging for older kids?
For younger children, pre-cut the three same-size cardboard rectangles and pre-thread the straw pieces so they only tape the finger to the palm and pull the string, while older kids can add extra fingers, build a multi-finger hand, or use hot glue (with supervision) instead of tape to make sturdier joints.
What are simple ways to personalize or improve the robot finger after finishing it?
You can personalize the palm and cardboard segments with markers or paint, attach additional taped fingers using the same straw-and-string method to make a multi-finger gripper, or secure the loose string under a small homemade lever on the palm (using the tape tab) to create a better control mechanism.
Watch videos on how to make robot fingers, talons, or claws
Build Your Own Bionic Hand - STEM Projects for Kids. Engineer A Simple Robot Hand
4 Videos
Build Your Own Bionic Hand - STEM Projects for Kids. Engineer A Simple Robot Hand

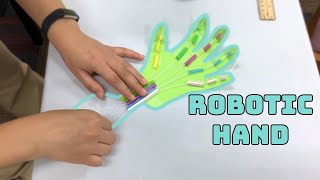
DIY Robotic Hand 🤖✋ | Easy Science Project for Kids | STEM Craft Idea
How to Make a Robotic Hand - HCPL STEM
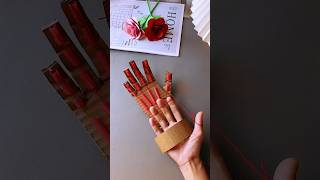
DIY Robotic Hand Using Cardboard | Simple STEM Project for Kids! #DIYroboticHand #cardboardcraft
Facts about simple machines and levers
🦾 The first industrial robot arm, Unimate, began working on a New Jersey assembly line in 1961.
⚖️ A lever can multiply your force — Archimedes famously claimed a lever could move the Earth if he had a place to stand.
📦 Cardboard became widely used for packaging in the 19th century and is one of the most recycled materials in the world.
🥤 Archaeologists have found drinking straws over 5,000 years old used in ancient Sumerian cultures.
🧵 Many robot hands use cable-driven 'tendons' like straw-and-string finger mechanisms to bend and grip objects.
How do you make robot fingers, talons, or claws with cardboard, straws, string, and tape?
What materials do I need to make robotic fingers, talons, or claws at home?
What ages are robotic finger, talon, or claw crafts suitable for?
What safety tips and fun variations can I try with robot fingers, talons, or claws?
