Make Instant Ice-cream in a Bag
Make instant ice cream in a resealable bag by shaking milk, sugar, and vanilla with ice and salt, with adult help.


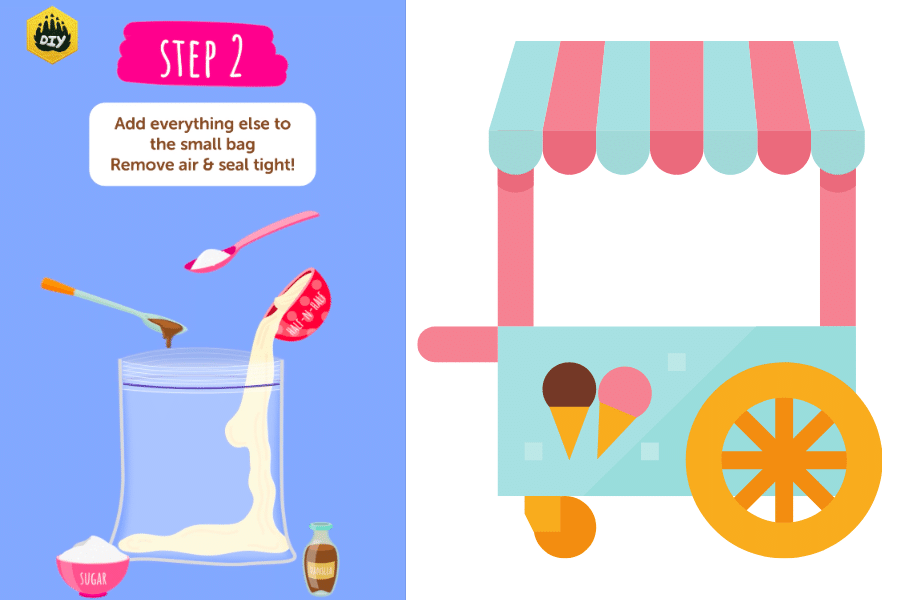

Step-by-step guide to make instant ice cream in a bag
Step 1
Wash your hands with soap and water for 20 seconds.
Step 2
Put all the materials on a table where you will work.
Step 3
Measure and pour 1 2/3 fluid ounces 1 1/2 tablespoons or 1/8 cup or 1/2 cup? WAIT this contains confusion. I must be precise. Use 1/2 cup milk. - Pour 1/2 cup milk into the small resealable bag.
Step 4
Add 1 tablespoon sugar and 1/4 teaspoon vanilla extract into the small bag.
Step 5
Seal the small bag tightly and press out as much air as you can.
Step 6
Fill the large resealable bag about halfway with ice.
Step 7
Ask an adult to help you pour 6 tablespoons rock salt onto the ice in the large bag.
Step 8
Place the sealed small bag inside the large bag on top of the ice.
Step 9
Seal the large bag tightly so the salt and melted water stay inside.
Step 10
Shake the large bag vigorously for 5 to 10 minutes until the small bag feels hard and the milk mixture is thick.
Step 11
Remove the small bag from the large bag.
Step 12
Wipe the outside of the small bag dry with the towel.
Step 13
Open the small bag and scoop the ice cream with the spoon into a bowl or eat it from the bag.
Step 14
Share a photo and your ice cream story on DIY.org
Help!?
What can we use if we don't have rock salt?
If you can't find rock salt, use 6 tablespoons of coarse kosher salt or coarse sea salt when you pour the 6 tablespoons of rock salt onto the ice in the large bag, and if only fine table salt is available use the same amount but expect a slightly slower freeze.
My milk didn't turn into ice cream — what went wrong?
If the milk mixture hasn't thickened after 10 minutes of shaking, check that the small bag was sealed tightly with as much air pressed out, that the large bag had enough ice plus the instructed 6 tablespoons of rock salt, then shake longer or add more ice and salt.
How can I change the activity for younger or older kids?
For preschoolers, have an adult perform the step 'Ask an adult to help you pour 6 tablespoons rock salt' and do the vigorous shaking while the child helps pour 1/2 cup milk and add 1 tablespoon sugar and 1/4 teaspoon vanilla, whereas older kids can measure, seal both bags, and do the full 5–10 minute shake themselves.
How can we make the ice cream more interesting or different?
To personalize the recipe, substitute the 1/2 cup milk with 1/2 cup coconut milk or blended fruit for a different flavor, and add mix-ins like chocolate chips or chopped fruit after you 'open the small bag and scoop the ice cream' before serving.
Watch videos on how to make instant ice cream in a bag
Homemade Ice Cream in a bag Kids easy DIY Science Experiments
4 Videos

Homemade Ice Cream in a bag Kids easy DIY Science Experiments

How to make Ice Cream In a Bag (kid friendly)
Make Ice Cream Using a Ziploc Bag in 5 minutes - Homemade Ice Cream, No Fridge!
We Made Ice Cream in a Bag! | No Machine | Easy 3-Ingredient Recipe
Facts about kitchen science for kids
🍦 People have enjoyed frozen milk treats for thousands of years — early versions date back to ancient China and Rome.
❄️ Mixing salt with ice lowers the ice's freezing point so the ice-salt slush can reach about −21°C (−6°F).
🧂 Salt melts some ice to form a cold brine; that melting absorbs heat and helps the cream mixture freeze faster.
🥛 Milk and cream provide fats and proteins that make ice cream smooth and creamy when frozen.
⚠️ The ice-and-salt mixture gets extremely cold and can cause frostbite — always use adult help and protective towels or gloves.
How do you make instant ice cream in a bag?
What materials do I need for instant ice cream in a bag?
What ages is making ice cream in a bag suitable for?
What safety tips and fun variations should we know?
