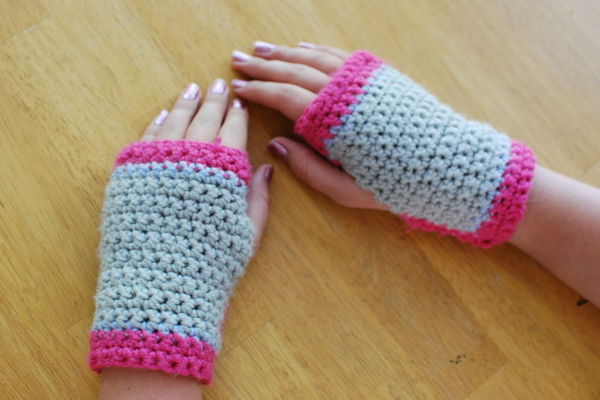
Make fingerless gloves
Make fingerless gloves from an old sweater or fabric, practicing measuring, cutting, simple sewing, and decorating to create warm, personalized handwear.


Step-by-step guide to make fingerless gloves
How to make fingerless gloves, Glove diy tutorial, Glove sewing, Winter glove diy, Sew, Anita Benko
Step 1
Lay the sweater flat on a table and choose one sleeve to turn into a fingerless glove.
Step 2
Put your hand into the chosen sleeve so the cuff sits snugly at your wrist.
Step 3
Use the marker or chalk to mark where you want the top edge of the glove to stop near the base of your fingers.
Step 4
Move your thumb to the spot where you want the thumb hole and mark that exact spot on the side of the sleeve.
Step 5
Take the sleeve off and lay it flat on the table with the marks showing.
Step 6
Use the measuring tape or ruler to draw a straight cutting line 1 cm above the top mark for seam allowance.
Step 7
Carefully cut along the straight cutting line across the sleeve to make the glove opening.
Step 8
Carefully cut a small horizontal slit about 2 cm long at the thumb mark to create the thumb hole.
Step 9
Thread the needle with thread and tie a knot at the end of the thread.
Step 10
Use a simple whipstitch to sew around the edges of the thumb hole to secure and tidy the fabric.
Step 11
Turn your glove right side out and try it on to check the fit.
Step 12
Repeat Steps 2 to 11 on the other sleeve to make a matching glove.
Step 13
Decorate both gloves using buttons yarn or fabric glue to make them colorful and unique.
Step 14
Share your finished fingerless gloves on DIY.org
Help!?
What can we use if we don't have a needle, thread, or a ruler?
If you don't have a needle and thread you can use fabric glue or small safety pins to finish the thumb hole instead of whipstitching in Steps 8–9, and a straight book edge or credit card can substitute for the ruler when drawing the cutting line in Step 6.
The cut edge is uneven or the thumb hole feels too big—how can we fix it?
Trim to a straighter line using the 1 cm seam allowance as a guide from Step 6, then reinforce and slightly reduce the thumb slit by sewing a tight whipstitch around it as in Step 8 to tidy the fabric and adjust the fit.
How can I adapt the activity for younger children or older kids?
For younger children have an adult handle Steps 5–10 (measuring, cutting, and sewing) while the child does Steps 1–3 and decorates in Step 12, and for older kids let them measure, cut along the 1 cm allowance in Step 6, and practice the whipstitch on Steps 8–9 themselves.
What are easy ways to personalize or upgrade the fingerless gloves?
To enhance the gloves add a fabric lining before turning them right side out in Step 10, embroider initials or patterns after Step 10, and use buttons, yarn, or fabric glue from Step 12 to create layered decorations or a wrist strap for extra warmth.
Watch videos on how to make fingerless gloves
How to make fingerless gloves/ Reversible Glove DIY/Glove sewing/Glove diy tutorial
3 Videos
How to make fingerless gloves/ Reversible Glove DIY/Glove sewing/Glove diy tutorial
Cute and Easy Crochet Fingerless Gloves for Beginners

DIY FLEECE FINGERLESS GLOVES | Easy 10 Minute Sewing Project
Facts about sewing and upcycling for kids
♻️ Upcycling an old sweater into new gloves gives fabric a second life and helps cut down on landfill waste.
✂️ Often one sleeve from a sweater is enough to make a pair of fingerless gloves—no extra material needed!
🧵 Two simple stitches—running stitch and whip stitch—are all you need to join seams and fix holes.
🎸 Fingerless gloves have been popular with musicians and performers because they keep hands warm while leaving fingers free to move.
🌈 Adding buttons, patches, or embroidery turns plain gloves into one-of-a-kind keepsakes that show off your style.
How do I make fingerless gloves from an old sweater for my child?
What materials do I need to make fingerless gloves from fabric?
What ages are fingerless glove crafts suitable for?
What are the benefits and safety tips for making fingerless gloves with kids?
