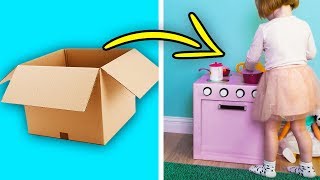
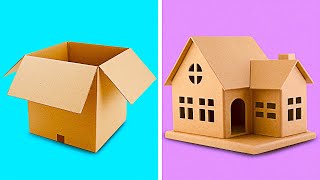
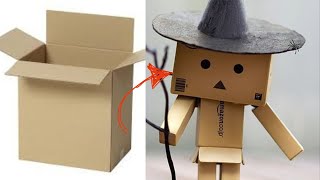
Make cardboard art
Make a colorful cardboard sculpture using recycled boxes, scissors, glue, and paint; plan shapes, cut safely, assemble layers, and decorate creatively.


Step-by-step guide to make cardboard art
Easy Cardboard Crafts for Kids ✂️ | Fun DIY Ideas at Home!
Step 1
Gather all the materials on the table so everything is ready to start.
Step 2
Spread newspaper or a table cover over your workspace to protect it from glue and paint.
Step 3
Use your pencil and ruler to draw different shapes for bases layers and decorations on the cardboard.
Step 4
Cut out the large simple shapes using scissors.
Step 5
Ask an adult to cut any small or tricky shapes or to use a craft knife for slots.
Step 6
Fold or gently bend some cardboard pieces where you want curves or stands.
Step 7
Lay all the cut pieces on the table and move them around to plan how they will stack and fit together.
Step 8
Apply craft glue to the edges or bottoms of the pieces that will be the lowest layer.
Step 9
Press glued pieces firmly together for about 10 seconds to make sure they stick.
Step 10
Make folded support strips from long thin cardboard and crease them so they stand up straight.
Step 11
Glue the support strips onto the sculpture where you need extra stability.
Step 12
Paint each piece with base colors using your paintbrush.
Step 13
Wait until the paint is completely dry before touching painted areas.
Step 14
Add patterns and details with markers or extra paint to make your sculpture colorful and unique.
Step 15
Share your finished cardboard sculpture on DIY.org
Help!?
What can we use instead of craft glue or a craft knife if we don't have them?
If you don't have craft glue for the step 'Apply craft glue to the edges or bottoms of the pieces that will be the lowest layer', use white school glue, double-sided tape, or hot glue with adult supervision, and if you lack a craft knife for slots have an adult carefully use scissors or fold tabs instead as suggested in 'Ask an adult to cut any small or tricky shapes or to use a craft knife for slots'.
What should we do if the cardboard layers keep falling apart?
If stacked pieces still move after you 'press glued pieces firmly together for about 10 seconds', reinforce joins by making and gluing 'folded support strips' onto the back or underside and weight them until the glue fully dries to improve stability.
How can we adapt this activity for younger children or for older kids wanting a challenge?
For preschoolers, have an adult handle Steps 3–5 (draw and cut shapes) and let them paint and add stickers in Steps 11–13 with washable paint, while older kids can use a craft knife with adult help to cut slots, create complex folded support strips for stands, and add fine marker details.
How can we extend or personalize the cardboard sculpture once it's built?
After you 'Paint each piece with base colors' and 'Add patterns and details', personalize by adding movable parts with brads, gluing on recycled fabric or glitter for texture, or installing a small battery tea light inside layered sections before you 'Share your finished cardboard sculpture on DIY.org'.
Watch videos on how to make cardboard art
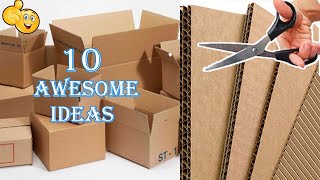
10 GREAT CARDBOARD DIYS FOR KIDS
4 Videos
10 GREAT CARDBOARD DIYS FOR KIDS
25 INCREDIBLE CARDBOARD CRAFTS TO MAKE AT HOME || Recycling Projects by 5-Minute Decor!
10 Great Ideas | You Won't Believe What You Can Make From Cardboard #55
Amazing Cardboard Craft Ideas You Can Make at Home | DIY Cardboard Projects for Everyone
Facts about recycled cardboard crafts
📦 Cardboard's corrugated middle makes it surprisingly strong yet lightweight—perfect for building big sculptures!
🎨 Artists often stack, slot, and layer cardboard like giant LEGO pieces to create sturdy 3D art without heavy tools.
♻️ Cardboard is one of the most recycled materials, and reusing boxes helps save trees and energy.
✂️ With adult supervision, cutting tabs and slots lets kids assemble cardboard pieces like puzzles—sometimes without any glue!
🖌️ Acrylics, tempera, and poster paints all work great on cardboard and dry fast so kids can decorate quickly.
How do you make a colorful cardboard sculpture from recycled boxes?
What materials do I need for cardboard sculpture craft?
What ages is cardboard sculpture making suitable for?
What are the benefits, safety tips, and fun variations for cardboard sculpture?
