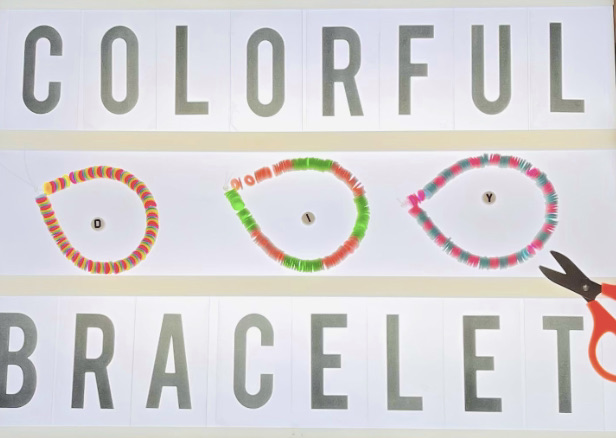
Make BFF Bracelets w/ DIY Star Anabanana1234
Make matching BFF friendship bracelets using colorful embroidery floss, star beads, and basic knotting techniques to practice patterns, fine motor skills, and sharing.


Step-by-step guide to make BFF friendship bracelets
Step 1
Gather all materials on a flat clean workspace so everything is ready.
Step 2
Choose four colors you and your BFF both love for the matching bracelets.
Step 3
Cut two matching sets of four strands each about 24 inches long using scissors.
Step 4
Fold each set of strands in half so the ends line up and a loop is formed at the top.
Step 5
Tie a small overhand knot at each folded top to make a loop for each bracelet.
Step 6
Secure both loops to the table or clipboard with tape so the strands hang down straight.
Step 7
Pick the leftmost strand in one set to be your working strand for the pattern.
Step 8
Make a forward knot by wrapping the working strand over the next strand in a "4" shape and pulling it through twice to tighten.
Step 9
Repeat the forward knot across each strand until you reach the right side to make one full row.
Step 10
Slide one star bead onto the working strand and push it up to the last knot.
Step 11
Tie one more forward knot after the bead to lock the bead in place.
Step 12
Repeat steps 8 through 11, adding beads in the same spots on both sets so the bracelets match.
Step 13
When each bracelet is long enough to fit your wrist comfortably tie a secure double knot at the end.
Step 14
Trim the extra floss leaving about 1 inch of tails so you can tie the bracelet on.
Step 15
Share your finished matching BFF bracelets on DIY.org.
Help!?
What can we use instead of star beads or embroidery floss if they're hard to find?
Use larger pony beads, buttons with holes, or cut drinking-straw rings as substitutes you can slide onto the working strand in step 9, and swap embroidery floss for thin ribbon, twine, or yarn as long as it fits the beads and knots from steps 6–7.
My knots keep coming undone or the strands shift while I knot — how can I fix that?
Make sure the folded loop knot from step 4 is snug, secure both loops strongly to the table with extra tape or a binder clip in step 5, and tighten each forward knot in step 6 by pulling it firmly twice before moving on.
How can I change the activity for younger or older kids?
For younger kids pre-cut the 24-inch strands and pre-make the folded loops in steps 3–4 and let them string star or pony beads in step 9 and tie the final double knot in step 12 with assistance, while older kids can use longer strands, more colors, alternate bead placement in step 11, or add letter beads for messages.
How can we make the bracelets more unique or fancy after following the steps?
Personalize by mixing in letter or metallic beads during step 11, braiding or knotting the remaining ~1-inch tails from step 13 into tassels, attaching a small charm to the loop from step 4, and then photograph your matching bracelets to share on DIY.org as suggested.
Watch videos on how to make BFF friendship bracelets
STARBURST TUTORIAL [CC] || Friendship Bracelets
4 Videos
![STARBURST TUTORIAL [CC] || Friendship Bracelets](https://img.youtube.com/vi/V3QTMpQuW5M/mqdefault.jpg)
STARBURST TUTORIAL [CC] || Friendship Bracelets

Paper Star ⭐ | Mini Paper Star Bracelet | Friendship Day Gift
DIY Paper Star Bracelet 📿 Paper friendship Band⭐ #artandcraftbymanothahim
DIY Paper Star Bracelet 📿 | Paper friendship Band⭐ | Paper Gift ideas | Back to SChool Craft | Cat 😺
Facts about kids jewelry making
🧵 Friendship bracelets trace their roots to Central and South American craft traditions and became a popular gift to swap among friends.
⭐ Beads have been used in jewelry-making for thousands of years—every culture adds its own colorful twist, like star-shaped beads for extra sparkle.
🧠 Making and knotting bracelets helps build fine motor skills and hand-eye coordination, which supports tasks like writing and tying shoes.
🎨 Embroidery floss usually comes as six strands that you can separate to make thinner threads and more detailed patterns.
🤝 A common friendship-bracelet tradition is to tie the bracelet on a friend's wrist and wear it until it naturally falls off as a sign of lasting friendship.
How do you make matching BFF friendship bracelets with star beads?
What materials do I need for Make BFF Bracelets w/ DIY Star Anabanana1234?
What ages is making BFF bracelets suitable for?
What are the benefits of making BFF friendship bracelets?
