Make ANYTHING out of clay
Use air-dry clay to sculpt any object you imagine, practice shaping, joining, smoothing, and painting to create a finished handmade model.


Step-by-step guide to make anything out of clay
Shape, Create, and Play 🖌️ | Easy Clay Crafts for Kids!
Step 1
Spread the wax paper on your work surface and put your materials on it.
Step 2
Wash your hands with soap and dry them.
Step 3
Tear off a piece of clay about the size of a tennis ball and knead it until soft.
Step 4
Choose one object to sculpt and picture its main shapes in your mind.
Step 5
Shape the main body of your object by pressing and molding the clay into that form.
Step 6
Roll small pieces of clay for details like arms legs eyes or ears.
Step 7
Score the spots where each detail will attach by scraping tiny lines with a toothpick or tool.
Step 8
Lightly moisten the scored areas with a damp fingertip from the bowl of water.
Step 9
Press each detail piece onto the main body and hold it for a few seconds to join them.
Step 10
Smooth seams and surfaces by rubbing them gently with a damp finger or tool.
Step 11
Leave your sculpture to dry flat on the wax paper for at least 24 hours or until hard.
Step 12
Lightly sand any rough spots with fine sandpaper or a nail file.
Step 13
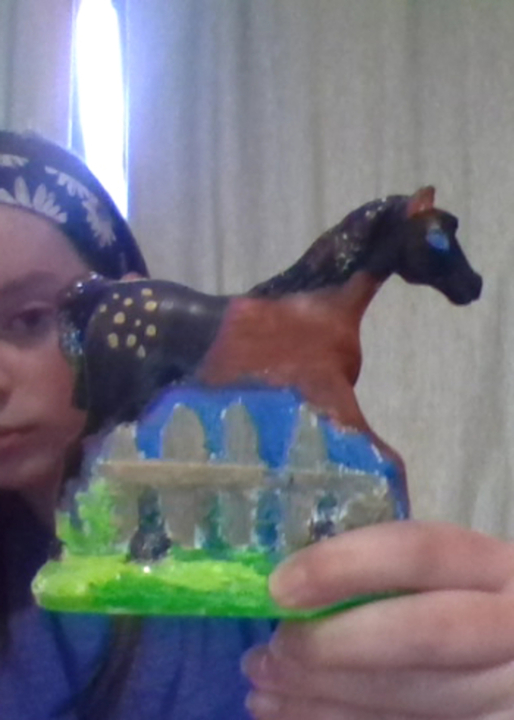
Paint your sculpture with your chosen colors.
Step 14
Let the paint dry completely.
Step 15
Share a photo of your finished creation on DIY.org.
Help!?
What can we use instead of wax paper or air-dry clay if those are hard to find?
Use parchment paper or a silicone baking mat as the work surface, and if you don't have air-dry clay, substitute oven-bake polymer clay and bake it according to package instructions instead of leaving it to dry for 24 hours.
My small detail pieces keep falling off after drying—how can I fix that?
Re-score the attachment spots with a toothpick, lightly moisten the scored areas from the bowl of water as the instructions say, press each detail on and hold for a few seconds, then let the sculpture dry flat for at least 24 hours to strengthen the joins.
How can I adapt the steps for younger children or older kids?
For preschoolers, use softer non-toxic clay the size of a tennis ball and skip scoring so adults can help press big shapes, while older kids can roll tiny pieces for detailed arms or eyes, score with a toothpick, sand with fine sandpaper, and add painted details.
How can we extend or personalize the sculpture after following the basic instructions?
Before drying, add texture with household tools or a toothpick, insert a small wire armature into the main body for poseability, sand rough spots after drying, paint custom colors, and then share a photo on DIY.org.
Watch videos on how to make anything out of clay
Get Creative with Clay! Fun DIYs for Kids
4 Videos

Get Creative with Clay! Fun DIYs for Kids
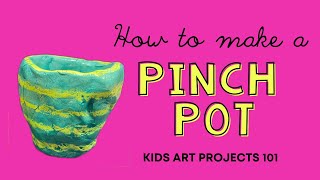
How to Make a Pinch Pot Clay Tutorial for Kids
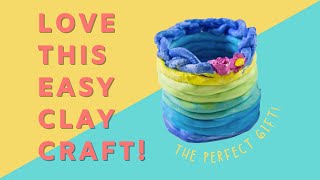
Clay Coil Pots | Beginner-Friendly Craft for Kids
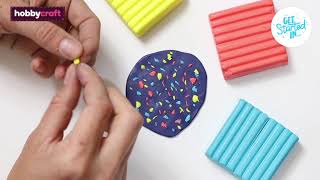
5 Easy Clay Projects for Beginners | Get Started In Clay | Hobbycraft
Facts about clay sculpting for kids
🎨 Air-dry clay hardens without firing — it dries in the air, so no kiln is needed for home projects.
🧼 You can smooth fingerprints with a damp sponge or brush, but too much water makes air-dry clay weak and sticky.
🧱 People have been making pottery and clay objects for over 20,000 years — clay is one of humanity’s oldest art materials.
🖌️ Acrylic paint and a clear varnish work great on air-dry clay to add color and protect your model.
🔗 Strong joins are made by scoring (scratching) both surfaces, then pressing them together with a little slip or glue.
How do I make a clay sculpture with air-dry clay?
What materials do I need to make clay models with air-dry clay?
What ages is air-dry clay sculpting suitable for?
What are the benefits of making things with air-dry clay?
