Make an Ocean in a Jar!
Make an ocean in a jar using water, oil, food coloring, and glitter; observe layers, simulate waves, and learn about density safely.


Step-by-step guide to Make an Ocean in a Jar
Step 1
Gather all the materials and put them on a table.
Step 2
Pour water into the jar until it is about one third full.
Step 3
Add about six drops of blue food coloring to the water.
Step 4
Stir the water with the spoon until the color is even.
Step 5
Sprinkle a small pinch of glitter or sequins into the colored water.
Step 6
Slowly pour vegetable oil into the jar until the jar is almost full leaving a little space at the top.
Step 7
Screw the lid onto the jar tightly.
Step 8
Observe which liquid layer sits on top and which layer sits on the bottom.
Step 9
Gently tilt the jar back and forth to make waves inside the jar.
Step 10
Observe where the glitter and colored water go after the waves calm down.
Step 11
Ask an adult to help you store or dispose of the jar safely.
Step 12
Share your finished Ocean in a Jar on DIY.org.
Help!?
What can we use if we don't have blue food coloring or vegetable oil?
If you don't have blue food coloring, mix a tiny bit of washable blue paint or powdered drink mix into the water during the 'Add about six drops of blue food coloring' step, and if you lack vegetable oil you can pour in baby oil or mineral oil when the instructions say to 'Slowly pour vegetable oil into the jar'.
What should we do if the oil and water don't form two clear layers or the glitter clumps?
If the layers don't separate clearly after you 'Slowly pour vegetable oil into the jar' or the glitter clumps, stop tilting or stirring, set the jar upright and let it sit undisturbed for several minutes so the oil rises to the top and the glitter settles, and make sure you didn't add soap which can mix the layers.
How can I adapt the activity for different age groups?
For toddlers, have an adult do the 'Pour water', 'Add food coloring', and 'Slowly pour vegetable oil' steps and let the child sprinkle the glitter and gently tilt the sealed jar, while older kids can add small plastic sea animals before screwing the lid and test different oils to explore buoyancy and wave motion.
How can we enhance or personalize our Ocean in a Jar?
Personalize it by adding small plastic sea animals or shells before you 'Screw the lid onto the jar tightly', using glow-in-the-dark glitter, sealing the lid with hot glue for storage, and decorating the outside to make a display or sensory bottle.
Watch videos on how to make an Ocean in a Jar
How To Make Ocean Layers In A Jar (STEM education activity)
4 Videos

How To Make Ocean Layers In A Jar (STEM education activity)
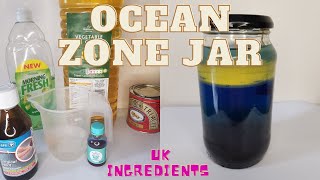
Ocean Zones for Kids: Ocean Zone Jar UK Ingredients! Cool Density Science Experiment.
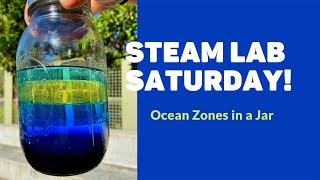
STEAM Lab Saturday: Ocean Zones in a Jar
Make the Ocean in a Jar!
Facts about liquid density experiments
🌊 About 71% of Earth's surface is covered by oceans — your jar is a tiny version of a huge world!
⚖️ Most oils are less dense than water (about 0.9 g/cm³ vs 1 g/cm³), so oil floats and forms a separate layer.
🎨 Food coloring is water-based, so it mixes into the water layer but not into the oil layer — perfect for colorful oceans!
🌬️ Waves are energy moving through water — tilt or gently shake your jar and you can watch wave motion without mixing layers.
✨ Traditional glitter is tiny plastic particles that can pollute oceans, so try biodegradable glitter or reuse it to be ocean-friendly.
How do I make an ocean in a jar with my child?
What materials do I need to make an ocean in a jar?
What ages is making an ocean in a jar suitable for?
What are the benefits and safety tips for an ocean-in-a-jar activity?
