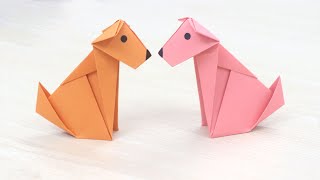
Make An Awesome Origami Puppy!
Fold paper to create an origami puppy, decorate it with markers, learn precise folding steps and basic symmetry, then display your paper pet.


Step-by-step guide to make an awesome origami puppy
Step 1
Cut a square sheet of paper using scissors if your paper is not already square.
Step 2
Place the square paper flat on the table with one corner pointing toward you.
Step 3
Fold the paper diagonally so the corner nearest you meets the opposite corner to make a triangle and crease firmly.
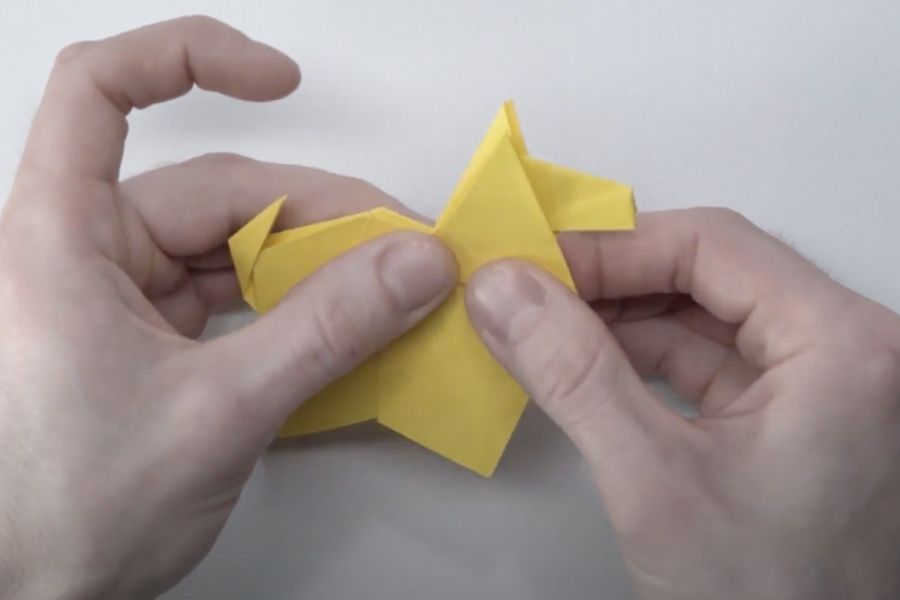
Step 4
Fold the right corner of the triangle up toward the top point about halfway to form the puppy's right ear and crease.
Step 5
Fold the left corner up the same amount so the left ear matches the right ear and crease for symmetry.
Step 6
Fold the top point of the triangle down about one third of the triangle's height to create the puppy's snout and crease.
Step 7
Fold the whole paper in half vertically once to make a light center crease that will help you place facial features.
Step 8
Turn the paper so the colored front of your puppy faces up.
Step 9
Use the black marker to draw two eyes on either side of the center crease above the snout.
Step 10
Draw a nose and a little mouth on the snout using the black marker.
Step 11
Decorate the ears body and snout with colouring materials to add spots a collar or fun patterns.
Step 12
Display your paper puppy where others can see it and share your finished creation on DIY.org
Help!?
I don't have square origami paper or a black marker—what can I use instead?
If you don't have pre-cut square paper, follow the instruction to 'Cut a square sheet of paper using scissors' by folding one corner to the opposite edge and trimming the excess, and if you lack a black marker use a pencil, crayon, or thin felt-tip to draw the eyes and nose in the 'Use the black marker to draw two eyes' step.
My folds aren't lining up and the puppy looks lopsided—how can I fix the shape?
Make sure the diagonal fold in step 3 is exact, realign the triangle so the corners meet before creasing, then carefully match the 'Fold the right corner' and 'Fold the left corner' ear folds so both ears are the same distance from the top point and press each crease firmly with your fingernail or a ruler.
How can I adapt this origami puppy for different ages?
For younger kids, have an adult do the initial cuts and the diagonal/ear folds (steps 1–5) while the child does the colouring and 'Use the black marker to draw two eyes' step, and for older kids challenge them to make a whole puppy family by repeating folds with patterned paper and adding detailed decorations in the 'Decorate the ears body and snout' step.
What are some fun ways to enhance or personalize the finished puppy?
After drawing the face and decorating the ears and snout, glue on a paper collar, add spots with stickers or sequins from your colouring materials, or write the puppy's name and then follow the 'Display your paper puppy' step to show off your customized creation.
Watch videos on how to make an awesome origami puppy
"How to Make an Origami Dog: Step-by-Step Guid/ Fun and Simple Origami Dog Craft for Beginners"
4 Videos

"How to Make an Origami Dog: Step-by-Step Guid/ Fun and Simple Origami Dog Craft for Beginners"
How to fold Origami Dog - Easy Paper Dog Tutorial
Origami Dog Tutorial - So easy that anyone can make it, you'll be amazed!
Easy Origami Dog Tutorial 🐶 | Simple Paper Dog Step by Step
Facts about origami and paper folding
📝 Traditional origami uses only folding—no cutting or glue—so your puppy can be one neat square of paper!
🐶 Many simple origami dog designs are beginner-friendly and are a classic first paper pet for kids learning folds.
📐 Folding teaches symmetry: a single crease creates mirror-image sides, great for making matching puppy ears.
📄 The same folding steps can be done on tiny or large squares of paper, so you can make a litter of different-sized puppies.
🎨 Decorating your paper puppy with markers, stickers, or googly eyes makes each one uniquely yours.
How do you make an origami puppy?
What materials do I need to make an origami puppy?
What ages is folding an origami puppy suitable for?
What are the benefits of making an origami puppy and safety tips?
