Make an anatomical model
Build a simple anatomical model of a human organ (heart, lungs, or brain) using clay, cardboard, and labels to learn structure and function.

Step-by-step guide to make an anatomical model of a human organ
3D Human Skeleton (with labels) school project for kids
Step 1
Choose which organ to build: heart lungs or brain.
Step 2
Find a simple picture of that organ to copy from a book or poster.
Step 3
Decide how big your model will be and draw the organ outline on the cardboard.
Step 4
Cut out the cardboard outline with scissors while an adult watches.
Step 5
Use clay to form the organ’s main body by rolling or shaping a large piece.
Step 6
Shape smaller clay pieces for key parts like heart chambers lung lobes or brain hemispheres and cerebellum.
Step 7
Press the smaller clay pieces onto the main clay body so the organ looks like your picture.
Step 8
Place the finished clay organ on the cardboard cutout and secure it with small dabs of glue or tape.
Step 9
Write each part name and a short function sentence on small paper tags using the marker.
Step 10
Attach the paper tags to the model with toothpicks or tape so each tag points clearly to the correct part.
Step 11
Share a photo and a short description of your finished anatomical model on DIY.org
Help!?
What can we use if we can't find clay or sturdy cardboard for the outline?
Use Play‑Doh or air‑dry modeling compound instead of clay and substitute thick poster board or a flattened cereal box for the cardboard outline used in step 3.
My small clay pieces keep falling off the main body—how can I fix that?
When you press the smaller clay pieces onto the main clay body in step 6, push a short toothpick through each piece into the main body and add a tiny dab of tacky glue at the seam before placing on the cardboard in step 8.
How can I adapt this activity for a preschooler versus an older child?
For preschoolers, have an adult pre‑draw and cut the cardboard outline and prepare larger, simpler clay shapes to press together, while older kids can sculpt finer lobes or chambers, label parts themselves, and write longer function sentences as in steps 3, 5, and 10.
How can we make the model more detailed or personalized before sharing it on DIY.org?
Enhance the model by painting dried clay parts for realism, attaching removable labels with small Velcro or paper tabs for interactive learning, and gluing a short printed description onto the cardboard base to photograph as described in steps 7, 9, and 11.
Watch videos on how to make an anatomical model of a human organ
Human Body Systems STEM Project
4 Videos
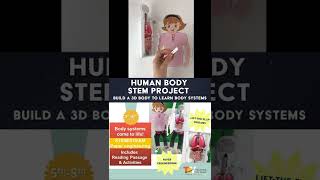
Human Body Systems STEM Project
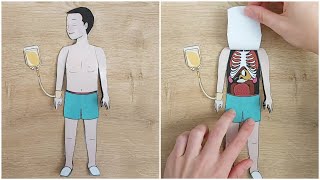
Layered Human Body Making from CutTheWholeBook! Educational Crafts, Surgery Game with Paper Body
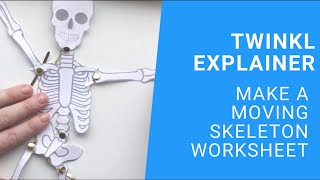
KS2 Science: Make a Moving Skeleton Worksheet
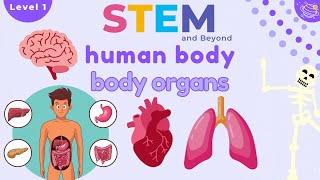
Human Body Organs | Science For Kids | STEM Home Learning
Facts about human anatomy for kids
❤️ The human heart beats about 100,000 times a day and pumps roughly 7,500 liters (about 2,000 gallons) of blood every day.
🧠 Your brain is only about 2% of your body weight but uses roughly 20% of your body's energy.
🌬️ If you spread out all the air sacs in your lungs, their surface area would be about the size of a tennis court.
🎨 Making models with clay and cardboard helps kids learn complex structures faster because hands-on building boosts memory and understanding.
♻️ Cardboard is often made from recycled paper and is recyclable itself, so anatomical models can be made eco-friendly.
How do I build a simple anatomical model of a human organ with my child?
What materials do I need to make an organ model from clay and cardboard?
What ages is this anatomical model activity suitable for?
What are the benefits of making anatomical models, and are there safety tips?
