Make a vertical garden
Build a small vertical garden using recycled bottles or pockets, soil, and seedlings; learn planting, watering, and caring for herbs or flowers.


Step-by-step guide to make a vertical garden
Gobble | How To Make A Vertical Garden At Home | Low Cost Garden | Vertical Gardening
Step 1
Pick a sunny wall balcony railing or fence where your garden will get at least four hours of sun each day.
Step 2
Decide whether you will use plastic bottles or fabric pockets and lay them out on a table.
Step 3
With an adult's help cut the bottles to make open planting pockets leaving one side attached so the soil stays inside.
Step 4
With an adult's help poke two to three small drainage holes in the bottom of each pocket using the sharp tool.
Step 5
Tie a length of twine or rope around the neck of each bottle or thread it through the pocket top to make a hanger loop.
Step 6
Put a small handful of rocks or pebbles into the bottom of each pocket for drainage.
Step 7
Spoon potting soil into each pocket filling to about one inch from the top.
Step 8
Plant one seedling or sow seeds in each pocket and press the soil gently around them.
Step 9
Water each pocket lightly with a cup or small watering can until the soil is evenly moist but not soggy.
Step 10
Hang or secure each pocket on your chosen wall fence or railing using the twine loops.
Step 11
Use the marker to write each plant name on a label and stick it on the matching pocket.
Step 12
Make a simple care plan by deciding how often to check water and watch your plants and write it down.
Step 13
Share a photo and story of your finished vertical garden on DIY.org
Help!?
What can I use instead of the plastic bottles or fabric pockets if they are hard to find?
Use cleaned milk jugs or juice bottles cut like the plastic bottles in step 3, empty yogurt or margarine tubs with drainage holes poked in the bottom, or a hanging shoe organizer threaded with twine as alternative planting pockets while following the same steps for drainage, soil, and hanger loops.
What should I do if the pockets leak soil or tear when I'm cutting them?
If pockets leak or tear during the cutting step, leave one side attached as instructed, reinforce the cut edges with duct tape before adding the rocks and potting soil (steps 3 and 5), and make sure drainage holes are small and spaced as in step 4 to prevent large soil loss.
How can I adapt this vertical garden activity for different age groups?
For preschoolers, have an adult handle the cutting and hole-poking while the child fills pockets with potting soil and presses seeds in (steps 3–7), and for older kids let them design the layout, choose plant varieties, and write a detailed care plan with watering frequency in step 11.
How can we enhance or personalize the vertical garden once it's assembled?
Personalize by painting or decorating the bottles/pockets, write plant names on labels as in step 10, plant a themed set like herbs or pollinator flowers, add a slow-drip filler bottle for easier watering, and then share a photo and story on DIY.org as in the final step.
Watch videos on how to make a vertical garden
Cheap & Easy Vertical Tower Garden with No Power, Diy Hydroponics
4 Videos
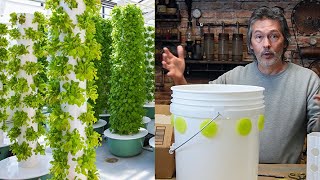
Cheap & Easy Vertical Tower Garden with No Power, Diy Hydroponics
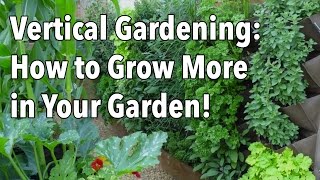
Vertical Gardening - Simple Ideas for a Vertical Vegetable Garden
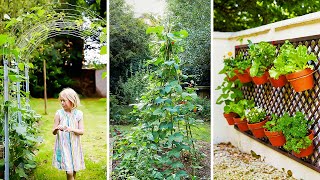
3 Awesome Ways to Grow Vertically in Your Garden
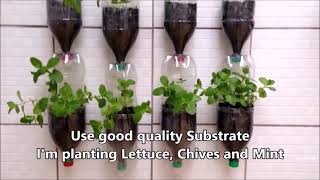
BOTTLE GARDEN, Learn how to make A Vertical Garden in bottles Plastic
Facts about vertical gardening for kids
🌿 Vertical gardens (also called green walls) let you grow many plants in a tiny space — great for balconies and small yards.
♻️ Old plastic bottles can be reused as planters — PET bottles are lightweight, drainable, and perfect for kid-friendly projects.
🌱 Fast-growing herbs like basil, mint, and chives can be ready to snip in as little as 3–6 weeks from seedlings.
💧 Most small herb containers only need water when the top 1 inch (2–3 cm) of soil feels dry — overwatering is a common mistake.
🐝 Flowering herbs (like thyme and rosemary) attract pollinators — even small vertical gardens help local bees and butterflies.
How do you make a vertical garden with recycled bottles or pockets?
What materials do I need to build a small vertical garden?
What ages is this vertical garden activity suitable for?
What are the benefits and safety tips for making a vertical garden with kids?
