Make a Treehouse for Your Origami Birds
Create a miniature paper and stick treehouse to shelter your origami birds, designing branches, platforms, and decorations while practicing cutting, folding, and gluing skills.


Step-by-step guide to make a treehouse for your origami birds
Step 1
Clear a clean workspace and gather all your materials so everything is ready.
Step 2
Cut a rectangle from the cardboard to make the tree trunk piece.
Step 3
Cut a round circle from cardboard to use as the base for the treehouse.
Step 4
Roll the trunk rectangle into a tube shape to form the tree trunk.
Step 5
Secure the rolled trunk tube with tape or glue so it holds its shape.
Step 6
Glue the trunk tube upright onto the round base so your tree stands up.
Step 7
Cut popsicle sticks or twigs into several different branch lengths.
Step 8
Glue the branches onto the trunk at different heights and angles to make tree limbs.
Step 9
Cut small squares or rectangles from cardboard to make platforms for your birds.
Step 10
Glue the platforms onto branches or directly to the trunk to create floors.
Step 11
Make a ladder by gluing small stick rungs between two thin strips of cardboard.
Step 12
Cut leaf shapes and little flag or bunting triangles from colored paper for decorations.
Step 13
Color platforms and any cut decorations with markers or crayons to make them bright.
Step 14
Glue the leaves flags and any decorative scraps onto the branches platforms and trunk.
Step 15
Place your origami birds into the treehouse and share your finished creation on DIY.org
Help!?
What can we use instead of cardboard, popsicle sticks, or glue if we don't have them?
Use flattened cereal or shoe boxes or a paper towel tube for the trunk and base, cut strong paper or thin plastic from packaging instead of popsicle sticks or twigs, and replace glue with tape, a stapler, or clothespins to secure the rolled trunk and branches.
My tree keeps tipping over or the platforms fall off—how can I fix that?
Reinforce the round base by gluing a second cardboard circle or adding coin/washer weights under it, make sure the trunk rectangle is tightly rolled and secured with tape at step 4, and press or clamp branches and platforms until the glue fully dries or use stronger glue for twigs.
How can we change the project to suit younger or older kids?
For younger children pre-cut the trunk, base, branches, and platforms and let them glue and color at steps 1, 2, 6, and 12, while older kids can cut their own shapes, design multi-level platforms and angled branches, and make a more complex ladder from thin cardboard strips.
What are some fun ways to extend or personalize our treehouse?
Add removable or hinged cardboard platforms, cover the trunk with tissue paper or real moss for texture, string mini bunting from the colored paper flags, attach tiny LED lights near branches, or build a pulley to move origami birds between levels before sharing your creation on DIY.org.
Watch videos on how to make a treehouse for your origami birds
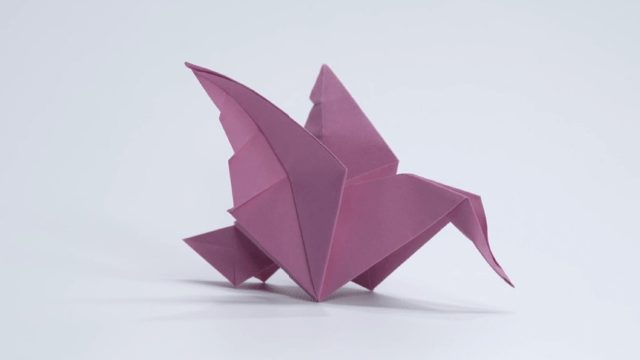
How to Make a Paper Bird Easy - Origami Bird Tutorial
4 Videos
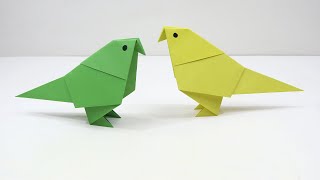
How to Make a Paper Bird Easy - Origami Bird Tutorial

Origami Bird instructions - How to make a Paper Bird easy step by step
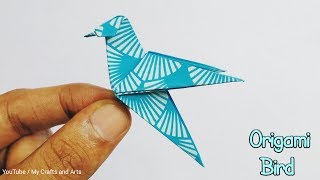
How to make an origami bird easily at home || Origami for beginners

Cute & Easy Origami Bird - Paper Bird Origami
Facts about paper crafts for kids
🕊️ The paper crane is a famous origami model — in Japan, folding 1,000 cranes is a traditional wish-making practice.
📄 Most people can only fold a sheet of paper about 7 times by hand because each fold doubles the layers and becomes too thick.
🌳 Treehouses have been built worldwide for centuries as lookouts, storage, and playful or even lived-in spaces.
🐦 Some hummingbird nests are so tiny they're about the size of a ping-pong ball — perfect inspiration for miniature shelters.
🪵 Craft (popsicle) sticks are sturdy, kid-friendly building pieces used in countless mini models because they glue and stack easily.
How do you make a treehouse for origami birds?
What materials do I need to make a miniature paper and stick treehouse?
What ages is this activity suitable for?
What are the benefits of making a treehouse for origami birds?
