Make a travel map
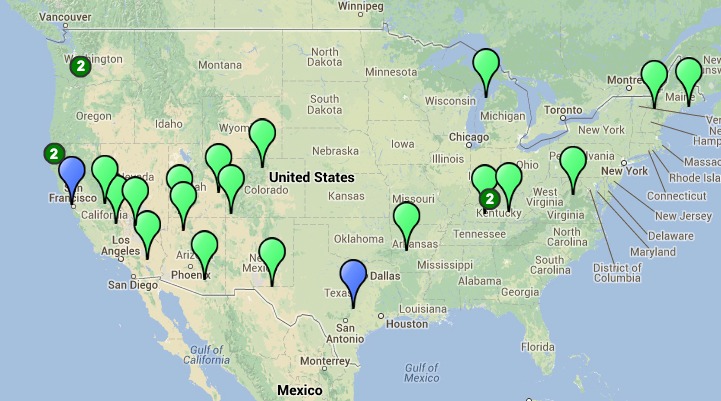
Create a personalized travel map using paper, markers, stickers, and a simple scale; mark routes, landmarks, distances, and imagined or real trips to explore geography.

Drawing Apps
Step-by-step guide to make a travel map
Maps for Kids | Learn how to read a map and other skills in this fun introduction to maps
Step 1
Gather the Materials Needed.
Step 2
Choose whether your map will show a real place like your neighborhood or an imaginary travel world.
Step 3
Write a big title at the top that names your map.
Step 4
Lightly sketch the outline of the area you will map using your pencil.
Step 5
Choose a simple scale for your map such as 1 cm = 1 km and remember it.
Step 6
Draw a scale bar on the edge of your map with your ruler to match the scale you chose.
Step 7
Draw a compass rose or a north arrow so you know which way is north.
Step 8
Mark important landmarks on the map with small pencil symbols where they belong.
Step 9
Draw travel routes that connect the landmarks using a colored marker.
Step 10
Measure each route on the paper with your ruler and write the measurement in centimeters next to the route.
Step 11
Convert each centimeter measurement into real distance using your scale and write the real distance beside each route.
Step 12
Make a legend that explains what each symbol color and sticker means on your map.
Step 13
Add color and stickers to decorate and make landmarks easy to find.
Step 14
Share your finished travel map on DIY.org.
Help!?
I don't have stickers or colored markers — what can I use instead for decorating and showing routes on the map?
Use crayons or colored pencils for routes and cut colored scrap paper or draw small symbols with a pencil to stand in for stickers while still following the step to 'add color and stickers to decorate and make landmarks easy to find.'
My route measurements don't seem to match the real distances after conversion — how can I fix this?
Double-check the scale bar you drew with your ruler against the chosen scale (for example 1 cm = 1 km), re-measure each paper route in centimeters, and correct any pencil sketches before tracing with colored marker so conversions match the measurements.
How can I change the activity to suit different ages?
For preschoolers, have an adult lightly sketch the outline and let them place stickers as landmarks, while older kids can pick a precise scale (like 1 cm = 1 km), draw a detailed compass rose, measure routes with a ruler, and perform the distance conversions themselves.
What are some fun ways to extend or personalize the travel map once it's finished?
Add photos or small drawings next to landmarks, write estimated travel times beside each converted distance, create a custom legend with unique sticker symbols, or laminate the map and fold it like a travel brochure before sharing on DIY.org.
Watch videos on how to make a travel map
Fun for children: How to make a town map
4 Videos
Fun for children: How to make a town map
What is a map for kids
Map and Globe Skills Video Lesson | Geography for Kids | Scale, Compass Rose, and More!
How to Make a Map | Geography for Kids | Made by Red Cat Reading
Facts about mapmaking and basic geography
🗺️ People have been making maps for thousands of years — ancient cave paintings and clay maps show early ways of recording places.
🧭 The magnetic compass started helping sailors navigate around the 12th century, changing how long-distance maps were made.
📏 A map scale like 1:100,000 means 1 cm on the map equals 1 km in real life — scales turn drawings into real distances.
🌍 Some map projections stretch areas near the poles; Greenland can look as big as Africa even though Africa is about 14 times larger.
✈️ Travelers often personalize maps with stickers or little drawings, turning them into colorful trip journals and memory maps.
How do I make a personalized travel map with my child?
What materials do I need to make a child’s travel map?
What ages is making a travel map suitable for?
What are the benefits, safety tips, and fun variations for a travel map activity?
