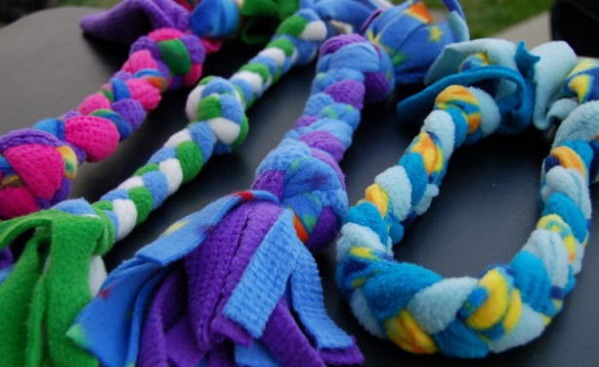
Make a toy for your pet
Make a safe DIY pet toy using fabric scrap, stuffing, and string; sew or tie securely, add bells, and test gentle play with your pet.


Step-by-step guide to make a toy for your pet
Super Simple Cat Toy (For Kids by Kids)
Step 1
Gather your materials on a clean table.
Step 2
Cut two matching fabric pieces about the size of your palm.
Step 3
Lay one fabric piece flat on the table.
Step 4
Put a small handful of stuffing in the center of the flat fabric.
Step 5
Push one or two small bells into the stuffing.
Step 6
Place the second fabric piece on top and match the edges.
Step 7
Ask an adult to help thread the needle and knot the thread.
Step 8
Sew close to the edge with small tight stitches and leave a small gap about 2 cm.
Step 9
Push any extra stuffing into the toy through the gap.
Step 10
Sew the remaining gap closed with small tight stitches.
Step 11
Tie a double knot to secure the thread.
Step 12
Trim any loose threads close to the knots.
Step 13
Gently tug the seams to check they are secure.
Step 14
Offer the toy to your pet for a short supervised gentle play session and watch for chewing or loose parts.
Step 15
Share your finished creation on DIY.org
Help!?
What can we use if we don't have small bells, stuffing, or matching fabric?
Use crinkled aluminum foil or a bottle cap wrapped in fabric instead of bells, torn cotton or old t-shirt scraps for stuffing, and cut two palm-sized squares from an old shirt or felt as matching fabric pieces.
My stitches keep coming undone or the seam splits when I tug—what should I do?
Sew closer to the edge with small tight stitches using a backstitch for strength, leave only the 2 cm gap to add stuffing, then finish with a double knot and trim loose threads to secure the seam.
How can I adapt this project for younger children or older kids who want more challenge?
For younger children, have an adult pre-cut the two palm-sized fabric pieces and pre-thread the needle while the child stuffs and helps hold edges, and for older kids let them use a sewing machine, add extra reinforcement stitches, or embroider designs before stuffing.
How can we personalize or make the toy more fun and durable for our pet?
Add a small pouch of catnip or a crinkle layer for interest, reinforce seams with extra rows of stitching and a double knot, sew on a fabric loop for tugging, and then share your finished creation on DIY.org.
Watch videos on how to make a toy for your pet
Make a Simple Cat Toy from a TP Roll
4 Videos
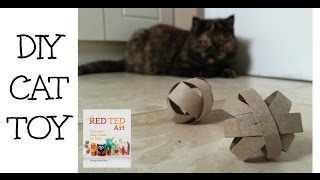
Make a Simple Cat Toy from a TP Roll
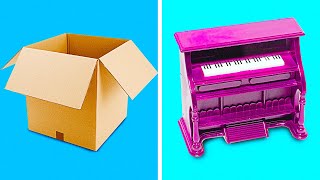
The Simplest DIY Toys You Can Make Right Now
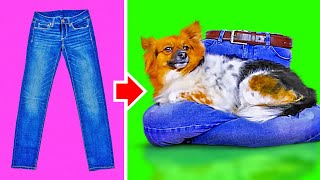
21 EASY PET CRAFTS YOU'D ACTUALLY LOVE TO MAKE

Cheap And Cute Pet Crafts And Gadgets For Your Loved Ones || Room Decor For Dogs And Cats
Facts about DIY pet toys
🐶 Dogs can have up to 300 million scent receptors — that’s why scented or hidden-treat toys are super engaging for them!
🐱 Cats are natural hunters and often prefer toys that mimic prey: small, lightweight, and that move unpredictably.
✂️ Double-stitching seams or tying strong knots helps keep stuffing and small parts safely inside homemade toys.
♻️ Upcycling fabric scraps into pet toys gives old materials a second life and helps cut down household textile waste.
🔔 Adding a soft bell helps you track a toy, but choose a gentle sound and secure attachment so it doesn’t bother your pet.
How do I make a DIY pet toy using fabric scraps?
What materials do I need to make a safe pet toy from fabric scraps?
What ages are suitable for this pet toy craft?
What safety tips and benefits come from making a homemade pet toy?
