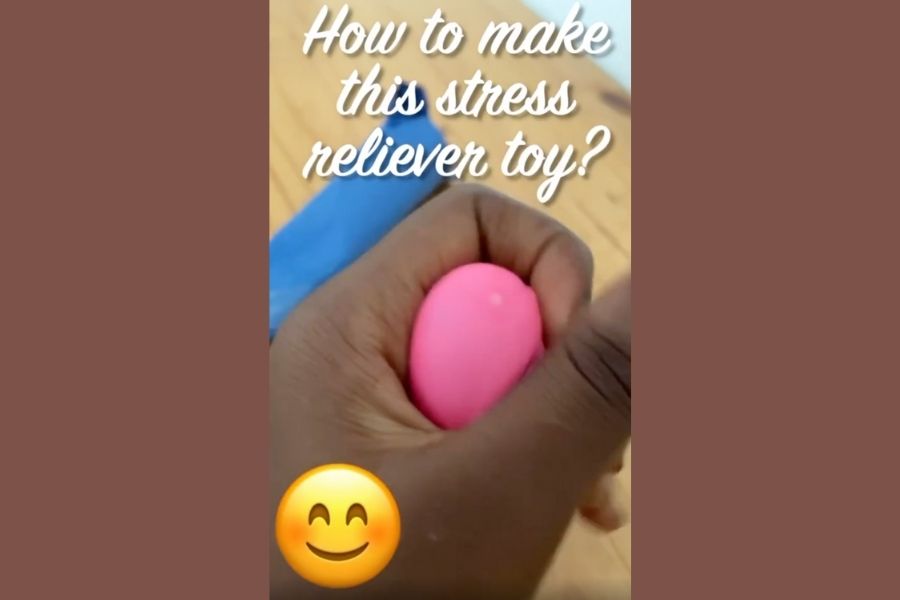
Make a Stress Reliever Toy With Debbienistar
Make a soft stress reliever toy with Debbienistar using balloons, flour, and fabric; practice measuring, pouring, sealing, and squeezing safely while decorating.


Step-by-step guide to make a stress reliever toy with Debbienistar
Step 1
Wash your hands with soap and water so your toy stays clean.
Step 2
Clear a flat workspace and lay out all the materials so everything is easy to reach.
Step 3
Cut a fabric square about as big as your palm or choose a clean sock to use as the outside of your toy.
Step 4
Stretch one balloon gently by pulling the sides and rolling it between your hands so it becomes easier to fill.
Step 5
Push the funnel into the balloon neck so the funnel opening stays snug inside the balloon.
Step 6
Scoop a measured amount of flour into the measuring cup so you practice measuring carefully.
Step 7
Pour the flour slowly through the funnel into the balloon so the filling goes in without spilling.
Step 8
Pinch the balloon neck closed and pull the funnel out while keeping the flour inside the balloon.
Step 9
Tie a tight knot in the balloon neck to seal the flour securely inside.
Step 10
Put the filled balloon into the center of your fabric square or slide it inside the sock.
Step 11
Gather the fabric edges up around the balloon and secure them with a rubber band or tape so the fabric holds the balloon in place.
Step 12
Use the marker to draw a happy face or cool design on the fabric so your toy looks fun.
Step 13
Squeeze your new stress reliever gently to test how it feels and make sure the knot and fabric are secure.
Step 14
Share your finished stress reliever toy on DIY.org
Help!?
What can I use if I don't have a funnel, fabric square, or flour?
Roll a piece of paper or cut the top off a clean plastic bottle to make a funnel, use a clean sock instead of cutting a fabric square, and substitute dry rice or cornstarch for the flour when scooping into the measuring cup and pouring through the funnel.
My balloon keeps tearing or the flour spills—how do I fix that?
Fully stretch the balloon by pulling the sides and rolling it between your hands before filling, pour the flour slowly with small scoops through a snug funnel, pinch the balloon neck while you remove the funnel, and tie a very tight knot to prevent leaks.
How can I adapt this activity for younger kids or older kids?
For younger children have an adult pre-stretch and fill the balloon, place it inside a sock and secure with tape while the child decorates, and for older kids let them measure the flour themselves, try double-layering balloons for extra strength, and create more detailed fabric designs with the marker.
How can we personalize or make the stress reliever last longer?
After tying the knot, put the filled balloon into a sewn fabric pouch or add a second balloon for durability, attach a ribbon or glued-on fabric eyes before drawing a face with the marker, and experiment with rice or cornstarch fillings to change the squishiness.
Watch videos on how to make a stress reliever toy with Debbienistar
6 EASY DIY FIDGET TOYS - HOW TO MAKE TOYS - PAPER CLIP, PIPE CLEANER, STRESS RELIEVER DIYS
4 Videos
6 EASY DIY FIDGET TOYS - HOW TO MAKE TOYS - PAPER CLIP, PIPE CLEANER, STRESS RELIEVER DIYS
Origami stress buster | DIY stress buster toy | Infinite loop paper folding
NEW! 6 EASY DIY FIDGET TOYS - DIY TOYS FOR KIDS TO MAKE USING HOUSEHOLD ITEMS- STRESS RELIEVERS-DIYS
5 EASY DIY FIDGET TOYS - DIY TOYS FOR KIDS TO MAKE USING HOUSEHOLD ITEMS-STRESS RELIEVERS DIYS
Facts about sensory crafts for kids
🎈 Latex balloons can stretch many times their original size — perfect for molding soft, squeezable toy shapes.
🧘♂️ Squeezing a stress reliever toy gives your hands a calming activity that can help reduce muscle tension and focus the mind.
🌾 Flour is finely ground grain and a little goes a long way as a dense, quiet filler for homemade stress toys.
🧵 Cotton fabric is soft and breathable, while stretchy fabrics (like jersey) change how squishy a toy feels when squeezed.
📏 Measuring and pouring ingredients helps kids practice math, hand-eye coordination, and safe kitchen skills while crafting.
How do I make a stress reliever toy with Debbienistar?
What materials do I need to make a Debbienistar stress reliever toy?
What ages is the Debbienistar stress reliever activity suitable for?
What are the safety tips when making a flour-filled stress reliever?
