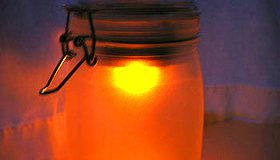
Make a solar powered light
Build a simple solar powered light using a small solar panel, rechargeable battery, LED, and recycled jar; learn about sunlight, circuits, and sustainability.


Step-by-step guide to make a solar-powered light
DIY Solar Lamp Kit V2.0 || Easy School Science Project || STEAM Education Kit
Step 1
Gather all materials and set them on a clear workspace so you can see everything.
Step 2
Put the two AA rechargeable batteries into the battery holder matching the plus and minus marks.
Step 3
Attach the solar panel positive wire to the battery holder positive wire by twisting the wire ends together.
Step 4
Cover the positive wire connection with electrical tape so the wires stay stuck together.
Step 5
Attach the solar panel negative wire to the battery holder negative wire by twisting the wire ends together.
Step 6
Cover the negative wire connection with electrical tape so the wires stay safe.
Step 7
Wrap one end of the resistor around the LED long leg and secure it with tape so the resistor is connected to the LED positive lead.
Step 8
Connect the free end of the resistor to the battery holder positive wire and secure the connection with tape.
Step 9
Connect the short leg of the LED to the battery holder negative wire and secure the connection with tape.
Step 10
Make a small hole in the jar lid with a hand tool so the LED and wires can pass through.
Step 11
Push the LED through the hole in the jar lid so the light will shine into the jar.
Step 12
Glue or tape the LED in place on the lid so it cannot move.
Step 13
Attach the solar panel to the top of the lid and run the wires into the jar through the hole then seal the hole with tape or glue.
Step 14
Put the solar panel in direct sunlight for about thirty minutes to charge the batteries then cover the panel to test that the LED lights the jar.
Step 15
Share your finished creation on DIY.org
Help!?
What can I use if I can't find the two AA rechargeable batteries or the battery holder called for in the instructions?
If you can't find two AA rechargeables or a holder, use a pre-wired 2xAA battery pack or a sealed 3V DIY battery pack designed for electronics and still make sure you match the plus and minus when connecting to the solar panel wires.
My LED doesn't light after I charged the batteries and covered the solar panel—what should I check?
If the LED stays off, verify the batteries are inserted matching the plus/minus marks in the holder, that both solar panel wires are securely twisted and taped to the battery holder wires as instructed, and that the resistor is wrapped around the LED long leg and connected to the battery positive lead.
How can I adapt this project for different age groups so it's safe and fun?
For younger kids have an adult pre-strip wires and make the hole in the jar lid while the child tapes the LED in place, for school-age children let them twist and tape connections with supervision, and for teens include soldering, a switch, or a multimeter to measure the solar panel and battery voltage.
How can we extend or personalize the solar-powered jar light after finishing the basic build?
To enhance the project, add multiple LEDs with individual resistors through the lid or install a small toggle switch between the resistor and the battery holder positive wire, then decorate or paint the jar and test charging the solar panel in direct sunlight.
Watch videos on how to make a solar-powered light
solar street light working model - diy - simple and easy | howtofunda
4 Videos
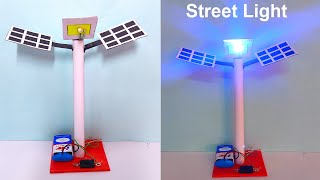
solar street light working model - diy - simple and easy | howtofunda
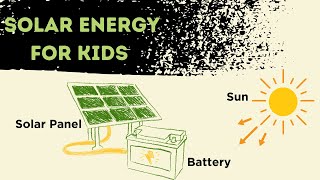
What is Solar Energy Simple for Kids? | Learn About the Sun's Power!
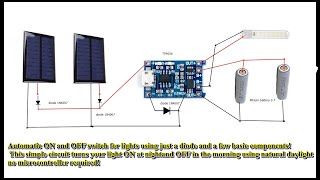
🔆 DIY Solar Night Light with TP4056 Easy Rechargeable Light Project #solarlight #solarcharging #diy
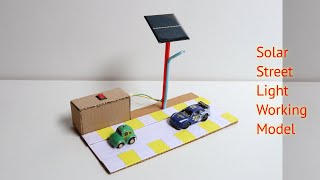
Solar Street Light Project || How To Make Solar Powered Street Light Working model
Facts about solar energy and basic circuits
☀️ A small DIY solar panel (1–3 watts) can collect enough sunlight in a day to power a jar light for several evenings.
💡 LEDs are super efficient — they use up to about 90% less energy than incandescent bulbs and can last 15,000–50,000 hours.
🔋 Common rechargeable batteries for projects (like NiMH AAs) can be recharged hundreds of times, making them great for sustainable gadgets.
♻️ Glass jars are endlessly recyclable and perfect for upcycling into lamps — reusing jars helps keep waste out of landfills.
🌍 Solar power is one of the fastest-growing energy sources worldwide, helping communities switch to cleaner electricity.
How do you build a simple solar-powered light with a jar?
What materials do I need to make a solar jar light?
What ages is a solar-powered jar light activity suitable for?
What are the benefits of making a solar-powered light and safety tips?
