Make a solar house design
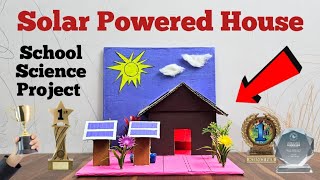
Design and build a small model solar house from cardboard and craft materials, place tiny solar cells to power an LED, and test sunlight.


Step-by-step guide to make a model solar house using cardboard and tiny solar cells
Solar Powered House Model | Easy DIY Science Project for School Exhibition |Renewable Energy Project
Step 1
Lay out all your materials on a clean flat table so you can see everything.
Step 2
Use the pencil and ruler to draw four walls one floor and one roof panel for a small house on the cardboard.
Step 3
Cut out the drawn cardboard pieces carefully to separate the walls floor and roof.
Step 4
Fold and glue the walls to the floor to make a little house box and hold until the glue sticks.
Step 5
Decorate the outside of your house with colouring materials to make it look fun and bright.
Step 6
Choose a flat spot on the roof and mark where you will attach the solar cell or cells.
Step 7
Tape the solar cell or cells to the marked spot on the roof leaving the metal tabs or wire ends free to connect.
Step 8
Look at the LED and find the longer lead which is positive and the shorter lead which is negative.
Step 9
Find the two metal tabs on the solar cell and decide which is positive and which is negative by looking for tiny plus or minus signs or the printed markings.
Step 10
Connect the solar cell positive tab to the LED longer lead and the solar cell negative tab to the LED shorter lead using alligator clip leads or taped wires so the connections are secure.
Step 11
Take your house into bright sunlight and tilt the roof toward the sun to see if the LED lights up and try using folded aluminium foil as a reflector if the light is dim.
Step 12
Take a photo or video and share your finished solar house creation on DIY.org
Help!?
What can we use if we can't find a small solar cell or alligator clip leads?
Salvage the solar panel from a garden stake light (removing its metal tabs) and use insulated copper wire or tape the LED leads directly to the solar cell tabs instead of alligator clip leads, following the 'tape the solar cell' and 'connect... using alligator clip leads or taped wires' steps.
Why won't the LED light even in bright sun and how can I fix it?
Check that the LED's longer lead is connected to the solar cell's positive tab and the shorter lead to the negative tab using secure clips or taped wires, ensure the roof is tilted toward the sun and not shaded, and try using folded aluminium foil as a reflector as suggested if the light is dim.
How can I adapt this activity for younger children or challenge older kids?
For younger kids, have an adult pre-draw and pre-cut the cardboard, use glue sticks and stickers for the 'fold and glue' and 'decorate' steps and let them tape the solar cell in place, while older kids can design multi-panel roofs, wire multiple solar cells in series or parallel and measure voltage with a multimeter after 'find the two metal tabs' and 'connect' steps.
What are some ways to extend or personalize the solar house after it's working?
Add extra LEDs on different walls wired in parallel, install a small toggle switch between the solar cell tabs and the LED leads, make a larger aluminium foil reflector per the 'folded aluminium foil' suggestion, or cut window shapes and insert colored cellophane before photographing your finished solar house.
Watch videos on how to make a model solar house using cardboard and tiny solar cells
Renewable energy house Project,Solar energy house project model,Science Project for school
4 Videos
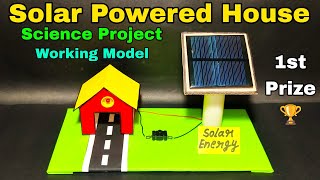
Renewable energy house Project,Solar energy house project model,Science Project for school
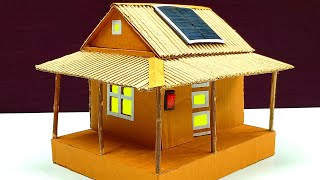
How to make science project | Solar energy cardboard house | Free Energy | Green Energy Project
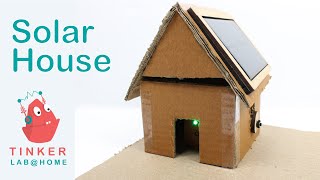
DIY-How to make a simple Solar House-school project | Junior Tinker Lab at Home
Solar House Working Model | School Science Project | Solar Energy working project #science #solar
Facts about solar energy and electronics for kids
☀️ In just one hour the sun delivers more energy to Earth than humanity uses in a whole year — that’s a lot of sunshine to catch!
🔋 A small solar cell in bright sunlight can make enough electricity to light a tiny LED — perfect for model houses.
🏠 Passive solar design (using windows, insulation, and building shape) can heat a home without any electricity.
📦 Cardboard is a favorite for models because it’s lightweight, easy to cut and glue, and helps show how insulation works.
🔬 The photovoltaic effect that makes solar cells possible was discovered way back in 1839 by Edmond Becquerel.
How do I design and build a small solar house model that powers an LED?
What materials do I need to build a model solar house with an LED?
What ages is this solar house model activity suitable for?
What safety tips should parents follow when kids build a solar house model?
