Make a Sideways Looking Gacha with LankyFanSiblings
Make a sideways looking gacha character of the LankyFanSiblings using paper, clay, and markers; sculpt, decorate, pose, and display your mini figure.


Step-by-step guide to Make a Sideways Looking Gacha with LankyFanSiblings
Step 1
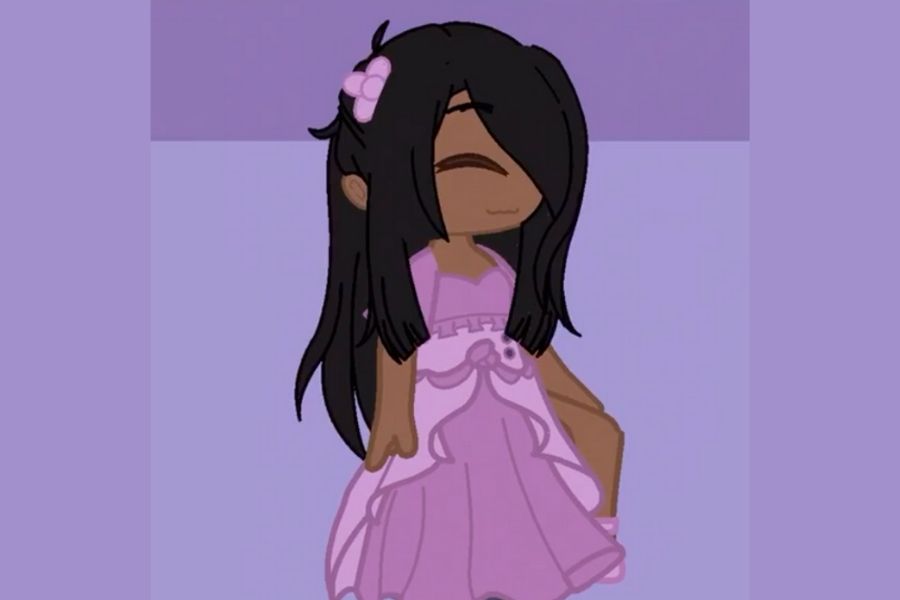
Draw a simple sideways-looking sketch of the LankyFanSiblings on paper to plan the pose and facial expression.
Step 2
Gather all Materials Needed and set them within arm’s reach.
Step 3
Tear off a palm-sized piece of air-dry clay to make the body.
Step 4
Roll the clay into a smooth cylinder shape to form the body.
Step 5
Roll a smaller piece of clay into a ball for the head and flatten one side slightly where the face will go.
Step 6
Use the toothpick to press two small eye shapes on the head and place them toward one side to create a sideways gaze.
Step 7
Press the head gently onto the top of the body to attach it.
Step 8
Roll four thin clay ropes to make two arms and two legs.
Step 9
Attach each arm and leg by pressing the clay ropes onto the body where you want them to be.
Step 10
Use the toothpick to add hair texture and clothing lines as small details.
Step 11
Place the mini figure on the chosen base so you can see how it will stand.
Step 12
Press the figure gently on the base and add a little craft glue if needed to secure it.
Step 13
Let the clay and glue dry completely for 24 hours.
Step 14
Once dry use markers to colour and decorate your mini figure to look like the LankyFanSiblings.
Step 15
Share your finished creation on DIY.org
Help!?
What can I use instead of air-dry clay if I can't find any?
If air-dry clay is unavailable, substitute oven-bake polymer clay or homemade salt-dough and follow the same steps of tearing a palm-sized piece, rolling it into a cylinder for the body, and shaping a smaller ball for the head.
My head keeps falling off or the figure cracks while drying—how do I fix that?
To prevent the head from falling off or cracking, slightly flatten the face side as instructed, score both the head and body contact points with the toothpick, press them together firmly, add a tiny bit of water or clay slip, and secure the dried figure to the base with a dab of craft glue before the 24-hour curing time.
How can I adapt this activity for different age groups?
For younger kids, pre-roll the cylinder body and thicker clay ropes for arms/legs and skip the delicate toothpick details, for elementary ages follow all steps including eye placement and hair texture with the toothpick, and for older kids add an internal wire armature or use polymer clay for finer detailing before coloring with markers.
How can we personalize or extend the mini figure once it's finished?
After the drying and marker-coloring steps, personalize the mini figure by gluing tiny fabric clothes or painted details with craft glue, attaching a small magnet or peg to the base for a gacha-style reveal, and then share your finished creation on DIY.org as suggested.
Watch videos on how to Make a Sideways Looking Gacha with LankyFanSiblings
I Create a Gacha Character for the FIRST TIME and then Draw it!
4 Videos
I Create a Gacha Character for the FIRST TIME and then Draw it!

Gacha Life - Character making tutorial
How to make a Cute Gacha Life Character - Gacha Life Tutorial
|| Making 3 sibling OC'S using wheel generator || Gacha
Facts about sculpting and modeling with clay and paper
🎮 Gashapon machines in Japan often sell mystery capsules for 100–500 yen — tiny surprise toys for pocket change!
🎨 Polymer clay stays soft until you bake it, then it hardens into a durable plastic-like material perfect for mini figures.
✂️ Papercraft can be surprisingly sturdy: layering and folding paper makes props and stands that hold up your display.
🧩 Miniature scales like 1:12 mean a 6-foot person becomes about a 6-inch figure — scale makes tiny worlds feel real!
🧸 A simple wire armature inside clay helps your figure hold dynamic poses and prevents fragile limbs from breaking.
How do I make a sideways looking Gacha of the LankyFanSiblings?
What materials do I need to make a sideways Gacha mini figure?
What ages is this LankyFanSiblings sideways Gacha activity suitable for?
What safety tips should I follow when making a sideways Gacha figure?
