Make a Scrapbook About Your Favourite Books!
Create a colorful scrapbook celebrating your favourite books by adding summaries, drawings, quotes, and ratings, learning organization and creative storytelling skills as you craft.
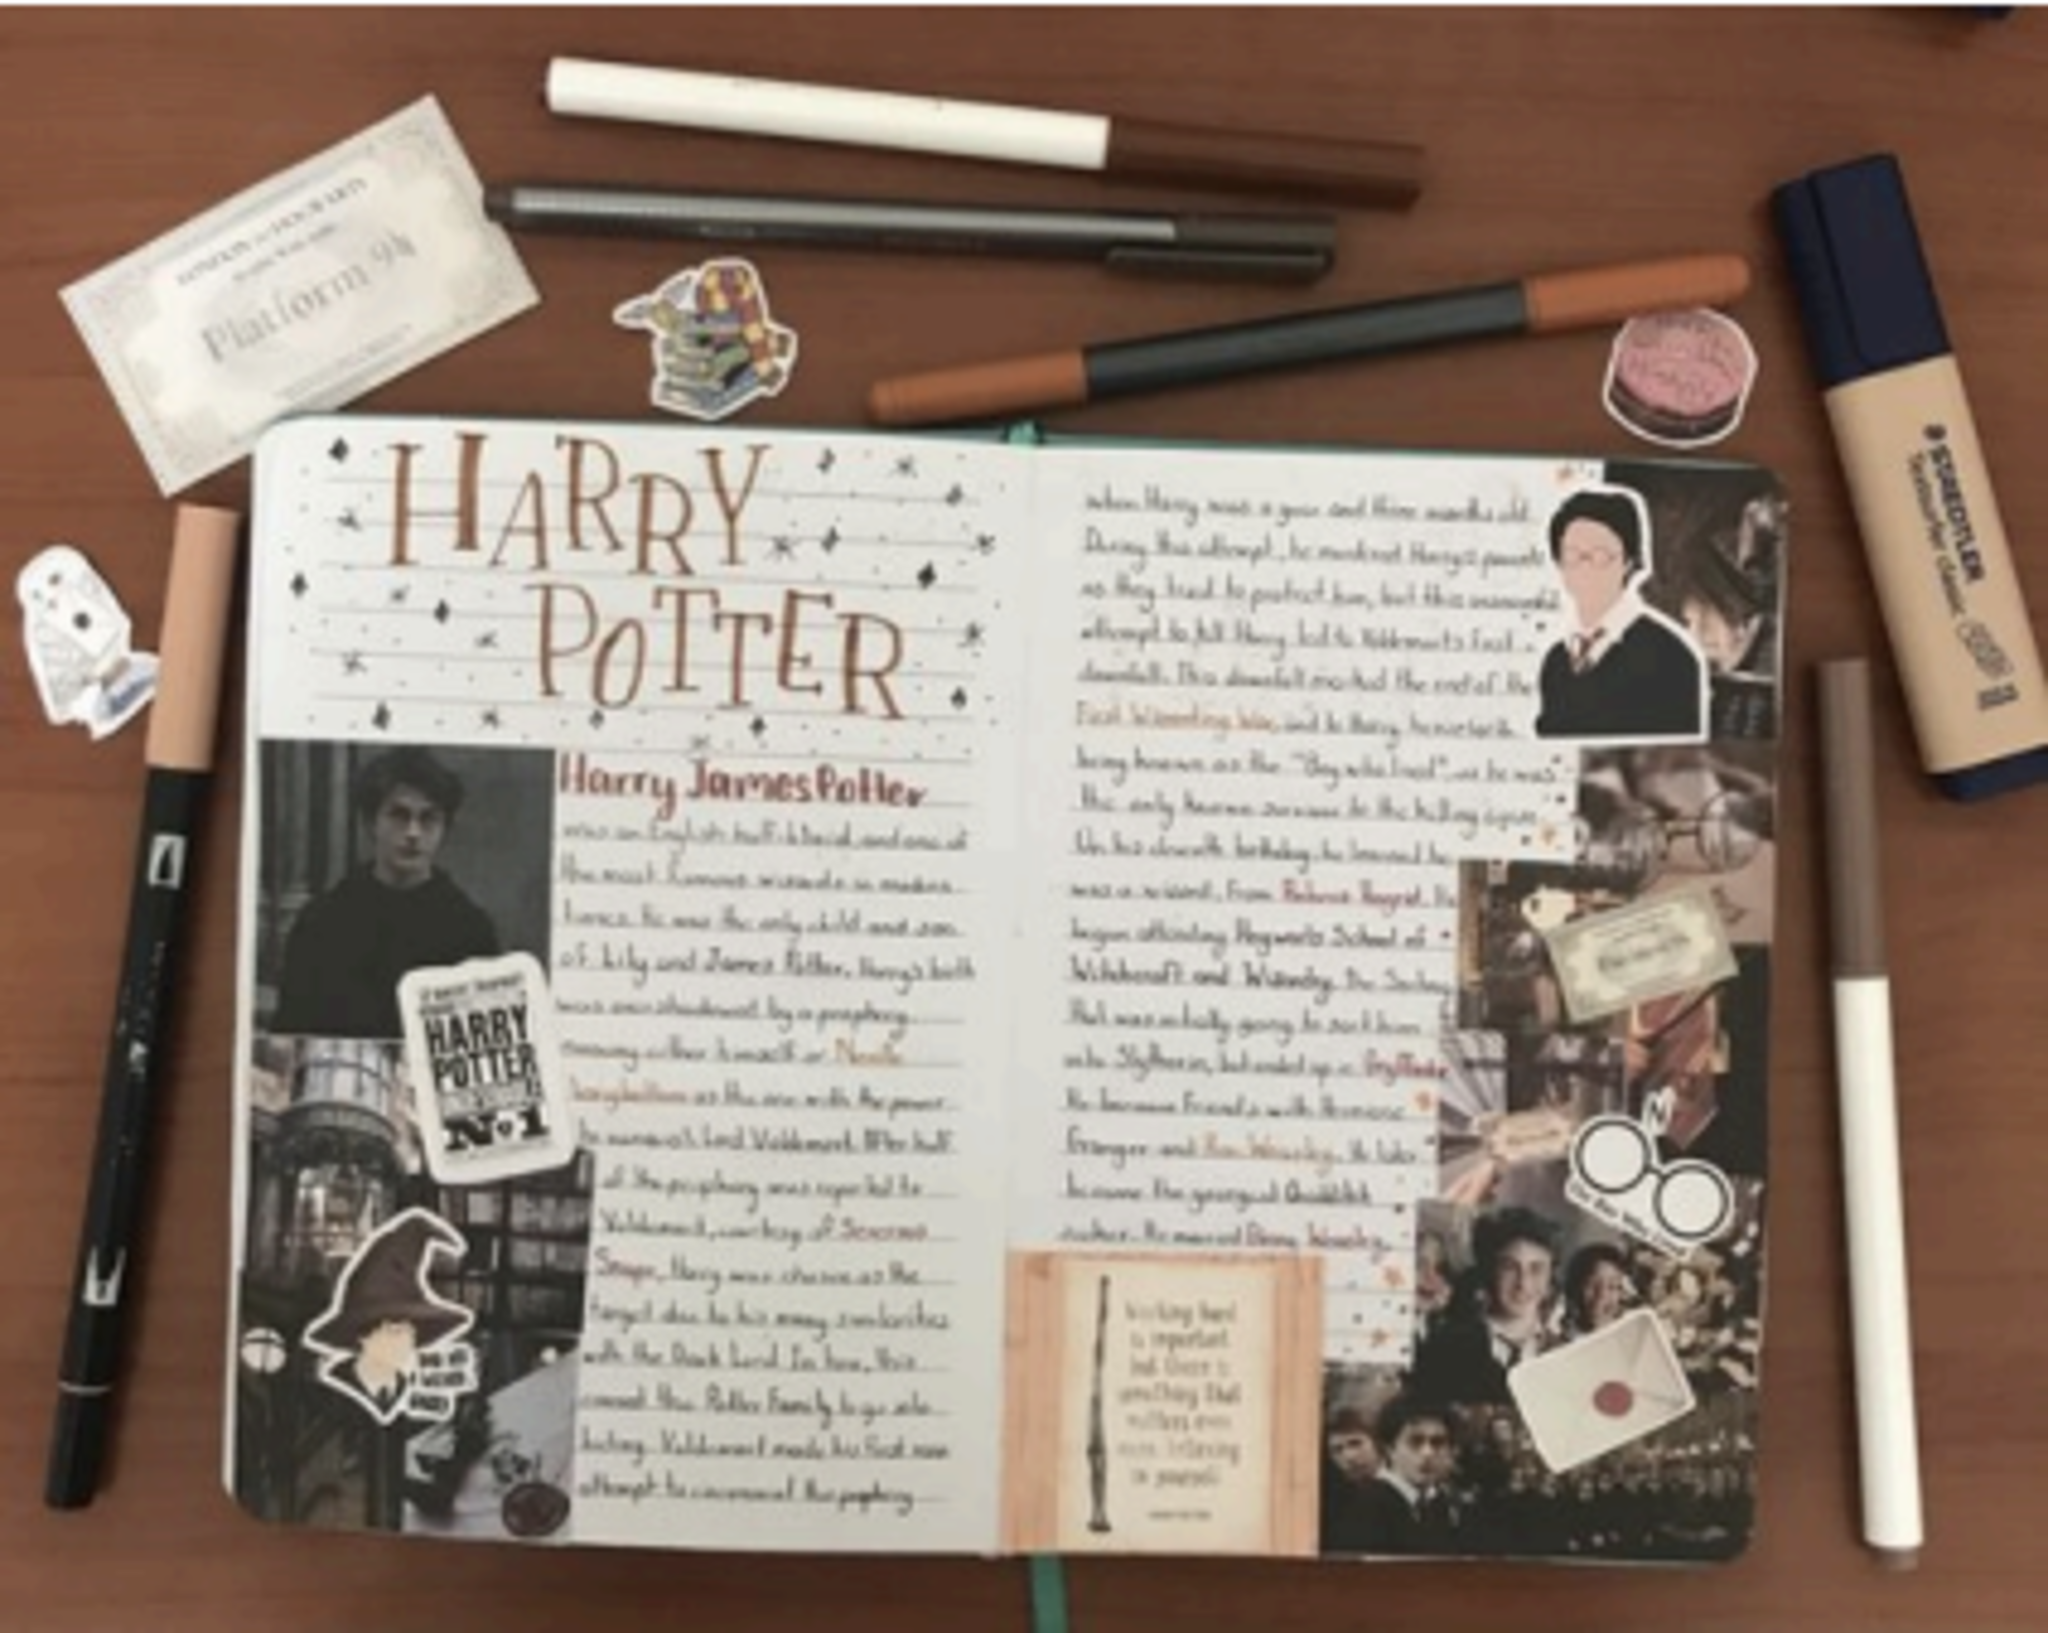
About this activity
Create a colorful scrapbook celebrating your favourite books by adding summaries, drawings, quotes, and ratings, learning organization and creative storytelling skills as you craft.
What you need
Step by step
- 1
Step 1
Gather all your materials in one spot so you can reach everything easily.
- 2
Step 2
Choose four to six of your favourite books to include in the scrapbook.
- 3
Step 3
On separate pieces of paper write a short summary for each chosen book using one or two simple sentences.
- 4
Step 4
Decide a rating out of five stars for each book and write the rating beside each summary.
- 5
Step 5
Pick one short favourite quote from each book and write the quote with the book title or author.
- 6
Step 6
Draw a picture on plain paper that shows something you love about each book.
- 7
Step 7
Cut out your drawings quotes and written summaries carefully.
- 8
Step 8
Place the cut-outs and decorations on one scrapbook page to make a layout for a single book.
- 9
Step 9
Glue the cut-outs and decorations onto that page once you like the layout.
- 10
Step 10
Repeat Steps 8 and 9 for each remaining book until every book has its own page.
- 11
Step 11
Add stickers borders or colored edges to decorate each page and make it playful.
- 12
Step 12
Make a title page with a fun scrapbook name your name and the date.
- 13
Step 13
Create a table of contents listing each book and the page number where it appears.
- 14
Step 14
Share your finished scrapbook on DIY.org
Fun facts
How do I make a scrapbook about my favourite books?
Start by choosing 6–12 favourite books. Make a cover page with the scrapbook title and your name, then create a table of contents. For each book, add a spread with the title, author, short summary (one paragraph), a favourite quote, your rating, and a drawing or photo. Decorate with stickers, washi tape, and captions. Younger children can dictate summaries while an adult writes. Finish by sharing the scrapbook with family or displaying it on a shelf.
What materials do I need to make a book scrapbook?
You’ll need a blank scrapbook, binder, or sturdy notebook; plain and coloured paper; scissors; glue or glue sticks; markers, crayons, or coloured pencils; pencil and eraser; stickers or printed photos; ruler and ruler; sticky notes for ideas; and optional clear sleeves or laminating sheets. Recycled materials like cereal boxes, magazine clippings, and old postcards work well as decorations. For a digital version, use a tablet or simple scrapbook app and printable templates.
What ages is a book scrapbook activity suitable for?
This activity suits a wide range: preschoolers (3–5) can dictate simple summaries and do colouring with adult help; early readers (6–8) can write short summaries and draw pictures; middle graders (9–12) can add detailed reviews, ratings, and quotes; teens can design layouts, write reflections, and include character analyses. Adjust complexity, supervision, and fine‑motor demands to match the child’s age and abilities.
What are the benefits of making a scrapbook about favourite books?
Scrapbooking favourite books builds reading comprehension, summarizing skills, and vocabulary by encouraging kids to pick key ideas and quotes. It fosters creativity through art and layout choices, improves fine motor and organizational skills, and boosts memory and confidence when children explain why they love a book. This project also creates a keepsake that encourages discussion, recommendation skills, and a lifelong habit of reflecting on reading.
Watch & Learn
Need help?
What can I use instead of a traditional scrapbook or stickers if I don't have them?
Use a sturdy three-ring binder or recycled cereal-box cardboard as pages and replace stickers from Step 11 with hand-drawn shapes or colored paper cut-outs glued in Step 9.
My drawings or summaries keep tearing when I cut them—how can I avoid mistakes in Step 7 and Step 8?
To prevent tearing and layout mistakes during Step 7 and Step 8, draw cutting lines lightly with a pencil, use child-safe scissors or a ruler and craft knife with adult help, and arrange pieces on a spare sheet before gluing in Step 9.
How can I change this activity for younger or older kids?
For younger children, simplify by choosing two or three books and having an adult write the one-sentence summaries from Step 3 and pre-cut drawings in Step 7, while older kids can expand Step 4 into a short review, add Step 5 quotes, and make a detailed table of contents in Step 13.
How can I make my scrapbook more unique before sharing on DIY.org?
Add personal touches like photo pockets or fabric swatches glued in Step 9, design a decorative title page in Step 12 with hand-lettering or collage, include page numbers for Step 13, and scan the finished book to share on DIY.org in Step 14.