Make a prop from cardboard
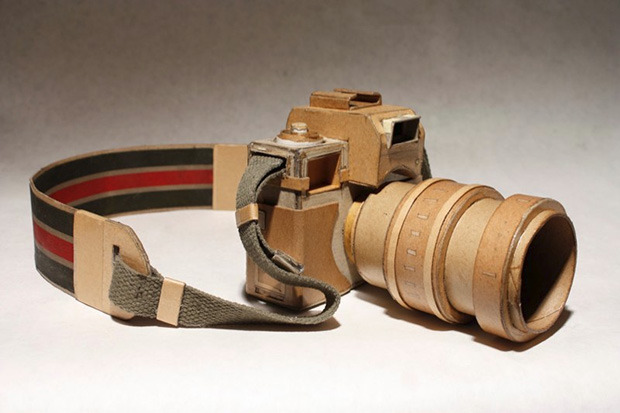
Design and build a cardboard prop such as a sword, magnifying glass, or camera using safe scissors, tape, and paint.


Step-by-step guide to make a cardboard prop
How to Make a Moving Cardboard Toy Bus | Easy DIY Bus for School Project with DC Motor
Step 1
Choose which prop to make (sword magnifying glass or camera) and decide how big you want it to be.
Step 2
Use your pencil and ruler to draw the main shapes of the prop on the cardboard.
Step 3
Cut out the shapes carefully with your safe scissors following your pencil lines.
Step 4
Cut extra cardboard strips for a handle strap or camera strap if your prop needs one.
Step 5
Stack the handle or strap strips on top of each other to make them thicker and stronger.
Step 6
Tape or glue the stacked strips along their length so they stay firmly together.
Step 7
Attach the finished handle or strap to the main cardboard piece using tape or glue.
Step 8
Cut and glue on any decorative pieces like a camera lens circle or sword hilt pieces.
Step 9
Paint a base coat on your prop to cover the cardboard and let it set for a minute.
Step 10
Add colorful details and drawings with paint or markers to finish the look.
Step 11
Let your prop dry completely so the paint and glue are safe to touch.
Step 12
Share your finished cardboard prop on DIY.org so others can see your awesome creation.
Help!?
What can I use instead of safe scissors, paint, or tape if I don't have them?
If you don't have safe scissors or paint, have an adult cut the cardboard with regular scissors, use markers or glue on colored paper instead of paint, and replace tape with strong craft glue or a stapler to attach straps and decorative pieces.
My handle or strap keeps tearing or coming loose—how do I fix it?
Reinforce the handle by stacking extra cardboard strips as the instructions say, tape or glue them firmly along their length, press until the glue sets, and attach the finished strap with extra tape or glue where it meets the main piece.
How can I adapt the steps for different age groups?
For younger children have an adult pre-draw and pre-cut the main shapes and let them glue and color, for elementary-aged kids let them measure with the ruler, cut with safe scissors, stack straps, and paint a base coat, and for older kids encourage adding precise details, layered reinforcements, or more complex decorations before finishing.
How can we improve or personalize the prop beyond the basic instructions?
Make it more realistic by gluing a clear plastic circle for a camera lens or adding foam/cardboard layers for a thicker sword hilt, use Velcro or adjustable tape on the strap, paint a base coat, add colorful details, and then share the finished prop on DIY.org.
Watch videos on how to make a cardboard prop
How to Make a Cardboard Airplane / DIY cardboard airplane: Step-by-step guide
3 Videos
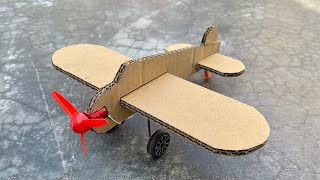
How to Make a Cardboard Airplane / DIY cardboard airplane: Step-by-step guide

How to make a cardboard car | Easy DIY project | School project easy ideas #carboardcraft
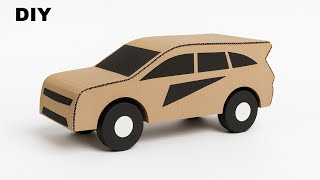
How to make a cardboard car | DIY cardboard car for school project #cardboardproject
Facts about cardboard crafts for kids
🪵 Cardboard became widely used in the 19th century and is still one of the most recycled materials today.
🎭 Stage props are often made from lightweight materials like cardboard or foam so they look real but are easy to carry and safe to use.
🗡️ Cardboard swords are a classic safe-play prop — theatres and film rehearsals use mock weapons to practice scenes without danger.
🔍 Magnifying glasses inspired early scientists and artists (and detectives in stories!) to look closer at tiny details.
🎨 A thin coat of white glue or gesso helps paint stick to cardboard and keeps colors bright on your prop.
How do I design and build a cardboard prop like a sword, magnifying glass, or camera?
What materials do I need to make a cardboard prop?
What ages is this cardboard prop activity suitable for?
What safety tips and fun variations should I consider when making cardboard props?
