Make a pocket launcher
Build a small pocket launcher using popsicle sticks, rubber bands, and tape to safely launch paper or foam projectiles while exploring simple mechanical energy.


Step-by-step guide to make a pocket launcher
Step 1
Gather all materials and put them on a flat table where you can work safely.
Step 2
Line up three popsicle sticks so their ends match and they form a neat stack.
Step 3
Wrap one rubber band tightly around one end of the three stacked sticks to hold them together.
Step 4
Place a fourth popsicle stick across the stacked sticks about one third of the way from the banded end to act as the launching arm.
Step 5
Loop a second rubber band around the crossing point and twist it so the fourth stick can move like a hinge but stays snug.
Step 6
Cut a 2 inch strip of tape with scissors.
Step 7
Fold the tape into a small sticky cup and press it onto the end of the launching arm to make a pocket for the projectile.
Step 8
Fold a small rectangle of paper into a tight paper dart or prepare a small foam piece to use as your projectile.
Step 9
Set the paper dart or foam piece into the tape pocket on the launching arm.
Step 10
Pull the launching arm back gently and let it fly to test your pocket launcher.
Step 11
Add one or two extra rubber bands around the hinge if you want stronger launches and retest until happy.
Step 12
Share a photo or video of your finished pocket launcher and a short description of how it works on DIY.org.
Help!?
What can I use if I don't have popsicle sticks, rubber bands, or tape?
If popsicle sticks are unavailable, use three stiff cardboard strips cut from a cereal box stacked as in step 2 with a ruler or thicker craft stick for the launching arm, and replace rubber bands used in steps 3 and 4 with short pieces of strong string tied tightly or hair ties, while clear packing tape can substitute for the sticky tape in step 7.
My launcher won't stay together or the launching arm is floppy—what should I check?
If the arm slips or launches are weak, confirm you wrapped the first rubber band tightly around the three sticks (step 3), twisted and snugged the second rubber band at the hinge (step 4), pressed the tape pocket firmly onto the arm (step 7), and add extra rubber bands at the hinge as suggested in step 10.
How can I adapt this activity for different ages?
For younger children have an adult cut the tape and prepare the paper darts (step 6–7) and limit pull-back distance, while older kids can experiment with extra rubber bands for stronger launches (step 10), different projectiles from step 6, or measure distances to make it a challenge.
What are simple ways to extend or personalize the pocket launcher once it's working?
Decorate the sticks with markers, try different tape pocket shapes and projectile materials from step 6 to compare ranges, add extra rubber bands at the hinge for power tests (step 10), and share a photo or video with your description on DIY.org as in step 11.
Watch videos on how to make a pocket launcher
How to Make a Paper Airplane Launcher ✈️ Easy DIY Flying Jet for Kids and Beginners 🚀
4 Videos
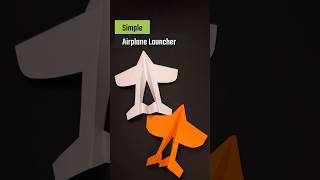
How to Make a Paper Airplane Launcher ✈️ Easy DIY Flying Jet for Kids and Beginners 🚀
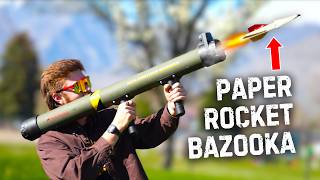
How to Make a PAPER ROCKET Launcher
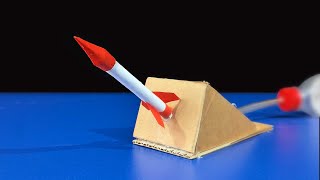
How to Make an Amazing paper Rocket launcher | DIY Easy Rocket launcher

How To Make Gun With Pen Cap, Rubber Band, and Toothpick | DIY Mini Gun at Home
Facts about mechanical energy and simple machines
🏺 Ancient catapults were used over 2,000 years ago to fling stones—your pocket launcher is a tiny, safe cousin!
🧠 Rubber bands store elastic potential energy that turns into kinetic energy when you let them snap back, which makes projectiles fly.
🎯 Angle matters: in a vacuum a 45° launch gives the farthest range—try different angles to see what works best with your launcher!
🪵 Popsicle (craft) sticks are lightweight yet surprisingly strong, which is why crafters use them for frames and levers.
🦺 Safety first: using soft paper or foam projectiles and never aiming at faces keeps launching experiments fun and safe.
How do you build and use a pocket launcher with popsicle sticks?
What materials do I need to make a pocket launcher?
What ages is a pocket launcher suitable for?
What are the benefits and safety tips for using a pocket launcher?
