Make a piñata
Make a homemade piñata using balloon, papier mache, tissue paper, and string; decorate it and fill with treats for a safe party activity.


Step-by-step guide to make a homemade piñata
How To Make a Piñata
Step 1
Blow up the balloon to the size you want and tie a knot.
Step 2
Tape a loop of string to the knotted end of the balloon so it can hang.
Step 3
Tear newspaper into strips about 1 inch wide and 6 inches long.
Step 4
Make papier-mâché paste by mixing 1 cup flour with 1½ cups water until smooth.
Step 5
Dip a newspaper strip into the paste and press it to the balloon.
Step 6
Keep adding dipped strips and smooth each one until the balloon is covered but leave a 4-inch hole for filling.
Step 7
Add two more full layers of pasted strips over the first layer to make the piñata sturdy.
Step 8
Leave the piñata to dry completely for about 24 hours until hard.
Step 9
Carefully pop the balloon with a pin once the papier-mâché is dry.
Step 10
Pull the deflated balloon pieces out through the hole.
Step 11
Trim the edge of the hole neatly with scissors.
Step 12
Cut tissue paper into long strips and fringe one side of each strip.
Step 13
Glue the fringed tissue strips around the piñata in overlapping rows to decorate.
Step 14
Fill the piñata with treats through the hole and then seal the hole with a glued paper circle.
Step 15
Share a photo of your finished piñata on DIY.org.
Final steps
You're almost there! Complete all the steps, bring your creation to life, post it, and conquer the challenge!


Help!?
What can I use instead of flour paste or tissue paper if I can't find them?
Use equal parts white school glue diluted with a little water instead of the 1 cup flour + 1½ cups water paste, and replace tissue paper (step 'Cut tissue paper') with crepe paper or fringed colored printer paper.
The papier-mâché is still soft after 24 hours; how can I fix it?
If layers stay soft, smooth off excess paste when applying strips, increase airflow or use a low-heat hair dryer to finish drying, and make sure you added the two extra full layers for sturdiness as instructed.
How should I adapt the steps for younger kids or older kids?
For toddlers, have an adult inflate the balloon, tape the loop, mix and apply the paste, and handle scissors and the pin while children press pre-dipped newspaper strips and glue fringed tissue (steps 'Dip a newspaper strip' and 'Glue the fringed tissue'), whereas older kids can mix the 1 cup flour + 1½ cups water paste, apply the two extra full layers, trim the hole, and decorate independently.
How can we make the piñata stronger or more fun?
Make it stronger by adding one or two extra full layers of pasted newspaper around the knotted end before drying, then personalize it by painting designs after you pop the balloon, gluing themed fringed tissue in overlapping rows (step 'Glue the fringed tissue'), and attaching ribbon tails to the taped loop.
Watch videos on how to make a homemade piñata
How to make a DIY Piñata: Cute Mini rainbow Piñatas for fiestas - Best instructions and templates!
3 Videos
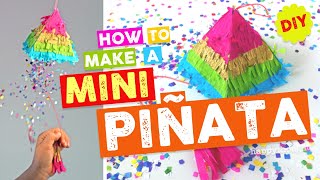
How to make a DIY Piñata: Cute Mini rainbow Piñatas for fiestas - Best instructions and templates!
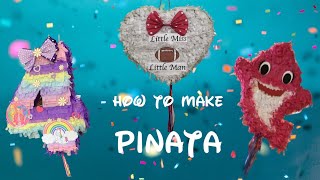
HOW to make a PINATA || DIY party pinata with cardboard

How to make a piñata! | So easy! | CBBC
Facts about papier-mâché and party crafts for kids
🎉 Piñatas have a long journey — similar masked figures were used in China and Europe before becoming a Mexican party favorite.
🎈 Balloons make perfect piñata molds: inflate, cover with papier-mâché, then pop the balloon to create a hollow shell.
🧻 Papier-mâché gets much stronger with thin, overlapping layers — 3–5 good layers will hold treats well when dry.
✂️ Colorful tissue or crepe paper fringe is the classic piñata finish — simple cuts and layered tassels give big flair.
🍬 A small homemade piñata can hold about 1–2 pounds (0.5–1 kg) of candy — always pick age-appropriate goodies.