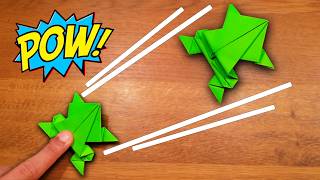
Make a paper frog
Fold and decorate a jumping paper frog using square paper, scissors, and markers to learn origami steps, symmetry, and simple mechanics for playful leaps.


Step-by-step guide to make a paper frog
Step 1
Place your square paper flat on the table with the colored side facing down.
Step 2
Fold the paper in half from top to bottom and press the crease firmly.
Step 3
Unfold the paper so you can see the center crease line.
Step 4
Fold the bottom edge up to meet the center crease and press the fold flat.
Step 5
Fold the top edge down to meet the center crease and press the fold flat.
Step 6
Fold the top two corners of the top layer down to the center line to make a triangle and crease well.
Step 7
Fold the small triangle point at the very top down over the triangle and press the crease.
Step 8
Fold the whole paper in half forward along the original center so the triangle sits on top of the rectangle.
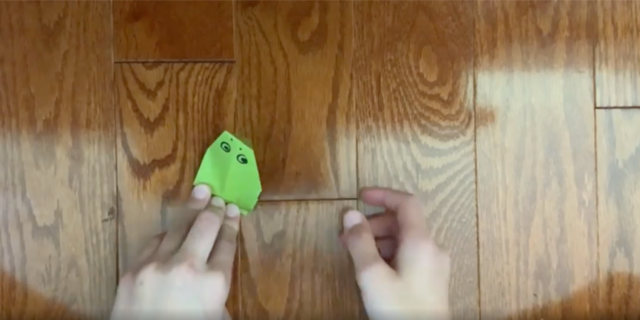
Step 9
Decorate the frog’s back and face with markers or crayons using matching designs on each side if you like.
Step 10
With adult supervision cut two small slits in the front layer near the bottom edge to make two leg flaps.
Step 11
Fold each leg flap outward to shape the frog’s feet and press the creases flat.
Step 12
Fold the back edge of the frog up about one-third of its length and press to make a spring flap.
Step 13
Fold that spring flap down sharply so the layers lock into a springy shape.
Step 14
Press down quickly on the back spring flap with your finger and release to watch your frog jump.
Step 15
Share a photo or video of your jumping paper frog on DIY.org.
Help!?
What can we use if we don't have square origami paper, crayons, or safety scissors?
Trim any rectangular paper into a square with adult help, decorate with colored pencils, washable markers, or stickers from the 'decorate the frog’s back and face' step, and have an adult make the two small slits if child-safe scissors aren't available.
My frog won't jump — what part of the folding might be wrong and how do I fix it?
Check that you folded the back edge up about one-third of its length, folded the spring flap down sharply so the layers lock, and pressed a quick, firm crease before pressing down and releasing the back spring flap to produce a jump.
How can I adapt this activity for different ages?
For younger kids, have an adult pre-fold the center crease and the bottom/top edge folds and cut the two small slits so the child can focus on decorating, while older kids can use heavier cardstock and try matching designs on each side as described in the decorate step to experiment with longer jumps.
How can we enhance or personalize our paper frog after following the basic instructions?
Personalize the frog by gluing on googly eyes, adding small paperclips to the back spring flap for extra momentum, or creating a paper lily pad course before sharing a photo or video on DIY.org.
Watch videos on how to make a paper frog
How to make a paper frog🐸 that sticks out its tongue. Children's toy - a frog with their own hands.
4 Videos
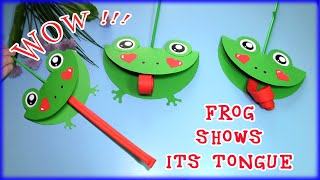
How to make a paper frog🐸 that sticks out its tongue. Children's toy - a frog with their own hands.
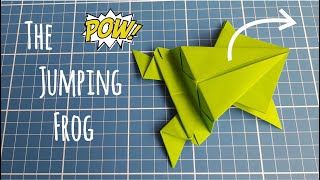
How to Make a Paper Jumping Frog 🐸 - Easy Origami Tutorial!
How to Make an Easy Origami Frog - Fun Paper Craft for Kids
Origami JUMPING Paper Frog | EASY Tutorial
Facts about origami and paper crafts for kids
🇯🇵 Origami is a Japanese art form — the word literally means 'folding paper' (ori = fold, kami/gami = paper).
✂️ Most origami starts with a perfect square of paper — you can make one from a rectangle by folding and trimming.
🐸 The classic origami jumping frog springs forward when you press its back — the folds act like a tiny spring storing energy.
🎨 Folding paper teaches symmetry and fractions — each fold can show halves, quarters, and mirrored sides.
🖐️ Making paper frogs builds fine motor skills and patience — precise folds and decorating help coordination and creativity.
How do I fold a jumping paper frog?
What materials do I need to make a jumping paper frog?
What ages is a paper frog origami activity suitable for?
What are fun variations or extensions for the jumping paper frog activity?
