Make a paper accessory
Fold, decorate, and assemble a paper bracelet or necklace using paper strips, glue, and beads while practicing measuring, cutting, and creative design skills.


Step-by-step guide to make a paper bracelet or necklace
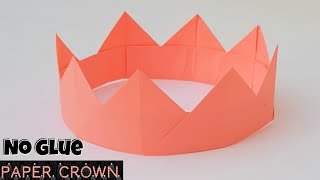
How to make a Paper Crown without glue | Very Easy | Step by step Tutorial
Step 1
Gather all the materials listed and find a clean flat workspace.
Step 2
Wrap a scrap paper strip around your wrist or neck and mark the length with a pencil using the ruler.
Step 3
Cut about ten strips from your paper that are 2 cm wide and the length you marked.
Step 4
Decorate each paper strip with colours and patterns using your colouring materials.
Step 5
Take one decorated strip and bring its two short ends together to form a loop.
Step 6
Apply a small line of glue to one end of that loop.
Step 7
Press the glued ends together until the glue holds and a loop is formed.
Step 8
Slide a second decorated strip through the first loop before you close it.
Step 9
Apply a small line of glue to one end of the second strip.
Step 10
Press the glued ends of the second strip to close it and create a linked chain.
Step 11
Repeat Steps 8 to 10 with more strips until the paper chain fits the length you measured.
Step 12
Put a small dab of glue on any loop where you want a bead decoration.
Step 13
Press a bead onto each dab of glue and hold briefly until it sticks.
Step 14
Share your finished bracelet or necklace on DIY.org
Help!?
What can we substitute if we don't have beads, liquid glue, or a ruler?
If you don't have beads use punched paper circles or dried pasta, replace liquid glue with double-sided tape or a stapler for Steps 6–10, and mark lengths using any straight edge like a book instead of a ruler.
My loops keep coming apart — what should we do when following Step 6 and Steps 8–10?
Use a slightly bigger dab of glue and hold the glued seam with a clothespin or press for 30 seconds at Step 6 and again at Step 9, or reinforce seams with a small piece of clear tape if the glue isn't drying.
How can we adapt this activity for different ages?
For toddlers, pre-cut wider 3–4 cm strips and supervise decorating and sliding loops, while older kids can cut precise 2 cm strips, create repeating patterns in Step 4, and add bead details in Step 11.
How can we personalize or make the bracelet/necklace last longer after finishing Step 11?
Personalize by mixing textured papers or adding charms and make it sturdier by covering each decorated strip with clear tape or laminating before assembling in Step 2 so the finished chain withstands wear.
Watch videos on how to make a paper bracelet or necklace
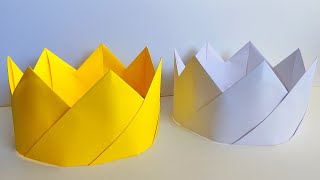
No Glue paper Crown 👑 | Origami Crown (tiara) making for kids _ Easy steps | Paper crafts for kids
4 Videos
No Glue paper Crown 👑 | Origami Crown (tiara) making for kids _ Easy steps | Paper crafts for kids
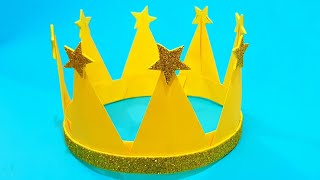
👑 How To Make paper CROWN 👑 Easy Paper DIY 👑 Craft Ideas
DIY: How to Make Paper Crown 👑 | Origami Crown (tiara)_ Tutorial Easy steps | paper craft for kids

Paper Crown 👑DIY |How to make - Origami Crown (tiara) for kids _ Easy steps | Paper craft for kids
Facts about paper crafts
🎎 Origami comes from the Japanese words ori (folding) and kami (paper) and has inspired many simple jewelry-folding techniques.
📏 A standard school ruler is 30 cm (12 in) — perfect for measuring paper strips for bracelets and necklaces.
♻️ Making jewelry from old magazines or scrap paper is a common upcycling craft that helps reduce waste.
🌍 Paper-bead jewelry became a notable cottage industry in Uganda, providing income for many artisans.
🧠 Cutting, folding, and stringing beads boosts fine motor skills and helps kids practice counting and pattern-making.
How do you make a paper bracelet or necklace by folding, decorating, and assembling paper strips?
What materials do I need to make a paper bracelet or necklace with paper strips, glue, and beads?
What ages is this paper bracelet and necklace activity suitable for?
What are the benefits, safety tips, and variations for making paper bracelets and necklaces?
