Make a mask
Make a wearable decorative mask using paper or cardboard, paint, elastic, and safe decorations while learning cutting, measuring, and gluing skills.

Step-by-step guide to make a wearable decorative mask
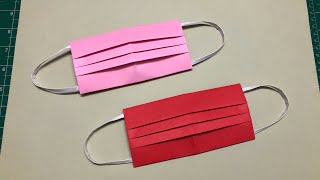
Kids DIY Face Mask | How to make Paper MASK for kids | Easy Origami | Mask With Paper
Step 1
Lay the newspaper or old towel on your table to protect it and place your materials on top.
Step 2
Fold your paper or thin cardboard in half so the mask will be symmetrical.
Step 3
Use your pencil to draw half of a mask shape along the folded edge.
Step 4
Draw two small ovals on the folded mask where your eyes will be.
Step 5
Cut along the mask outline while the paper is still folded and then open the shape to see the full mask.
Step 6
Cut out the eye holes carefully following the ovals you drew.
Step 7
Paint the front of your mask with the colors you like.
Step 8
Let the paint dry completely before you touch the painted areas.
Step 9
Mark a small spot on each side of the mask where the elastic should sit near your temples.
Step 10
Make a hole at each mark using a hole punch or ask an adult to help with a pointed tool.
Step 11
Cut a piece of elastic long enough to go around the back of your head then thread each end through the holes and tie knots to secure it.
Step 12
Glue on stickers pom-poms feathers or sequins to decorate your mask.
Step 13
Let all glue and paint dry fully then try on your mask and adjust the elastic knots for a comfy fit.
Step 14
Take a photo and share your finished mask creation on DIY.org.
Help!?
What can we use instead of elastic or a hole punch if we don't have them?
If you don't have elastic or a hole punch, use ribbon, yarn, or a strip of fabric threaded through hand-made holes made carefully with scissors or a pointed tool and tie knots as described when securing the elastic.
My eye holes keep tearing when I cut them—how can I stop that from happening?
To avoid tearing when cutting the eye ovals from the folded paper, cut slowly with small sharp scissors while the paper is folded, and reinforce the area with a small piece of tape before making the holes for the elastic.
How can I adapt the steps for a 3-year-old versus a 9-year-old?
For a 3-year-old, pre-cut the folded mask shape and eye holes, let them stick on pom-poms and stickers while an adult punches holes and ties the elastic, and for a 9-year-old let them draw the half-mask, paint detailed designs, and glue feathers or sequins themselves before adjusting the elastic.
How can we make the finished mask more special or last longer?
Make the mask more durable and personalized by gluing a second layer of thin cardboard to the back before painting, sealing painted areas with clear craft varnish, adding extra decorations like craft gems or feathers, and then share the finished creation on DIY.org as suggested.
Watch videos on how to make a wearable decorative mask
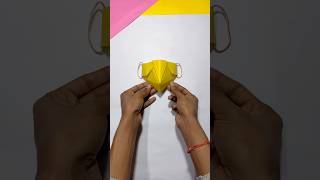
How to make a PAPER MASK 😷 ll Easy Origami FACE MASK || DIY Paper Crafts
4 Videos
How to make a PAPER MASK 😷 ll Easy Origami FACE MASK || DIY Paper Crafts
How to make paper mask, easy paper mask #shorts

DIY Panda Mask Making | Easy Paper Panda Mask for Kids | Animal Mask Craft Idea"
How to make a paper mask 😷/DIY easy paper mask/origami face mask
Facts about paper and cardboard crafts for kids
🎭 Masks have been used in ceremonies, theater, and festivals around the world for thousands of years.
✂️ Kid-safe scissors have rounded tips so little crafters can cut with much less risk.
📏 Measuring twice and cutting once is a crafter's mantra—small measurement mistakes can change the fit of a mask.
🎨 Acrylic paint bonds well to cardboard and paper and dries quickly so you can keep decorating fast.
🧵 About 25–30 cm of elastic usually fits a child's head comfortably as a mask strap (adjustable is best!).
How do I make a wearable decorative mask using paper or cardboard?
What materials do I need to make a paper or cardboard mask?
What ages is making a wearable decorative mask suitable for?
What safety tips should I follow when kids make wearable masks?
