Make a magazine tape transfer
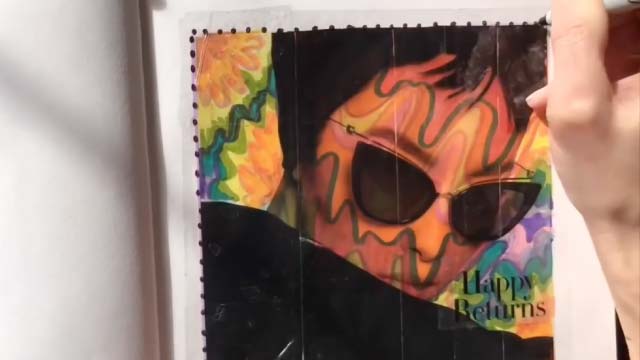
Create a clear tape magazine transfer by lifting printed images from magazines with packing tape, removing paper with water, and pressing them onto cardstock.


Step-by-step guide to make a magazine tape transfer
Step 1
Clear a flat workspace and lay down a paper towel to protect the table.
Step 2
Pick a printed image from a magazine that you want to transfer.
Step 3
Cut a piece of clear packing tape slightly larger than the picture you chose.
Step 4
Press the sticky side of the tape down onto the picture and smooth it with your finger.
Step 5
Rub the tape firmly with a spoon or your finger to help the ink stick to the tape.
Step 6
Peel the tape off the magazine slowly and lift the taped image away.
Step 7
Place the taped image ink-side-up into a shallow bowl of water and let it soak for about one minute.
Step 8
Gently rub the paper backing with your finger or a sponge to remove paper fibers until the printed image looks clear on the tape.
Step 9
Rinse the taped image briefly under clean water to wash away loose paper bits.
Step 10
Pat the taped image dry with a paper towel until it is tacky but not dripping.
Step 11
Press the taped image sticky side down onto your cardstock and rub the back to make it stick smoothly.
Step 12
Trim extra tape around the image or add decorations with coloring materials if you like.
Step 13
Share your finished magazine tape transfer creation on DIY.org.
Help!?
If I don't have clear packing tape, what can I use instead?
Use a strip of clear contact paper or a self-adhesive laminating sheet cut slightly larger than the picture so you can press the sticky side onto the magazine like the tape step.
My image won't come off the paper—what should I do?
Soak the taped image a little longer in the shallow bowl and then gently rub the paper backing with a soft sponge or toothbrush while keeping the ink-side-up until the printed image looks clear on the tape, and check that you rubbed the tape firmly with a spoon first.
How can I adapt this activity for younger or older children?
For younger kids have an adult cut the tape and press/smooth the tape onto the magazine and do the soaking and rubbing steps together, while older kids can do the cutting, trimming and add decorations to the cardstock independently.
How can we make the finished transfer more special or durable?
After trimming extra tape and adding coloring decorations, seal the taped image on the cardstock with a thin coat of clear craft glue or Mod Podge and consider layering several transfers to make a collage before sharing on DIY.org.
Watch videos on how to make a magazine tape transfer
Transform Magazine Pages into Stunning Art / Wood, Canvas, & Paper
4 Videos

Transform Magazine Pages into Stunning Art / Wood, Canvas, & Paper
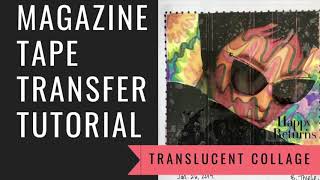
Magazine Tape Transfer Tutorial for Translucent Mixed Media Collage
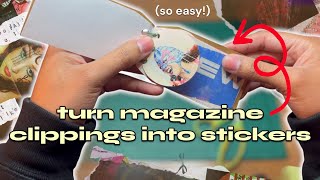
How To Make Paper Transfer Stickers at Home | Step by Step!
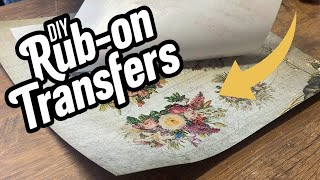
Create Your Own Rub-on Transfers In Minutes With This Easy Tutorial!
Facts about printmaking and image-transfer techniques
📰 Old magazines are packed with glossy, high‑quality images that lift really well for tape transfers.
💧 A little water softens and removes paper fibers but usually leaves the ink binder behind, so the picture stays on the tape.
📦 Clear packing tape acts like a tiny laminator—lifting ink, protecting it, and giving a shiny finish.
♻️ Tape transfers are a fun upcycling trick: they turn old magazines and leftover tape into homemade decals and art.
🔍 Glossy magazine images often transfer cleaner than newspaper because their inks and coatings are smoother.
How do you make a magazine tape transfer?
What materials do I need to make a magazine tape transfer?
What ages is a magazine tape transfer suitable for?
What safety tips should I know for magazine tape transfers?
