Make A Lost and Found Box!
Make and decorate a lost and found box from a shoebox, add labeled compartments, rules, and reminders to practice organization and helping others.


Step-by-step guide to make a lost and found box
Step 1
Put your shoebox and all materials on a clean table.
Step 2
Remove the shoebox lid and set it aside.
Step 3
Use the ruler and a pencil to draw straight lines inside the box where you want compartments.
Step 4
Cut strips of plain paper or thin cardboard to the height and width of each drawn section.
Step 5
Glue or tape each divider strip upright inside the box to make compartments.
Step 6
Write a label name for each compartment on pieces of paper or on sticky notes.
Step 7
Attach each label to the front of the matching compartment with tape or glue.
Step 8
Decorate the outside and the lid of your box with markers stickers and drawings to make it bright and friendly.
Step 9
Write three simple rules or reminders on a card such as "Check the box daily" "Return found items" and "Ask before taking."
Step 10
Attach the rules card inside the lid or on the side of the box where everyone can read it.
Step 11
Add a small envelope or sticky-note pocket inside for name tags or owner information.
Step 12
Put the finished lost and found box in a common family area and tell family members where it should be used.
Step 13
Ask an adult to help you share a photo and a short description of your finished lost and found box on DIY.org.
Help!?
What can I use if I can't find a shoebox, ruler, or thin cardboard?
Use any similar-sized cardboard box or a cleaned cereal/pasta box instead of a shoebox, use a straight book or the long edge of a cereal box in place of a ruler to draw straight lines, and substitute paper egg carton sections or cereal box cardboard for thin cardboard when cutting divider strips.
My divider strips keep falling over or don't fit—how can I fix that?
If divider strips fall over, trim them to the exact height, add a folded tab at the bottom and glue or tape the tab to the box floor, or reinforce the seams with extra tape or ask an adult to use hot glue for a stronger hold.
How can I adapt this project for younger kids or older kids?
For preschoolers have an adult pre-cut the divider strips and let them stick labels and decorate with markers and stickers, while older kids can measure and cut their own compartments, add an envelope pocket for name tags, write the rules card themselves, and post the photo to DIY.org.
What are some ways to upgrade or personalize the finished lost and found box?
Upgrade the box by color-coding compartments with markers or stickers, adding a labeled envelope or sticky-note pocket for owner info, attaching a small magnetic strip or hook for keys, and decorating the lid with a family photo before placing it in the common area.
Watch videos on how to make a lost and found box
How to make a quick Paper Box | Paper Box with Lid Tutorial
4 Videos
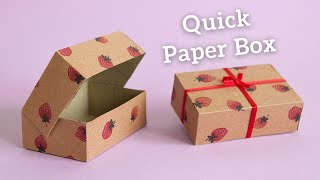
How to make a quick Paper Box | Paper Box with Lid Tutorial
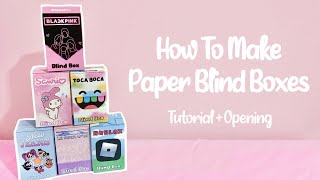
HOW TO MAKE A PAPER BLIND BOX! | free printable | *easy tutorial* | paper diy | applefrog
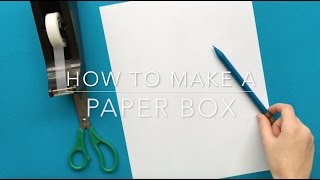
How to Make a Box from a Sheet of Paper (EASY)
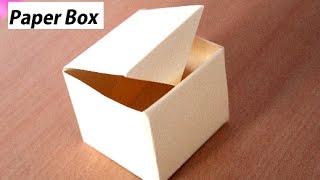
DIY - How To Make Paper Box That Opens And Closes | Paper Gift Box Origami
Facts about organization and responsibility for kids
📦 Socks, gloves, and water bottles are among the most commonly turned-in items in school lost-and-found boxes—tiny things go missing a lot!
♻️ Repurposing a shoebox is a classic upcycle: it keeps the box out of the trash and turns it into something useful and creative.
🏫 Some schools collect hundreds to thousands of lost items each year—having a tidy, labeled box can cut down the clutter fast.
🏷️ Adding name labels or color-coded compartments makes it much easier for items to find their owners—labels are like tiny return addresses!
🤝 A lost-and-found box is a simple way to practice kindness—many classrooms donate unclaimed items to local shelters at the end of a term.
How do I make a lost and found box from a shoebox?
What materials do I need to make a lost and found box?
What ages is this activity suitable for?
What are the benefits of making a lost and found box?
