Make a Lion Wall Hanging
Make a colorful lion wall hanging using paper plates, paint, yarn, and glue; cut, assemble, and decorate to learn shapes and textures.

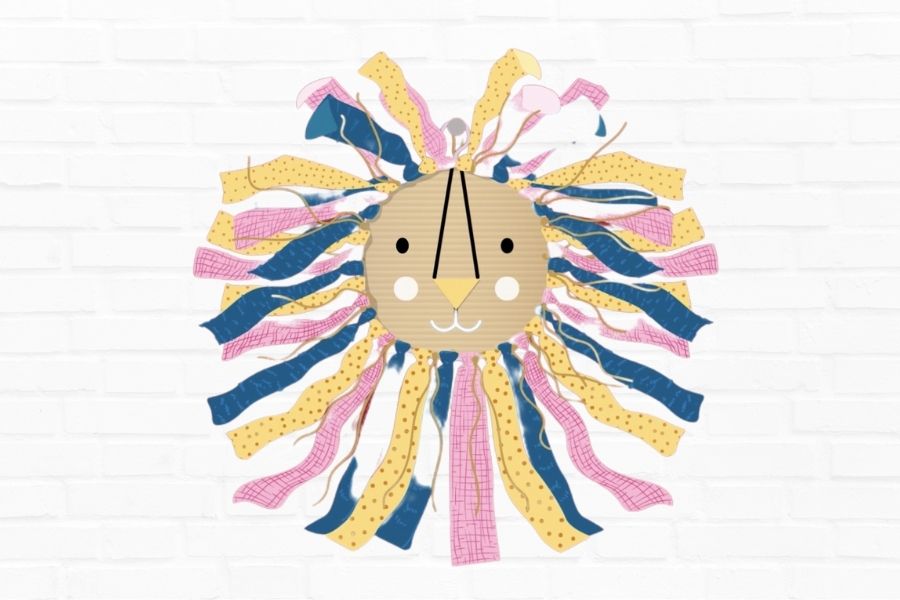

Step-by-step guide to make a lion wall hanging
Step 1
Gather all materials on a table so you can reach everything easily.
Step 2
Cover the table with newspaper or a towel to protect it from paint.
Step 3
Paint one paper plate a bright color for the lion’s face.
Step 4
Paint a second paper plate a different bright color for the mane.
Step 5
Let both painted plates dry completely before cutting or gluing.
Step 6
Use scissors to cut the rim of the dried mane plate into even strips, stopping before the center to make a fringed mane.
Step 7
Apply glue to the back rim of the face plate where the mane will go.
Step 8
Press the fringed mane plate onto the glued area at the back of the face plate so the mane peeks out.
Step 9
Cut two ear shapes from a scrap paper plate or colored paper.
Step 10
Glue the two ear shapes to the top back edge of the face plate so they stick out above the mane.
Step 11
Use a black marker to draw eyes a nose a mouth and whiskers on the lion’s face.
Step 12
Cut a length of yarn for a hanger long enough to hang on a wall hook.
Step 13
Attach the yarn ends to the top back of the lion with glue or tape.
Step 14
Let all glue dry completely so your lion is strong and ready to hang.
Step 15
Share your finished lion wall hanging on DIY.org.
Final steps
You're almost there! Complete all the steps, bring your creation to life, post it, and conquer the challenge!


Help!?
What can I use if I don't have paper plates or yarn?
If you don't have paper plates, cut circles from cardstock or a cereal box for the face and mane and substitute string, ribbon, or twine for the yarn, then follow the same painting, cutting, and gluing steps.
My mane tears when I cut the rim—what should I do?
If the dried mane plate tears while cutting, make sure it is completely dry or strengthen it by gluing a scrap paper to the back before cutting, and if the fringed mane won't stay attached add extra glue around the rim or secure it with tape when pressing it to the face plate.
How can I change the project for younger or older kids?
For younger children have an adult pre-cut the mane and ears and let them paint and use a glue stick to attach pieces, while older kids can add layered mane strips, textured materials like yarn or tissue, and paint detailed facial features before adding the hanger.
Any ideas to make the lion more special or long-lasting?
To personalize and strengthen the wall hanging, paint patterns on the mane plate before cutting, glue on googly eyes instead of drawing them with a marker, seal the finished lion with clear craft sealer, and reinforce the yarn hanger with tape or a staple at the top back of the face plate.
Watch videos on how to make a lion wall hanging
DIY Paper LION Paper crafts
4 Videos
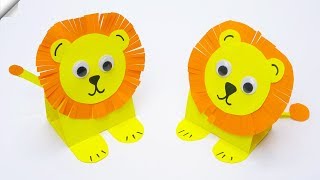
DIY Paper LION Paper crafts
Easy and Fun Crafts for Kids | Handmade Picture Frame | Simple Handmade Gifts
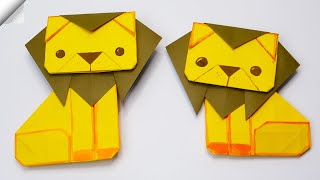
DIY Paper LION | Easy origami toys
23 EASY CRAFTING IDEAS FOR KIDS AND ADULTS
Facts about paper crafts for kids
🦁 Lions are the only big cats that live in social groups called prides — a great idea for making a whole gallery of lion faces!
🎨 With just three primary paints (red, blue, yellow) you can mix thousands of colors — perfect for creating a colorful lion mane.
✂️ Paper plates became popular in the early 1900s as disposable tableware and are now a beloved, sturdy craft canvas.
🧶 Yarn comes in fibers like wool, cotton, and acrylic — each gives a different texture so manes can be fluffy, soft, or bouncy.
🧪 Modern white craft glue (PVA) is non-toxic and kid-safe, dries clear, and bonds paper, paint, and yarn neatly together.
How do you make a lion wall hanging?
What materials do I need for a lion wall hanging craft?
What ages is this lion wall hanging activity suitable for?
What are the benefits of making a lion wall hanging?


