Make a LEGO® stop motion movie
Build a LEGO scene, move minifigures slightly between photos, capture frames with a camera or tablet, then edit frames into a short stop motion movie.


Step-by-step guide to make a LEGO stop motion movie
Beginners Guide to LEGO Stop Motion Animation
Step 1
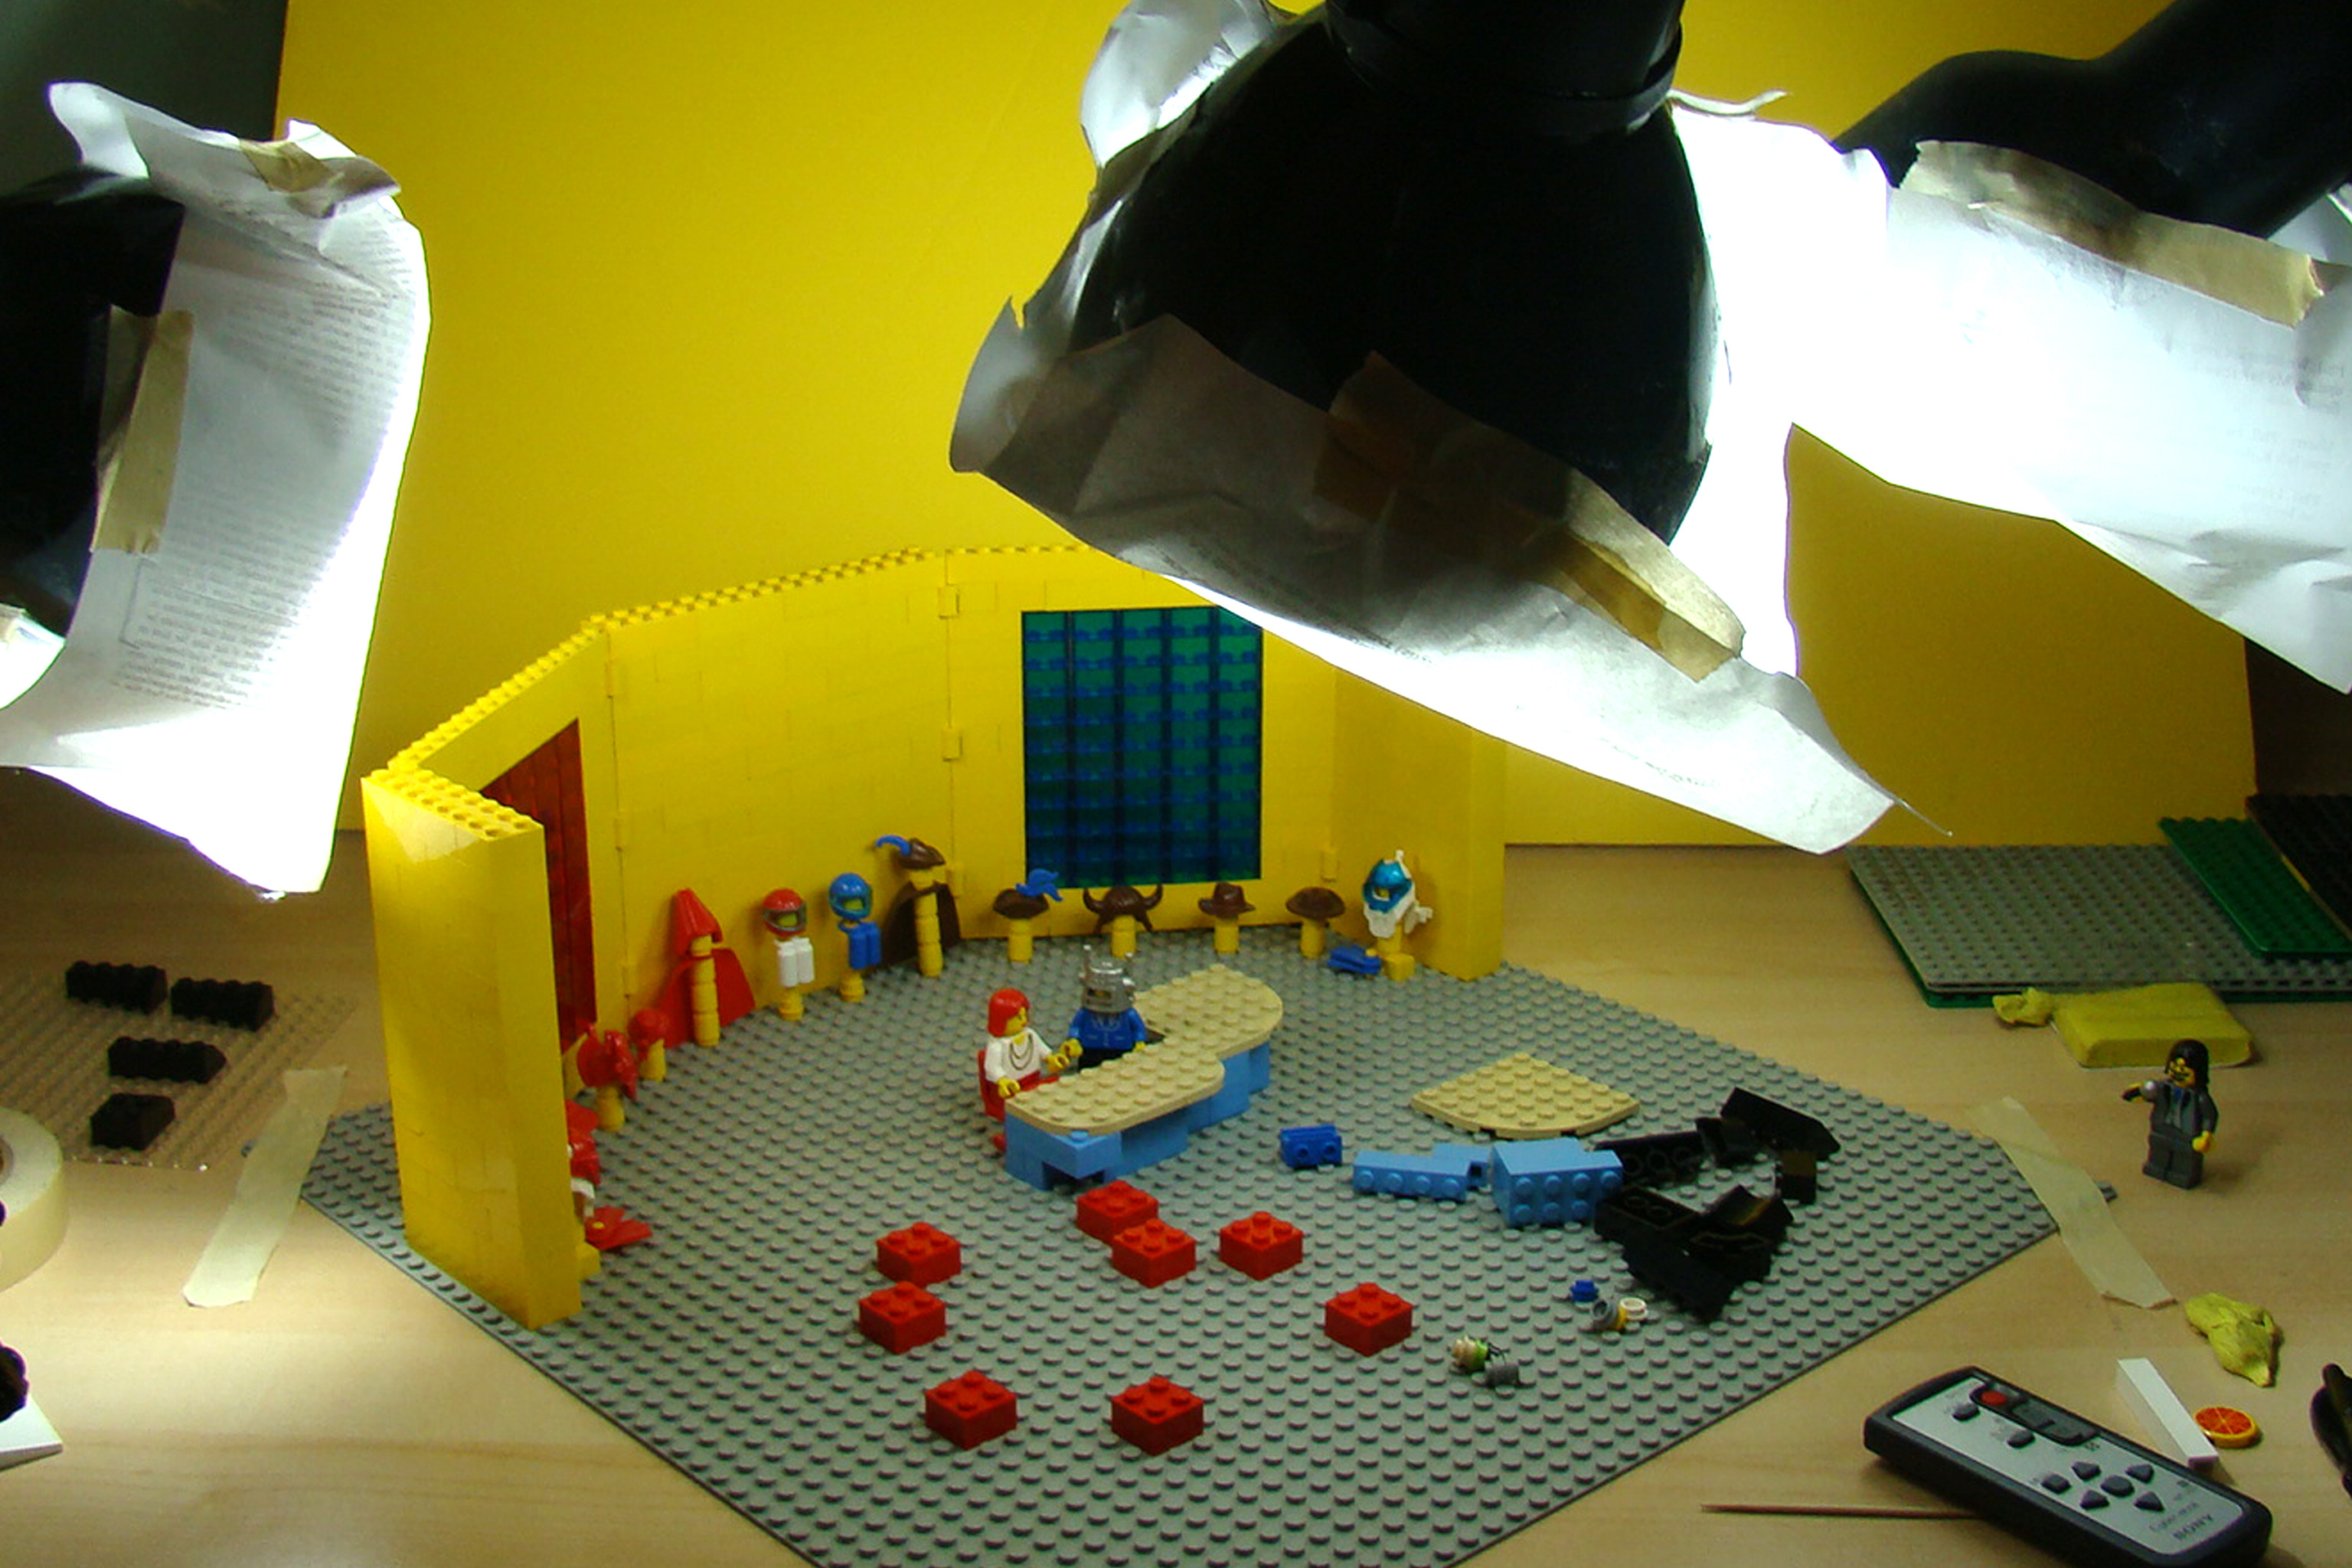
Collect your LEGO bricks and minifigures and put them with your baseplate background props and putty on a clear table.
Step 2
Pick a very simple story idea like “a hero jumps a gap” or “a car chases a toy” and say it out loud.
Step 3
Build the LEGO scene and set the minifigures where the action will start on the baseplate.
Step 4
Place the plain background behind the scene and set the lamp so the scene is evenly lit without harsh shadows.
Step 5
Put your tablet or camera on a tripod or on a stack of books so it will not move and make sure it stays aimed at the same spot.
Step 6
Open a stop-motion app or set your camera to photo mode and make sure the screen shows the whole LEGO scene.
Step 7
Take the first photo frame of your scene without moving anything.
Step 8
Move one minifigure or prop a very small amount in the direction you want it to go.
Step 9
Take the next photo to capture that tiny movement.
Step 10
Repeat moving a little and taking a photo until your story is finished, aiming for about 10 frames per second (for example about 100 photos for a 10-second clip).
Step 11
Import your photos into a stop-motion or video-editing app set the playback to about 10 frames per second and play the clip to check the motion.
Step 12
Trim any extra frames add simple sounds or a title if you want and export the finished movie.
Step 13
Share your finished LEGO stop motion movie on DIY.org.
Help!?
What can we use if we don't have a LEGO baseplate, putty, or a tripod?
Build the scene on a stiff flat board or large plate instead of a baseplate, use Blu Tack or poster putty to anchor minifigures, and stabilize your tablet or camera with a stack of books or a cup so it stays aimed while you take the first photo frame and subsequent frames.
What should we do if our minifigures keep falling or the movie looks jumpy?
Press minifigures and loose props into putty to keep them from falling, make smaller consistent movements between shots as described in Move one minifigure or prop a very small amount, and keep the lamp and camera fixed to prevent shifting shadows and camera movement that cause jumpy playback.
How can we adapt this stop-motion activity for younger or older kids?
For younger kids, pick a very simple story and build big props with larger moves and fewer photos while an adult handles the tripod, and for older kids, aim for about 10 frames per second with tiny, precise movements and use the import photos/editing steps to add sound and titles for a polished clip.
How can we make the movie more creative or personalized?
Customize the plain background with drawings or printed scenes, record simple sound effects or a voiceover when you import photos into the stop-motion app, add a title and trim extra frames, and then share the finished LEGO stop motion movie on DIY.org.
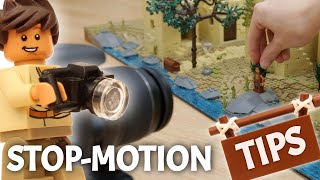
Watch videos on how to make a LEGO stop motion movie
ULTIMATE Stop Motion Studio TUTORIAL • LEGO Brickfilm How-To for Beginners!
4 Videos
ULTIMATE Stop Motion Studio TUTORIAL • LEGO Brickfilm How-To for Beginners!
How To Make A LEGO Stop Motion Animation - Step by Step Guide
The ULTIMATE Guide to LEGO Stop Motion for Beginners
Top 5 LEGO Stop-Motion Tips | Beginners Tutorial
Facts about stop motion animation for kids
🎬 A one-minute stop-motion movie at 24 fps needs 1,440 photos — lots of tiny moves!
🧱 LEGO bricks made after 1958 still fit older pieces, so you can borrow bricks from any decade.
🤖 LEGO minifigures were introduced in 1978 and have been the stars of many brickfilms.
📸 Many brickfilmmakers use 12–24 frames per second — 12 fps is a great starter speed for kids.
⏱️ Stop-motion animation is over a century old; early trick films used it as far back as the late 1890s.
How do I make a LEGO stop motion movie?
What materials do I need for a LEGO stop motion project?
What ages is LEGO stop motion suitable for?
What are the benefits of making LEGO stop motion movies?
