Make a Lego Picnic Set
Build a customizable LEGO picnic set with plates, food pieces, blanket, and tiny accessories; learn measuring, planning, and creative problem-solving through hands-on play.


Step-by-step guide to make a LEGO picnic set
Step 1
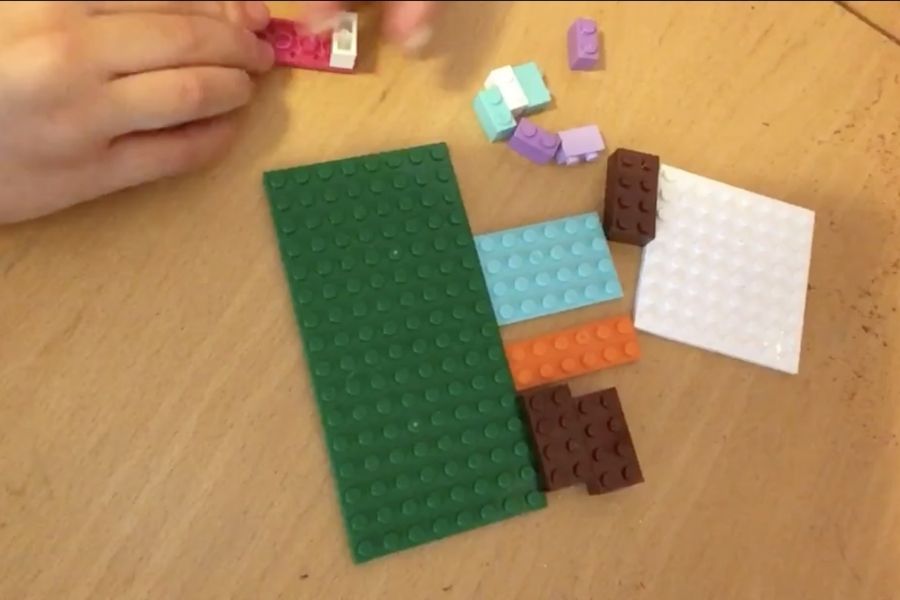
Gather all the materials from the list and put them on your table.
Step 2
Clear a table or floor space for your picnic build so you have room to work.
Step 3
Place a baseplate in the center of your workspace to be the picnic ground.
Step 4
Use a ruler to measure the length and width of the baseplate.
Step 5
Write the measured dimensions on your paper so you remember the size.
Step 6
Sketch a simple picnic layout on the paper showing where the blanket plates and guests will go.
Step 7
Decide how many plates and food pieces you want for your picnic and write those numbers on your sketch.
Step 8
Build each LEGO plate using round tiles or stacked flat pieces until you have the planned number.
Step 9
Create small LEGO food items like sandwiches cupcakes and fruit using small bricks studs and round pieces.
Step 10
Make cups and utensils from small bricks and flat tiles to match your plates.
Step 11
Make a picnic blanket by laying the fabric square on the baseplate or by connecting flat tiles together.
Step 12
Arrange the blanket plates food and accessories on the baseplate according to your sketch.
Step 13
Gently tap the baseplate to test stability and fix any loose or wobbly pieces.
Step 14
Write a short title and one-sentence description of your picnic on the paper to show your planning and measuring work.
Step 15
Share your finished creation on DIY.org.
Help!?
What can I use if I don't have a LEGO baseplate or the fabric square from the materials list?
Use a sturdy piece of cardboard or a baking sheet as the baseplate and a checked napkin or cardstock square instead of the fabric square, then measure it with the ruler as the instructions say.
Some plates or food pieces fall over when I gently tap the baseplate—how do I fix that?
After gently tapping the baseplate as described, secure loose plates or food by stacking extra studs, adding a thin tile underneath for friction, or repositioning pieces to interlock more tightly so they stop wobbling.
How can I change the activity for younger or older kids?
For younger children, simplify by using larger Duplo-style bricks, pre-cut the fabric square, and help with the ruler and building plates, while older kids can use the ruler for exact baseplate dimensions, sketch a detailed layout with counts, and create more intricate LEGO food items.
How can we extend or personalize our Lego picnic set once it's finished?
Personalize the picnic by adding a LEGO basket or minifigure guests, crafting themed food items, photographing the setup to share on DIY.org, or writing a longer menu and story instead of only the one-sentence description.
Watch videos on how to make a LEGO picnic set
Easy DIY Playhouse Ideas For Your Kids
4 Videos

Easy DIY Playhouse Ideas For Your Kids
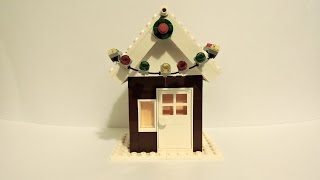
How To Make Lego Christmas Decorations (Outdoors)
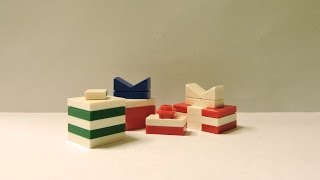
How To Make Lego Christmas Gifts
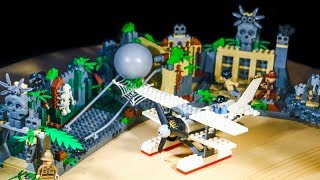
Rebuilding Childhood LEGO Sets
Facts about LEGO building and design
🧱 LEGO has produced hundreds of billions of bricks since it began — that's enough to share with lots of picnic friends!
🧺 The word "picnic" comes from the French "pique-nique" (17th century) — it originally meant a shared outdoor meal where everyone brought something.
📏 Using rulers and simple measuring helps kids learn about length, fractions, and planning while they build.
🍽️ A LEGO minifigure is roughly 4 cm tall, so LEGO plates, cups, and food are made tiny to fit that scale perfectly.
🧩 Designing and arranging a picnic set builds creativity, spatial thinking, and problem-solving — play is great brain exercise!
How do I make a LEGO picnic set with my child?
What materials do I need to build a LEGO picnic set?
What ages is a LEGO picnic set activity suitable for?
What are the benefits and safety tips for a LEGO picnic set activity?


