Make a LEGO® skeleton
Build a movable LEGO skeleton using bricks and joints, learn basic human bone names, and experiment with poseable limbs for simple anatomy exploration.


Step-by-step guide to make a LEGO® skeleton
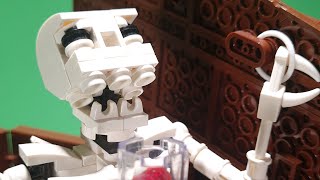
We Built a LEGO Skeleton
Step 1
Gather all your materials and spread them out on a clear table so you can see everything easily.
Step 2
Build the spine by stacking thin flat bricks into a straight column about as tall as you want your skeleton.
Step 3
Build a pelvis by making a small wide block of bricks that will hold the leg joints.
Step 4
Attach the pelvis to the bottom of the spine so the spine can stand upright when you put the legs on.
Step 5
Build a ribcage by arranging curved or flat bricks around the top of the spine to look like ribs.
Step 6
Attach the ribcage to the spine so it sits above the pelvis and below where the head will go.
Step 7
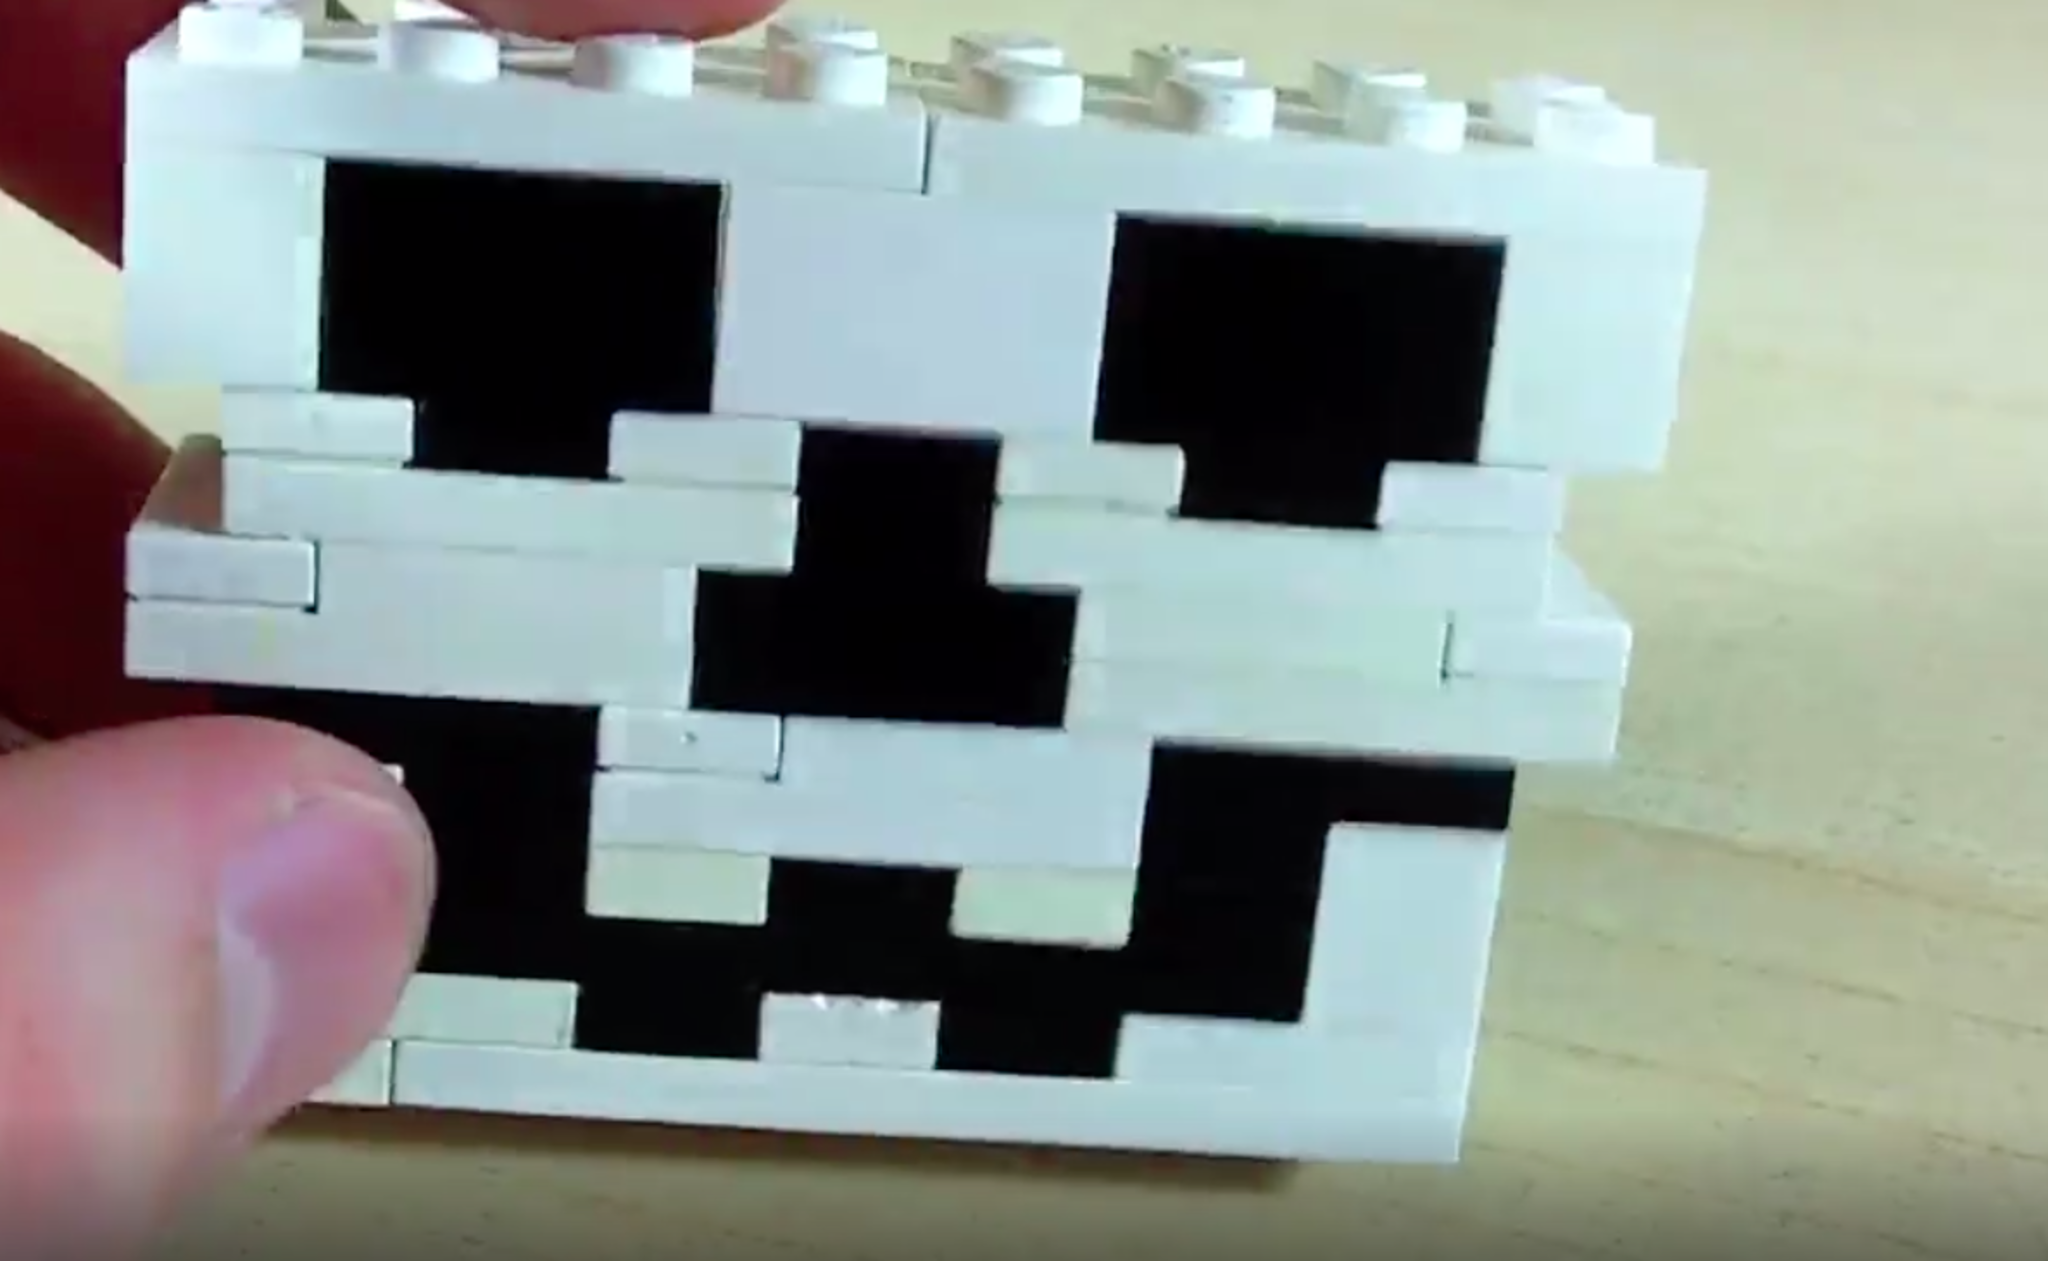
Build a skull piece by making a small rounded or blocky head from bricks that will connect to the top of the spine.
Step 8
Attach the skull to the top of the spine so your skeleton has a head.
Step 9
Build two identical arms each with an upper arm and a lower arm connected by a hinge or ball joint.
Step 10
Attach both arms to the shoulders of the ribcage using the hinge or ball joints so they can move.
Step 11
Build two identical legs each with a thigh and a lower leg connected by a hinge or ball joint.
Step 12
Attach both legs to the pelvis using hinge or ball joints so the skeleton can stand and bend at the knees.
Step 13
Write simple bone names on small paper labels like skull spine ribs pelvis humerus radius ulna femur tibia fibula using your marker.
Step 14
Tape each paper label to the matching LEGO bone part so you can learn the names while you play.
Step 15
Try different poses with your movable skeleton to see how the joints work and then share a photo and description of your finished LEGO skeleton on DIY.org
Help!?
What can we use if we don't have hinge or ball joints or thin flat bricks from the materials list?
Use clip-and-bar pieces or Technic pins in place of hinge/ball joints so the arms and legs still move, and stack 1x plates as a substitute for the thin flat bricks when building the spine.
My skeleton won't stand — what part of the build usually fails and how can we fix it?
If the spine wobbles or the pelvis can't support the legs when you attach them, widen the pelvis with extra bricks, add more thin flat bricks to reinforce the spine column, and tighten the leg connections at the pelvis joint.
How can I change the activity for different ages using the listed steps and materials?
For younger children use larger, chunky bricks and pre-write the small paper labels for them to tape on during steps 11–12, while older kids can add more hinge joints and build a detailed skull and ribcage in steps 5–6 for increased challenge.
What are simple ways to enhance or personalize the finished LEGO skeleton before sharing on DIY.org?
Decorate the skull with your marker, add removable colored bricks as 'organs' inside the ribcage, mount the figure on a flat plate base you build, and label the bones with the small paper labels before photographing.
Watch videos on how to make a LEGO® skeleton
How to model the Lego Skeleton Arm
4 Videos
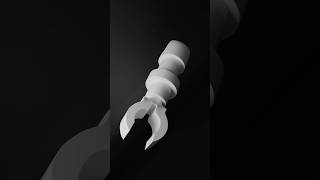
How to model the Lego Skeleton Arm
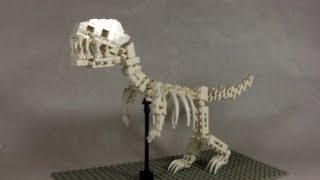
How To Build a LEGO T-Rex Skeleton
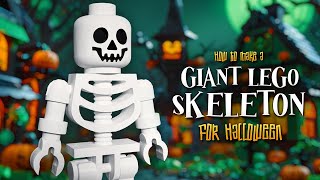
I Created a GIANT Lego Skeleton with Elegoo Neptune 4 Plus!
Skeleton, a LEGO automaton
Facts about human anatomy for kids
🦴 The adult human skeleton has 206 bones — but babies start with about 270 that fuse as they grow!
🧱 LEGO bricks made from ABS plastic have been compatible with bricks made since 1958 — so old and new pieces click together!
🤸 Many body joints are types like hinge (knees) and ball-and-socket (shoulders) — great models for poseable LEGO limbs.
🦵 The femur is the longest and strongest bone in the human body — an easy landmark when building LEGO legs!
🧠 Playing and building with bricks helps spatial thinking and fine motor skills — perfect practice for young anatomists!
How do you build a movable LEGO skeleton step-by-step?
What LEGO pieces and materials do I need to make a poseable LEGO skeleton?
What ages is building a LEGO skeleton suitable for?
What are the learning benefits of building a LEGO skeleton with my child?
